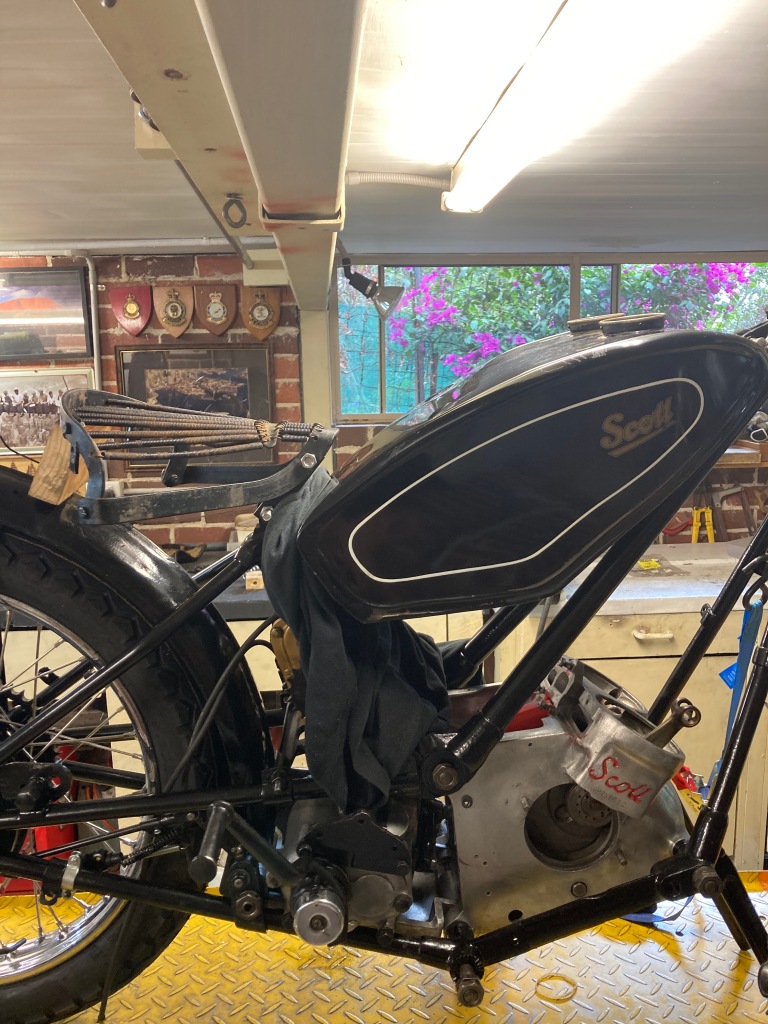
1938 Scott Flying Squirrel
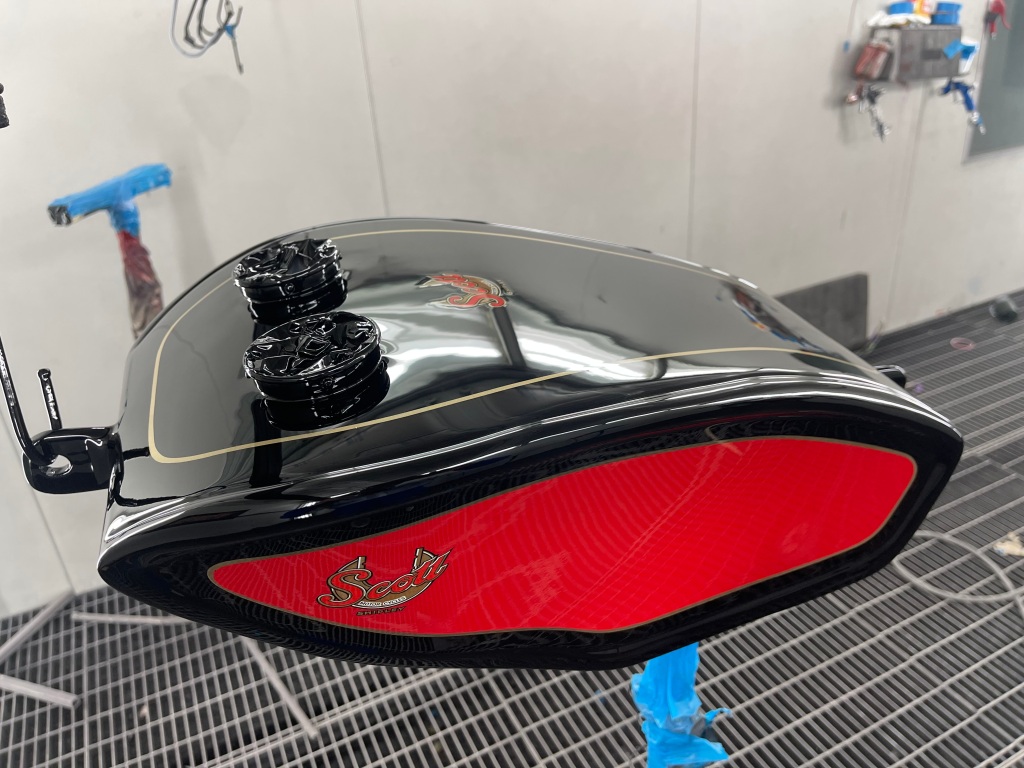
Photos of Scott Flying Squirel for guidance in my rebuild
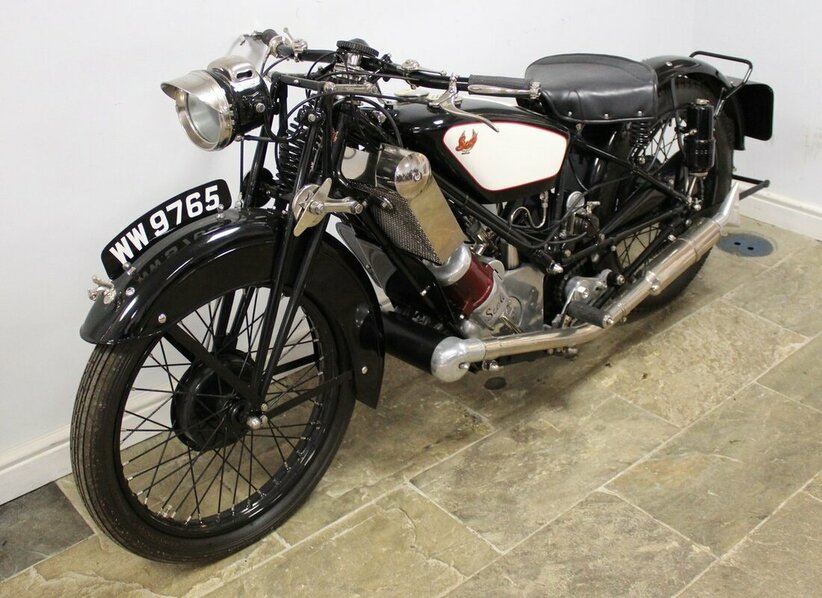 1938 Scott Flying Squirrel
The photos below have been taken in no particular sequence
History of Scott Flying Squirrel
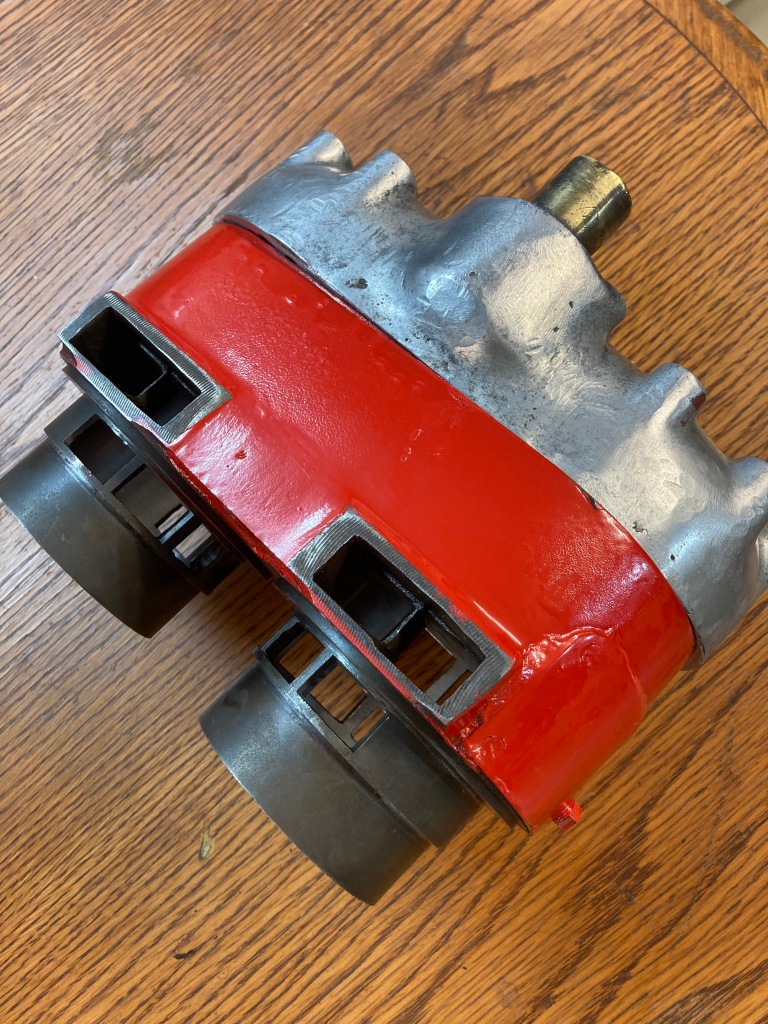
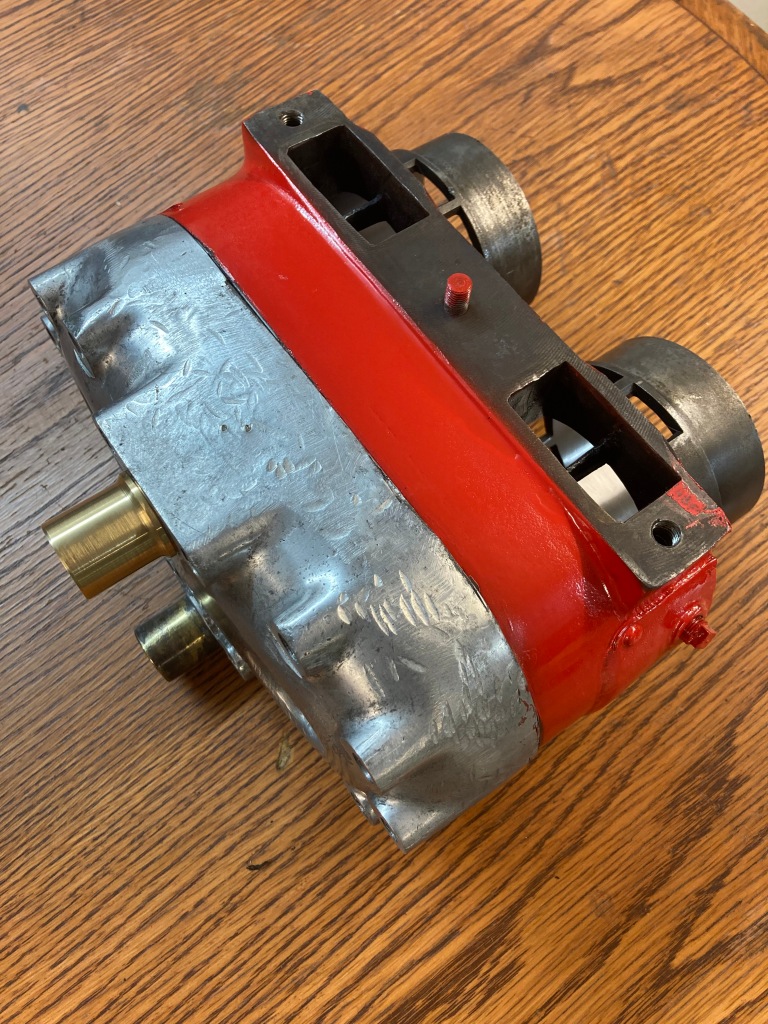
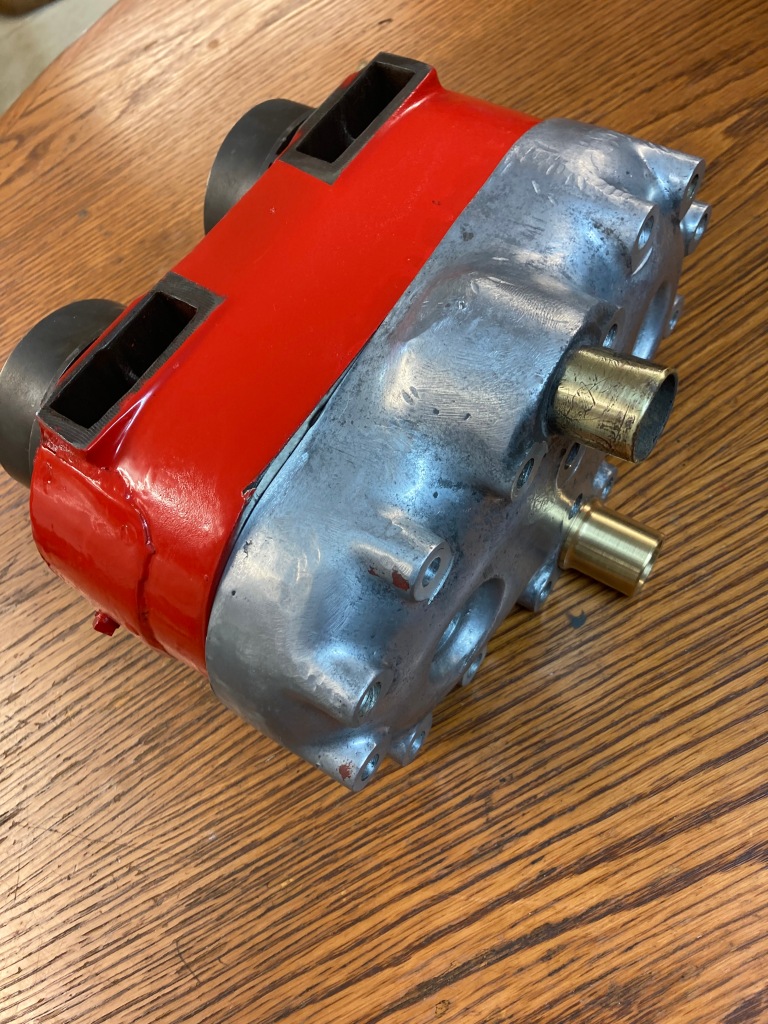
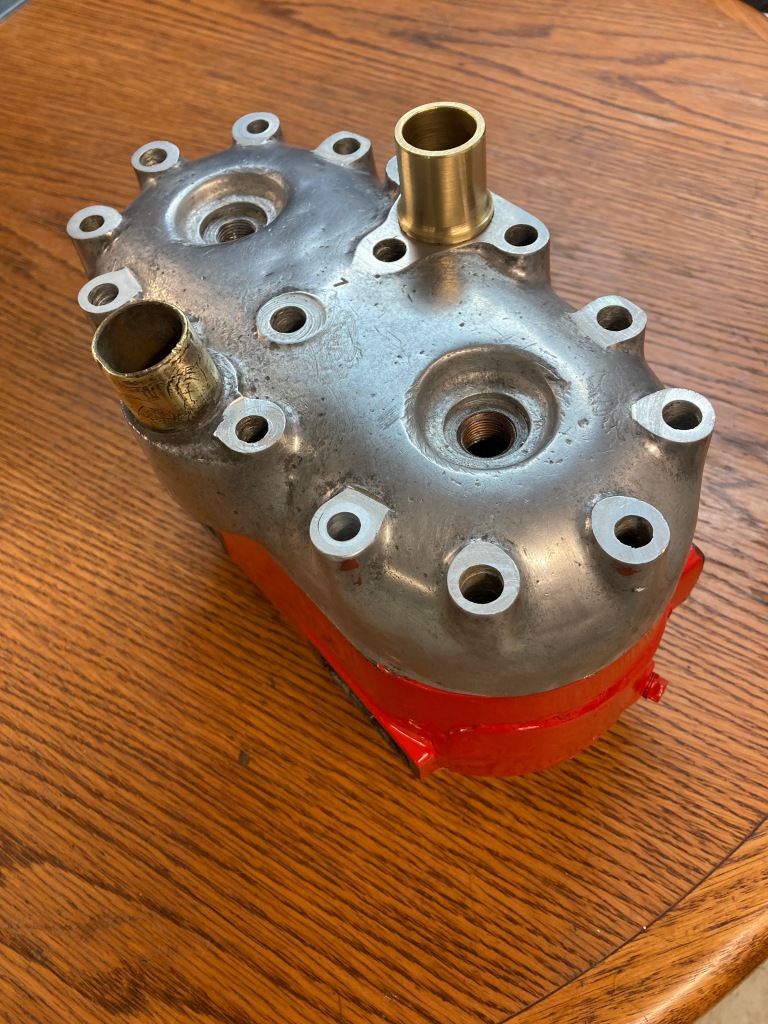
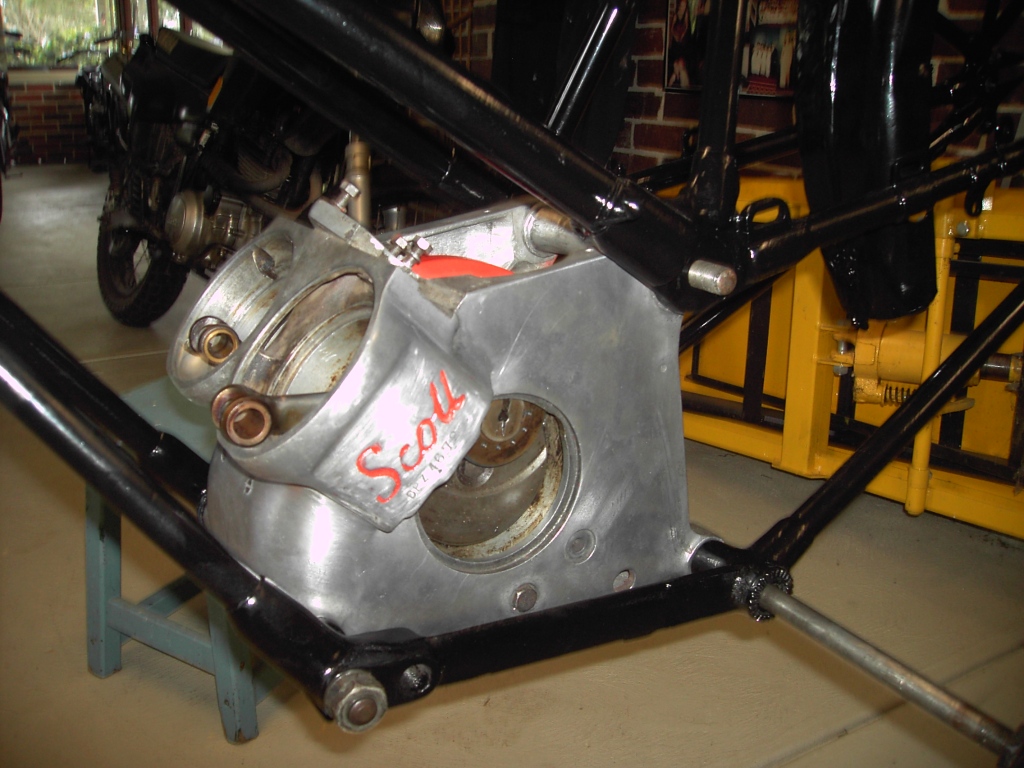
The Squirrel name was used for Scott motorcycles since 1921 but with the death of the founder Alfred Angas Scott in 1923 the unorthodox Scott two-stroke motorcycles began to become more conventional. Development of the three-speed Scott Flying Squirrel began in 1922 as the company was in severe debt and faced receivership. Launched at the 1926 Earls Court motorcycle show, the Flying Squirrel was expensive - nearly twice the cost of a sporting four-stroke motorcycle of the time.[1] The unique water-cooled circulation used a convection method known as the thermosyphon system. The bottom end block was painted either green or red for racing or road respectively and featured a centrally positioned flywheel, twin inboard main bearings, overhung crankpins and doors to enable ease of access to the engine. The redesigned three-speed gearbox, multi-plate clutch and the repositioned magneto were all significant improvements.[2]In 1929 Scott achieved third place in the Isle of Man TT and launched a road going TT Replica Flying Squirrel. Following cost cutting the factory also launched a basic touring model in 1929 for under £70. Financial problems continued, however, and in 1931 Scott were unable to enter the TT or the Earls Court show. A three-cylinder prototype was developed but Scotts lacked the resources to develop it and on the outbreak of World War II production ended.[1]
Between 1935 and 1938 the factory at Shipley in Yorkshire produced the B2592 air-cooled Aero engine, based on the Scott Flying Squirrel motorcycle unit.[3] A 25 hp (19 kW) version was also specifically developed to power the notoriously dangerous Flying Flea aircraft.[4] In 1950 the rights were bought by the Birmingham based Aerco Company and in 1956 they produced what are known as the Birimingham Scotts.[1]
Scott Flying Squirrel review
Start of the refurbishment
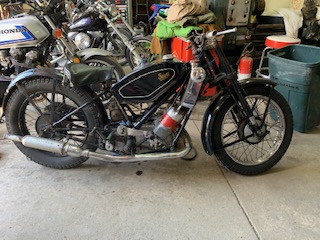


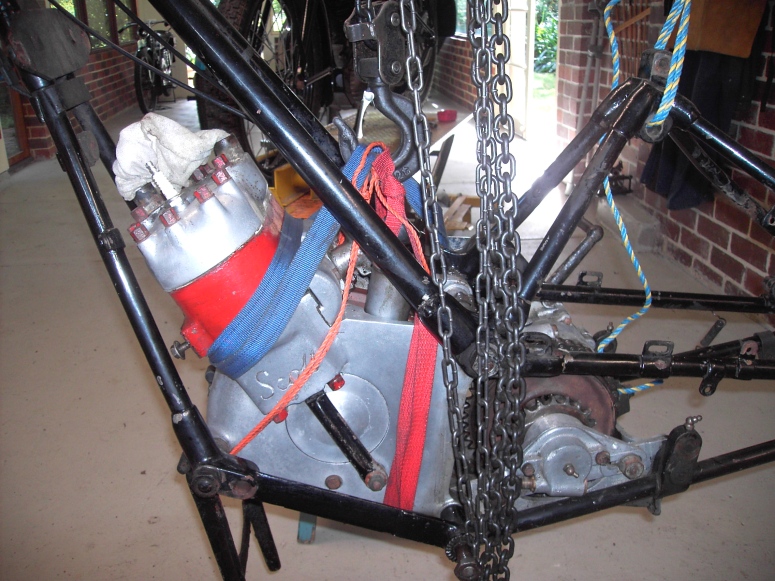
Starting the refurbishment
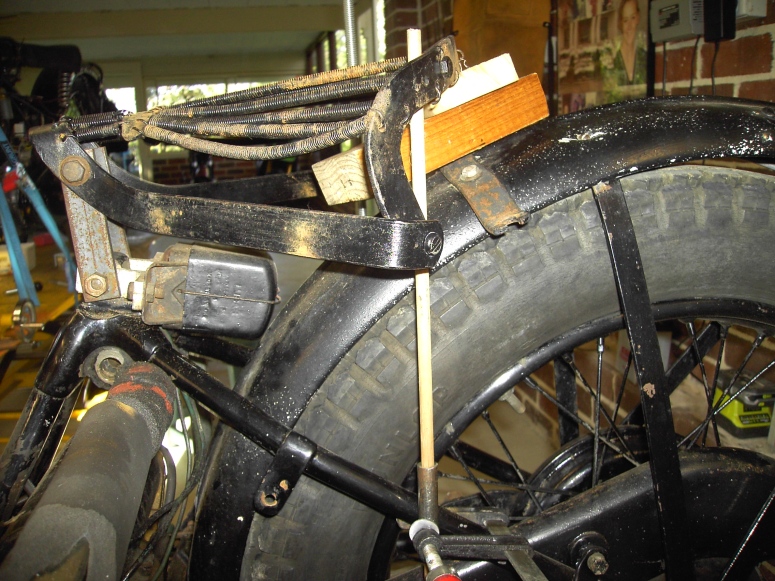
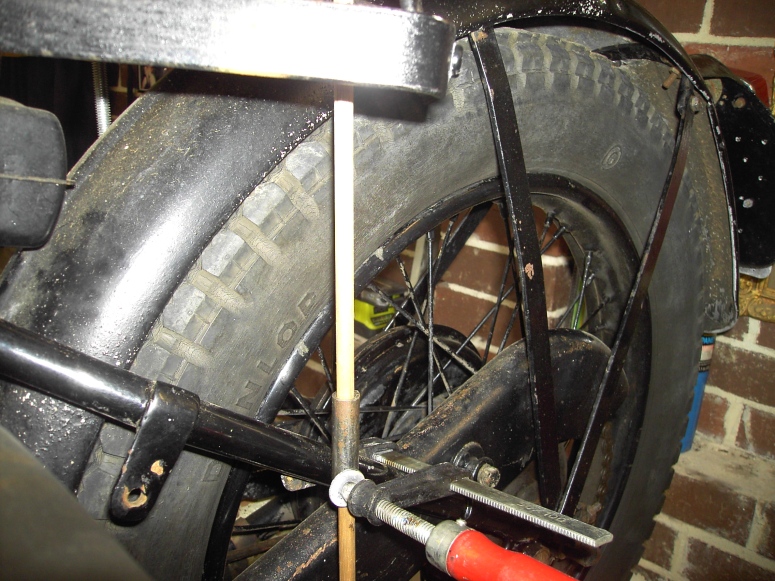
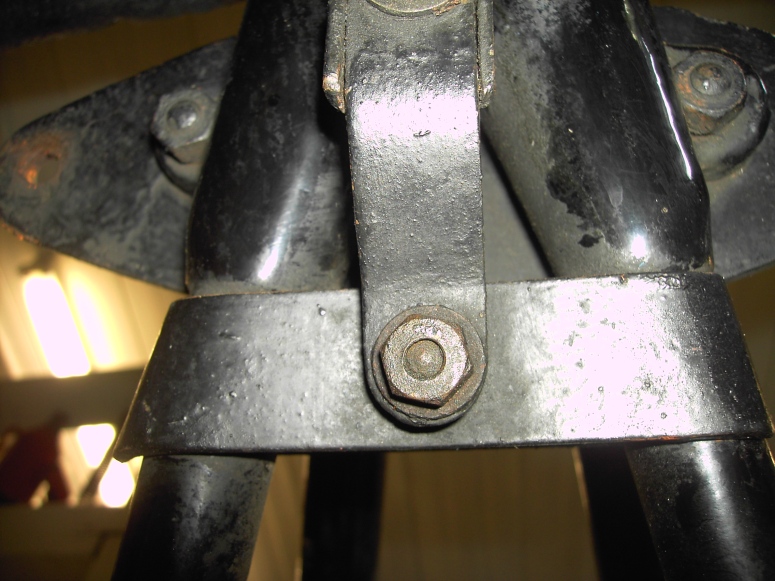
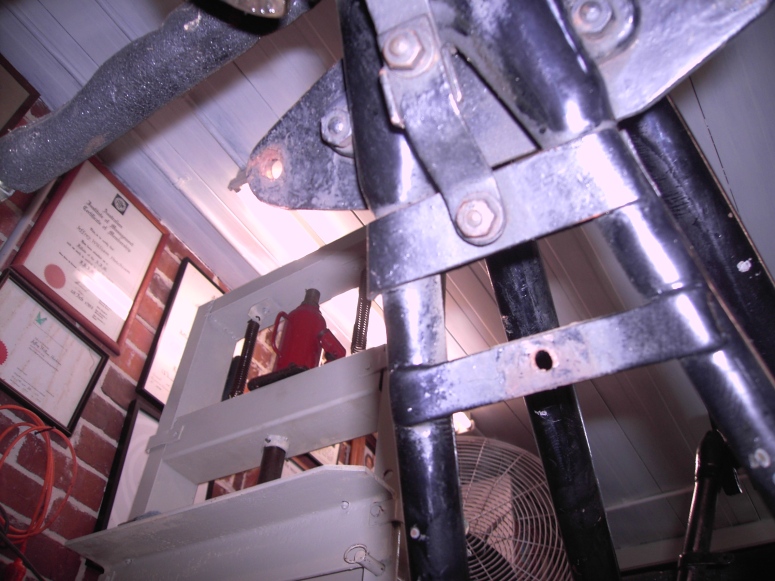
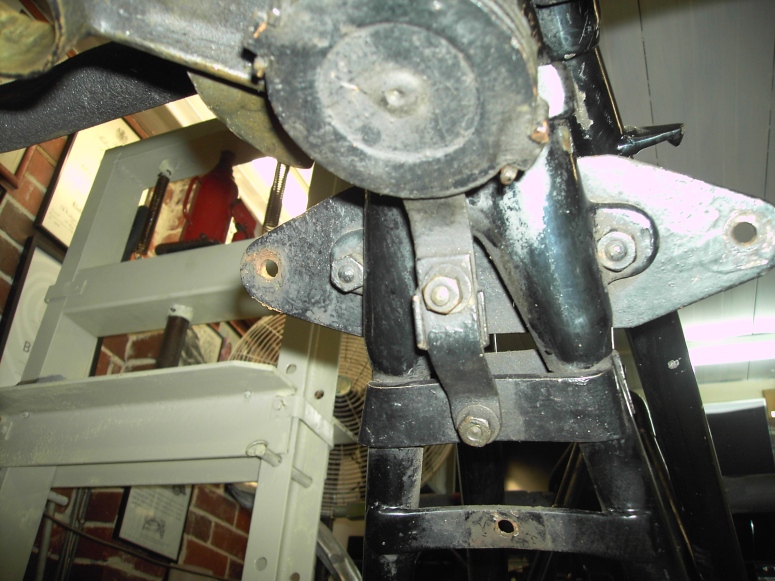
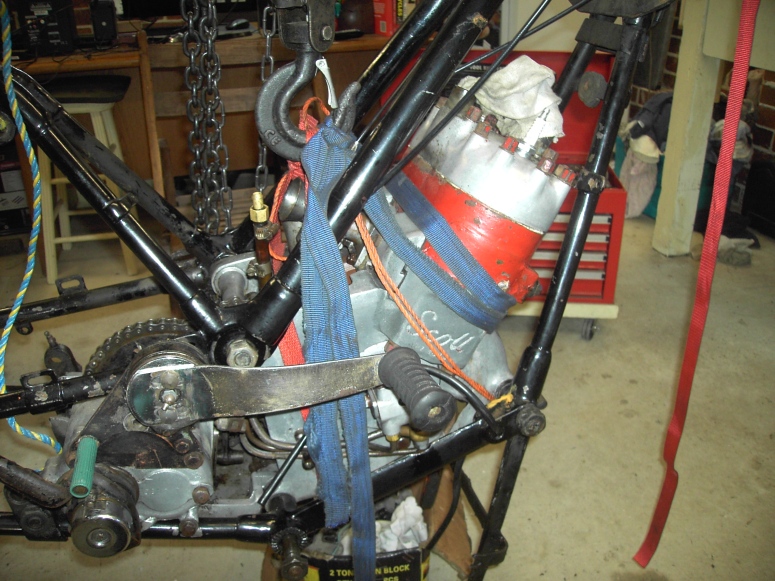
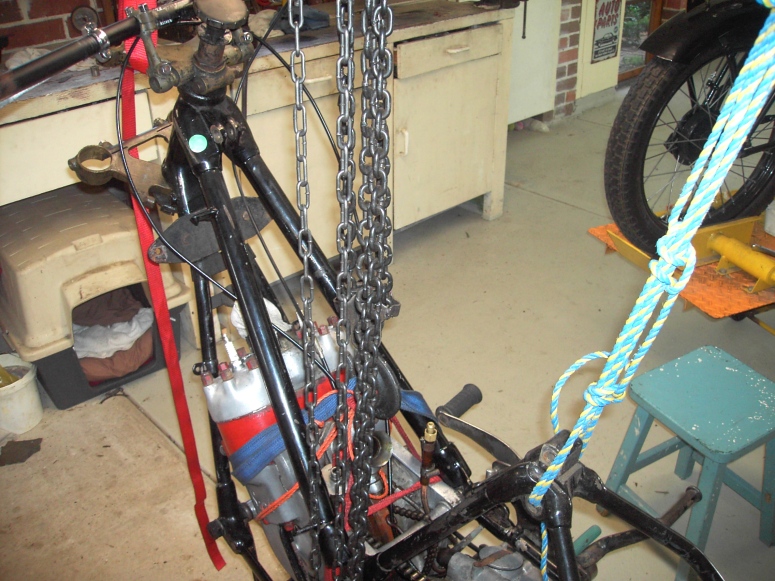
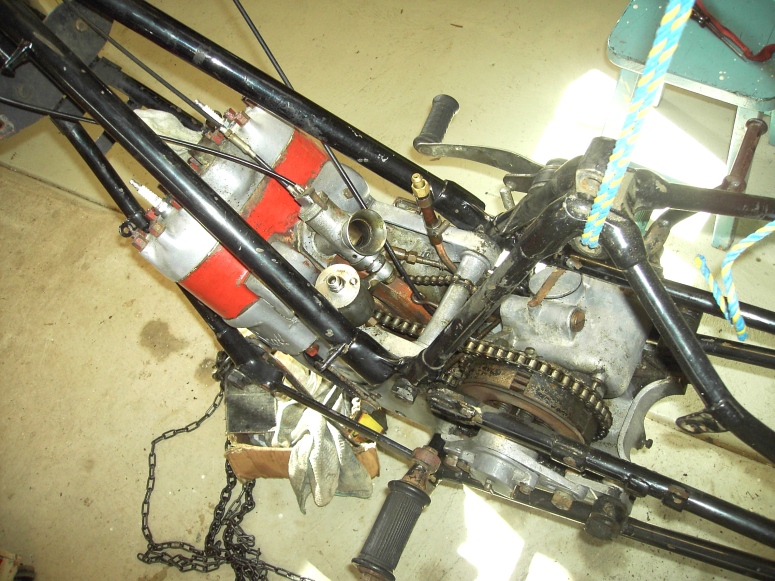
There is a need to ensure you can work safely on dismantling and therefore it is imperative to position bike on robust stands and lifting tackle, the photos below demonstrate how I commenced.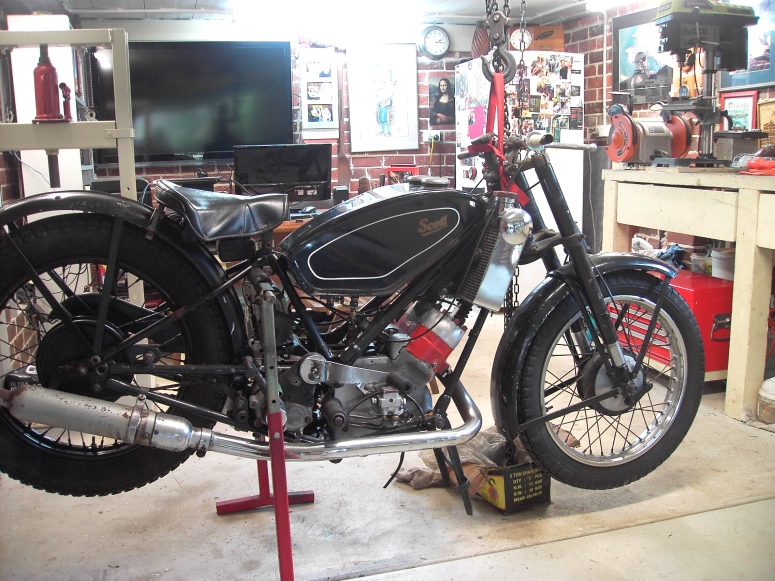

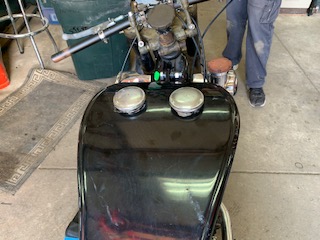
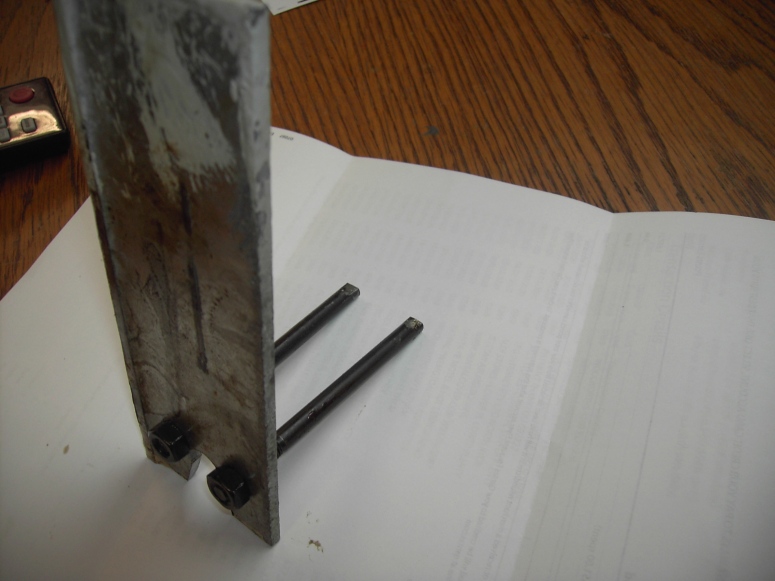
Seat
The bike as purchased had the seat anchored directly on to the back guard and in my view, not very practical with no springs. I played around with various options but at time of writing I was undecided as to a satisfactory solution, nevertheless, it is worth recording with the inclusion of photos.
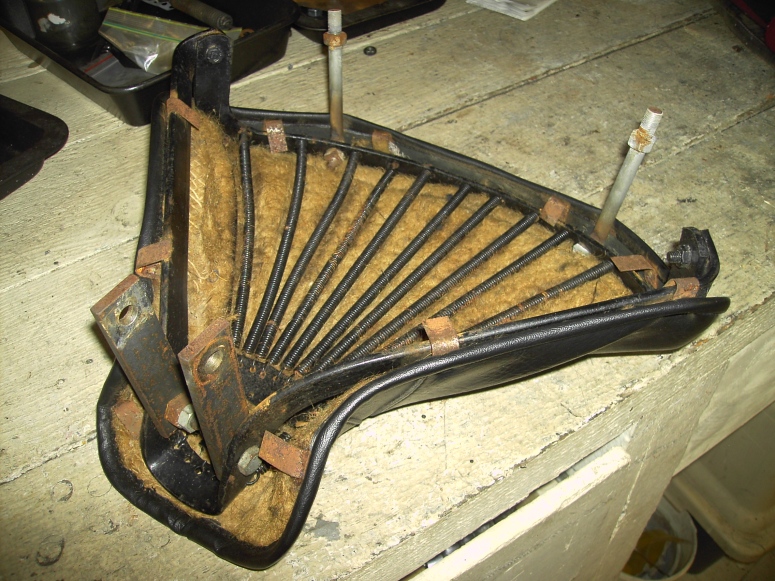
I decided on the following seat mounting which is more in keeping with the original concept.

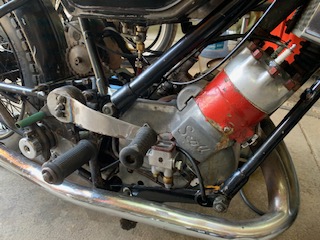
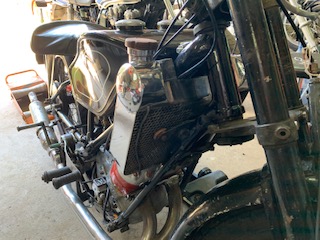
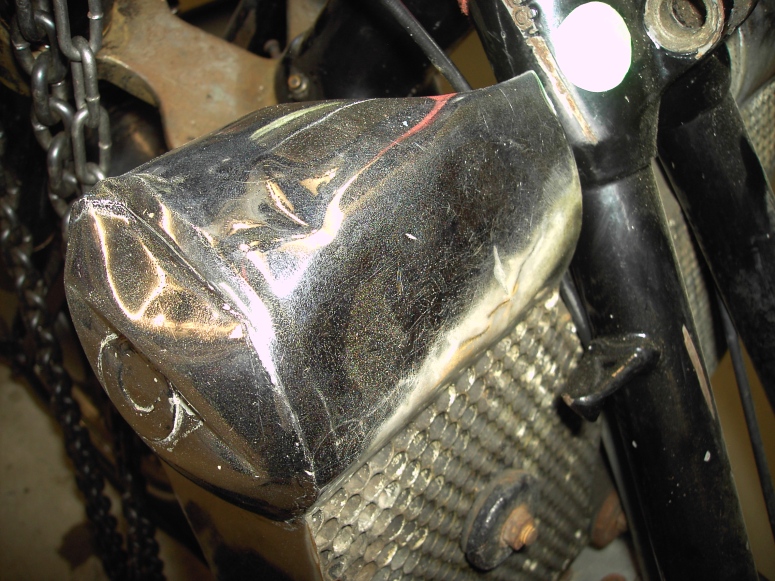
Radiator
The water cooled radiator has a damaged header tank and is a soldered honeycomb tube radiator, very difficult to find an oganisation to attempt a repair. I eventually located Aussie Desert Coolers who have maintained the skills of this dying art form.
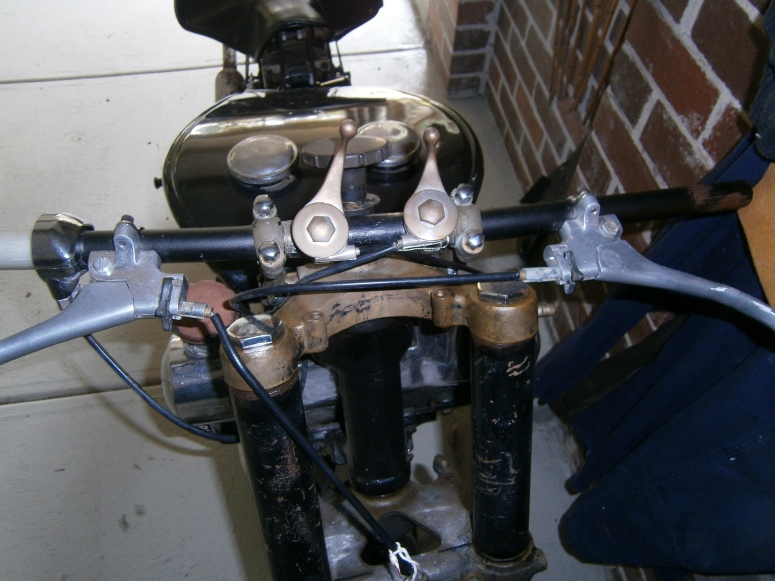
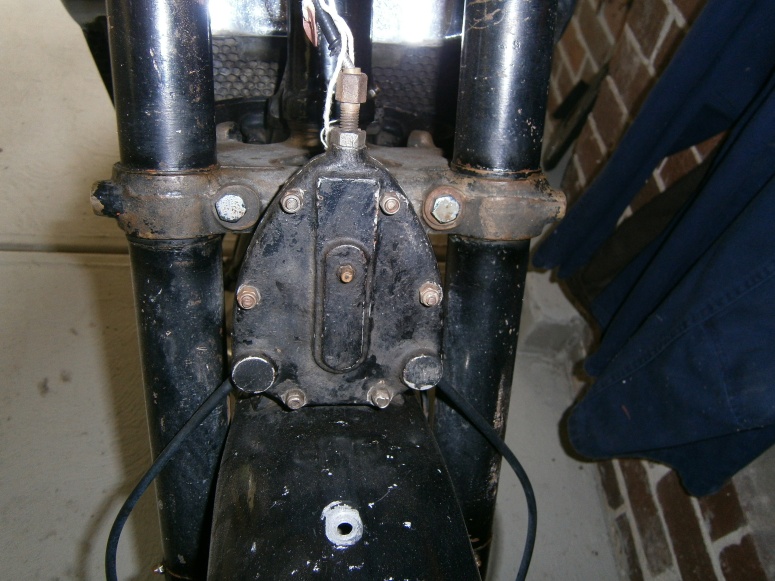
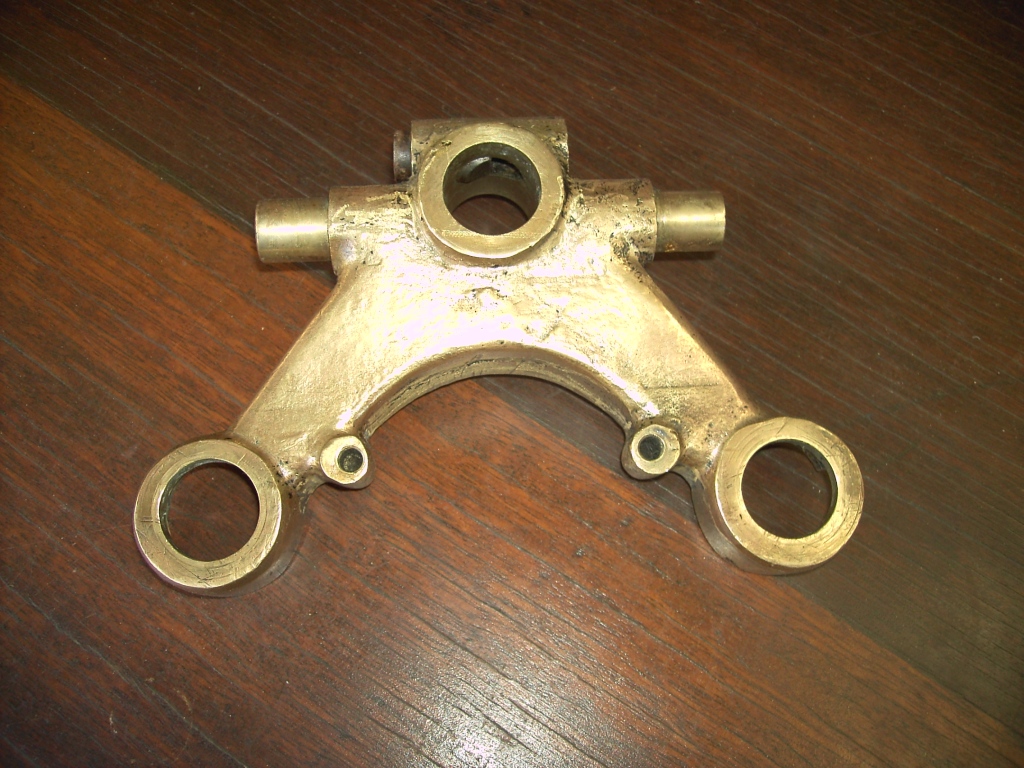
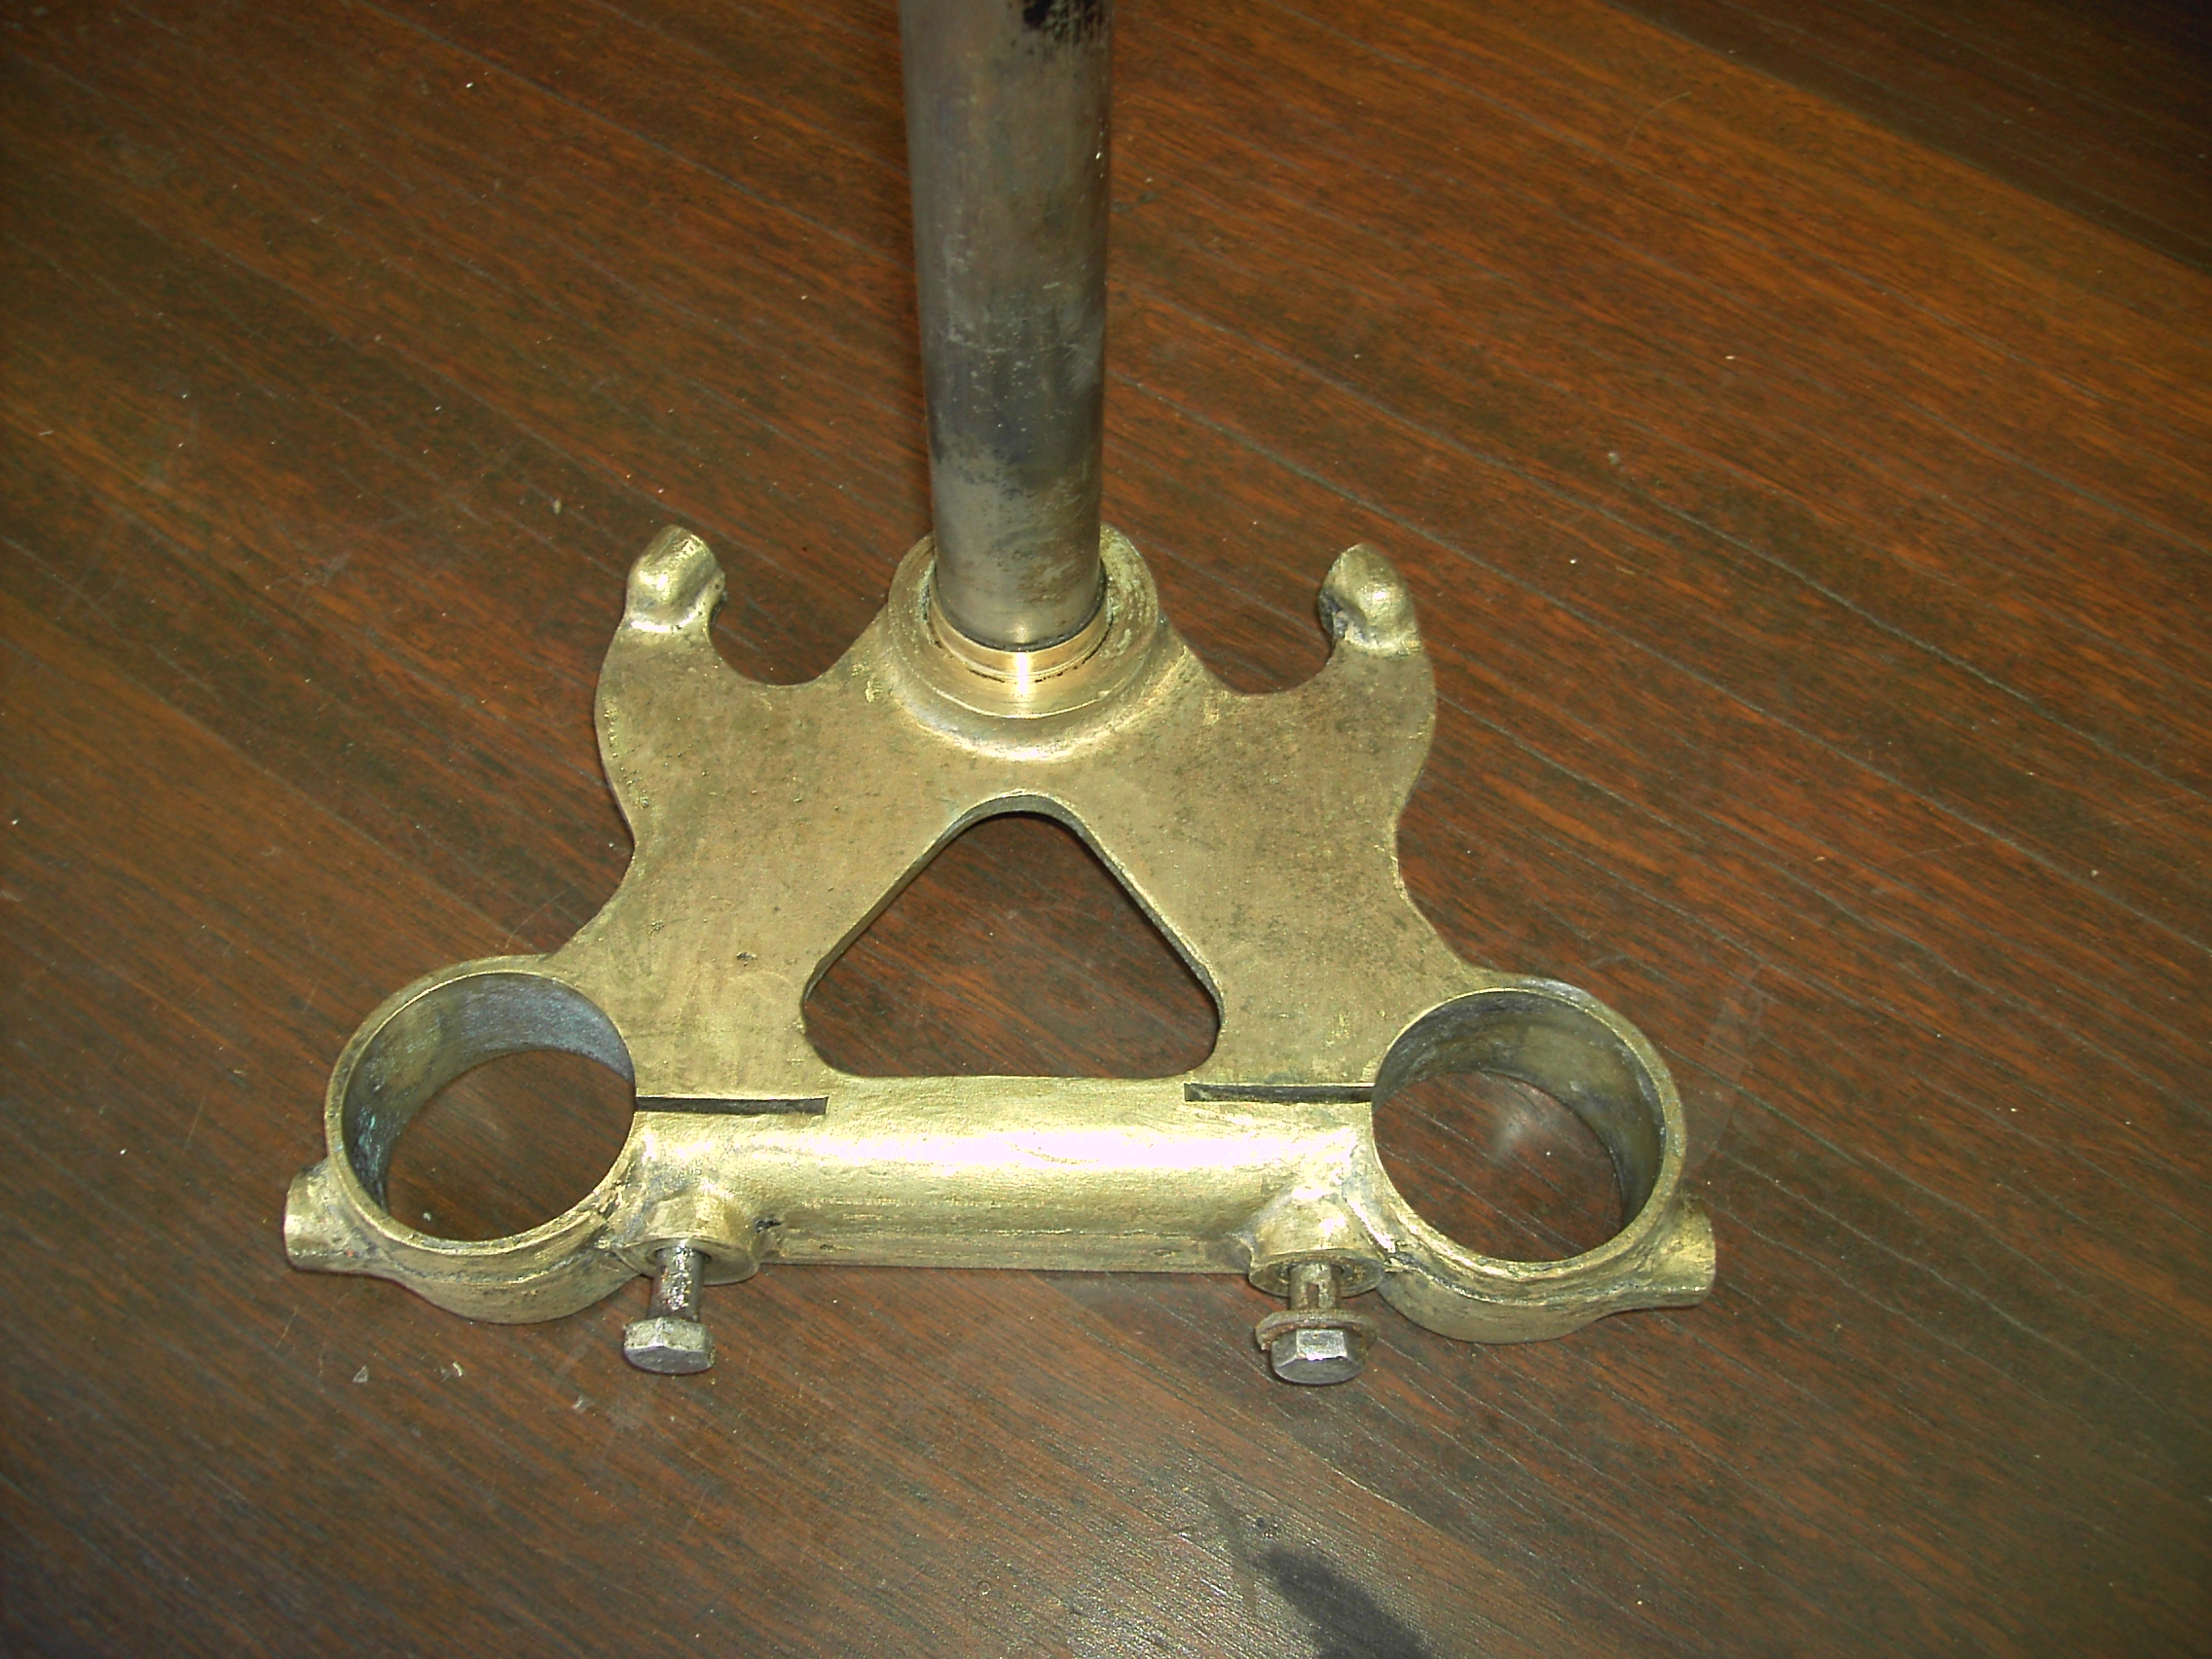
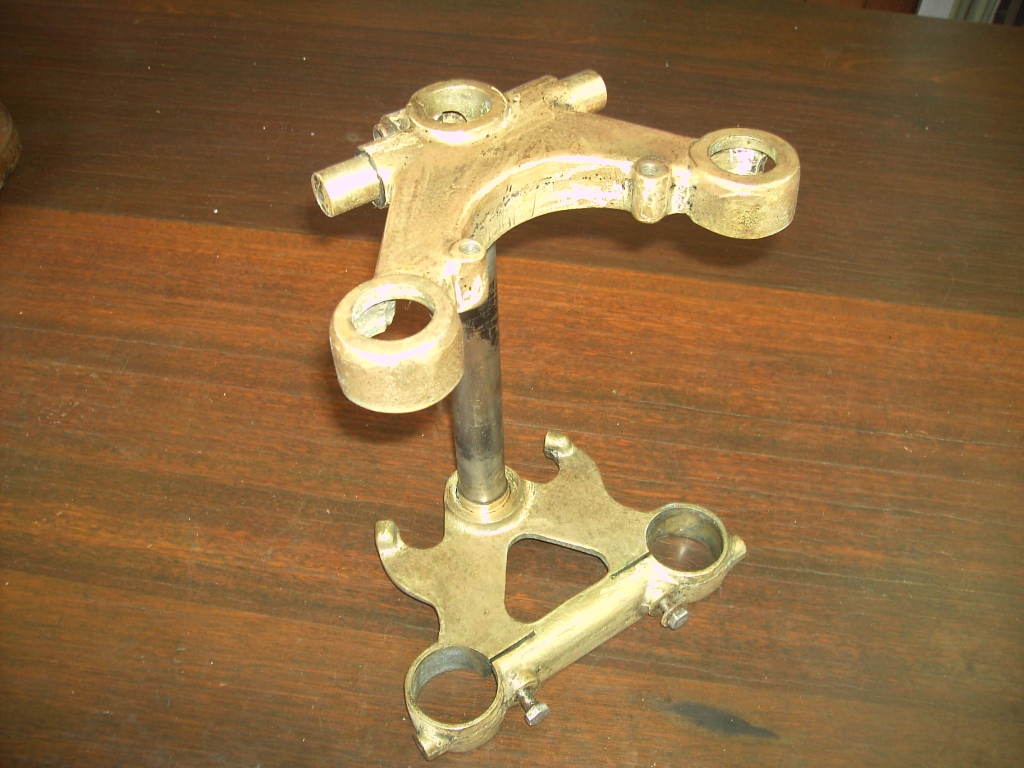
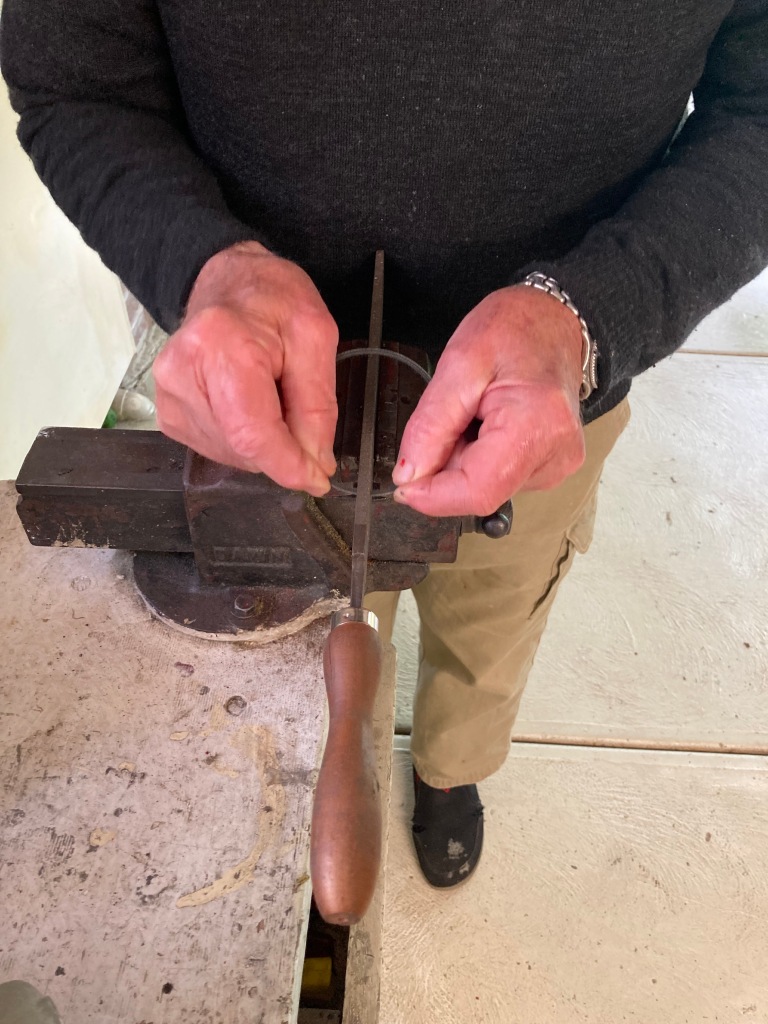
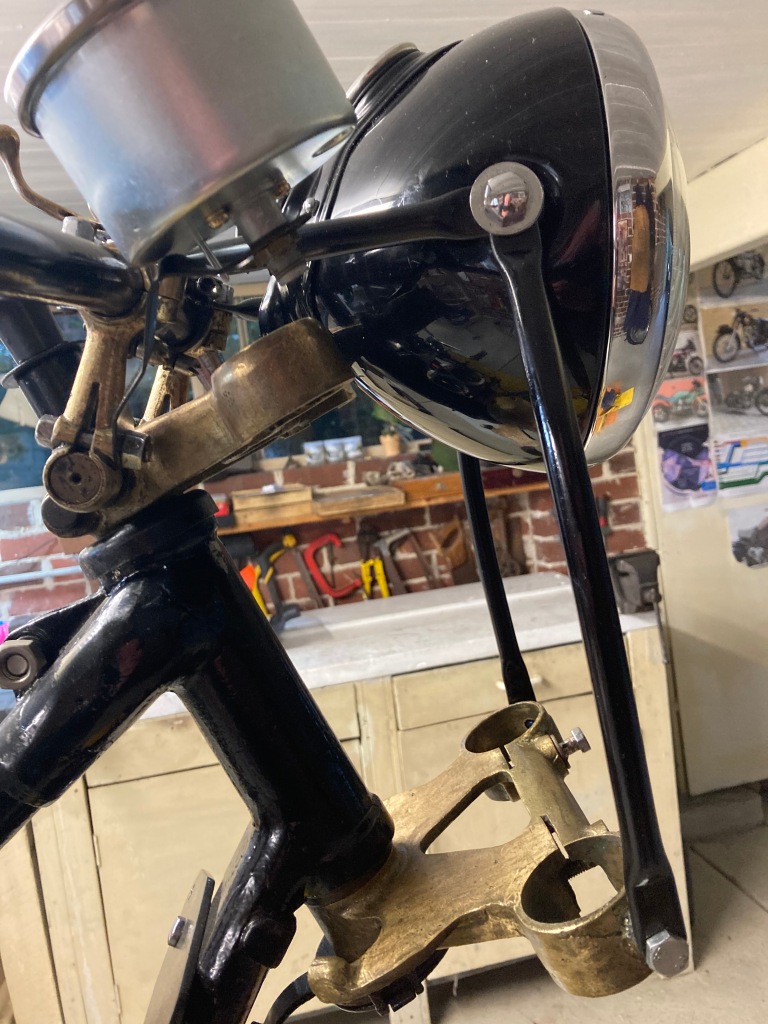
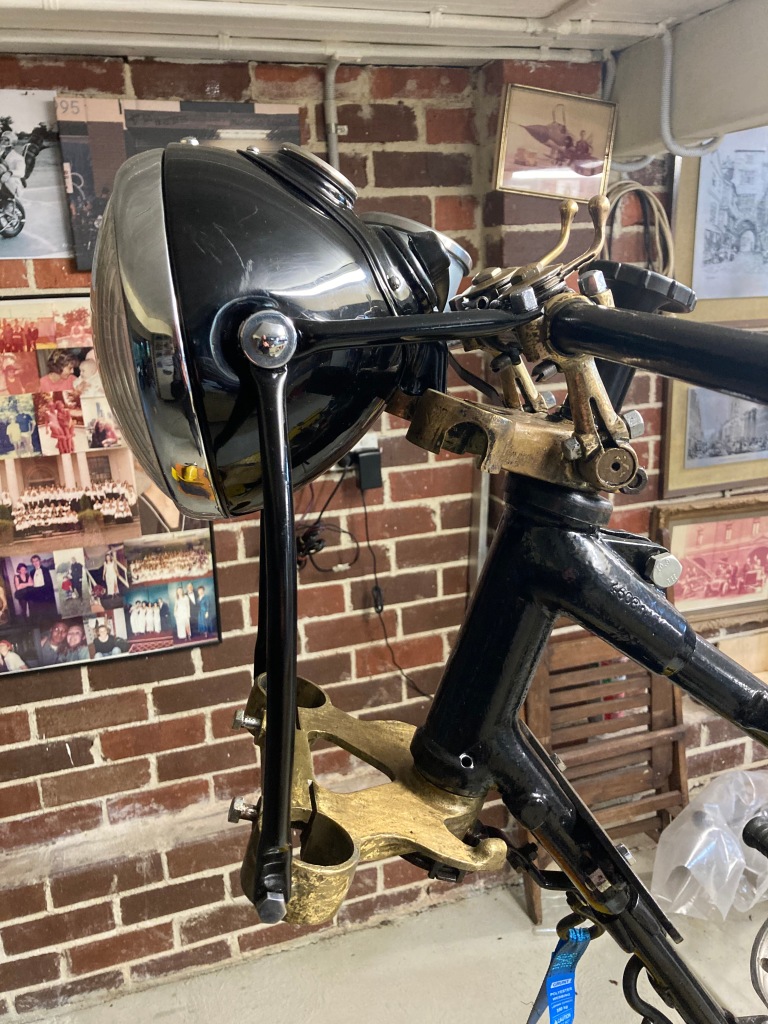
Front forks
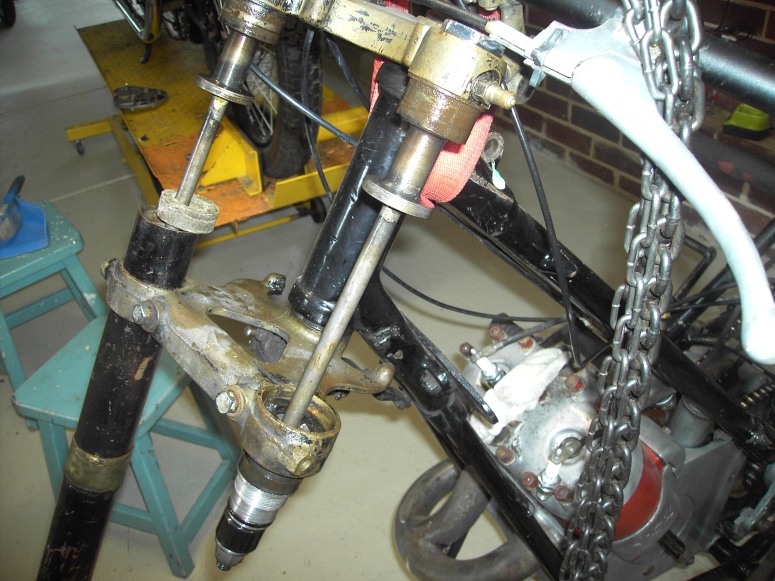


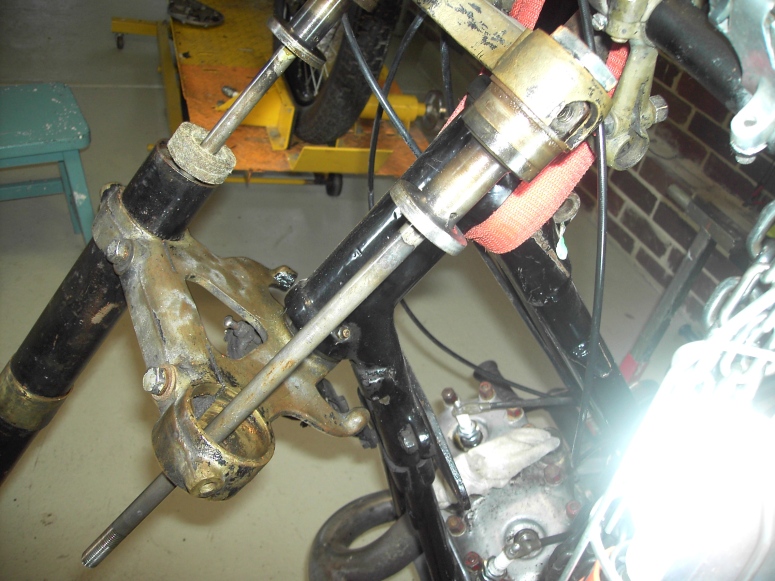
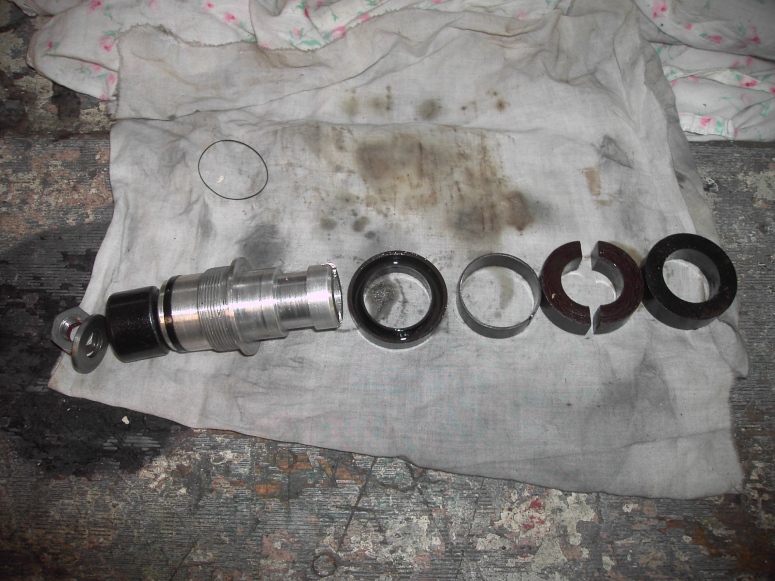
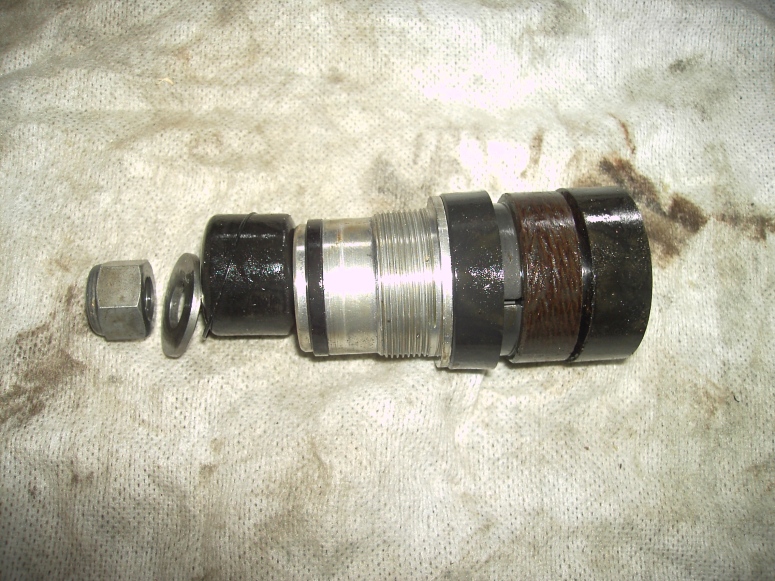
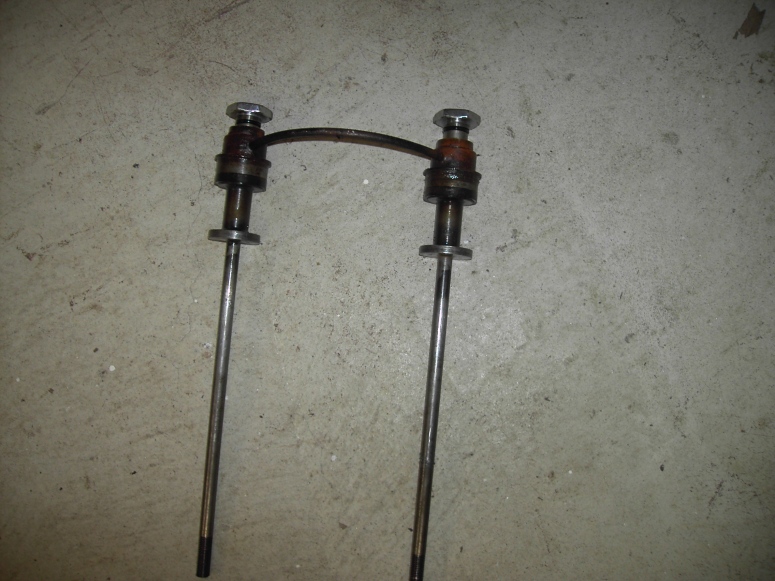
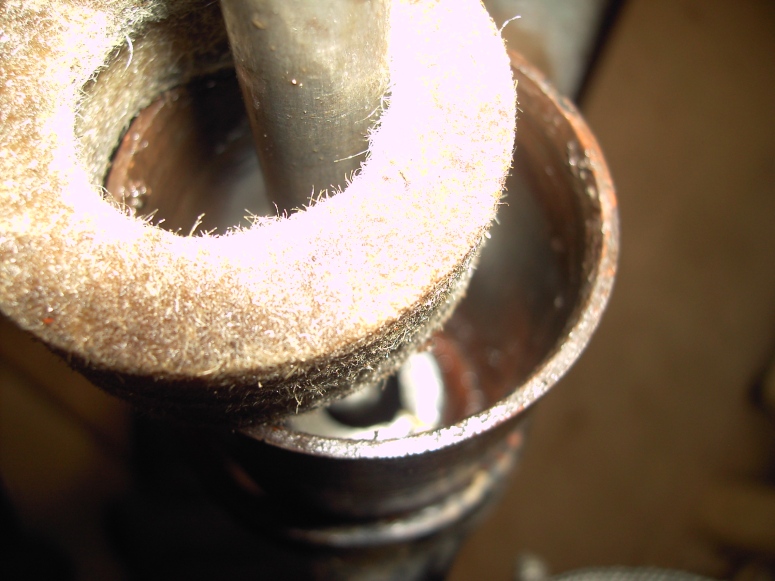
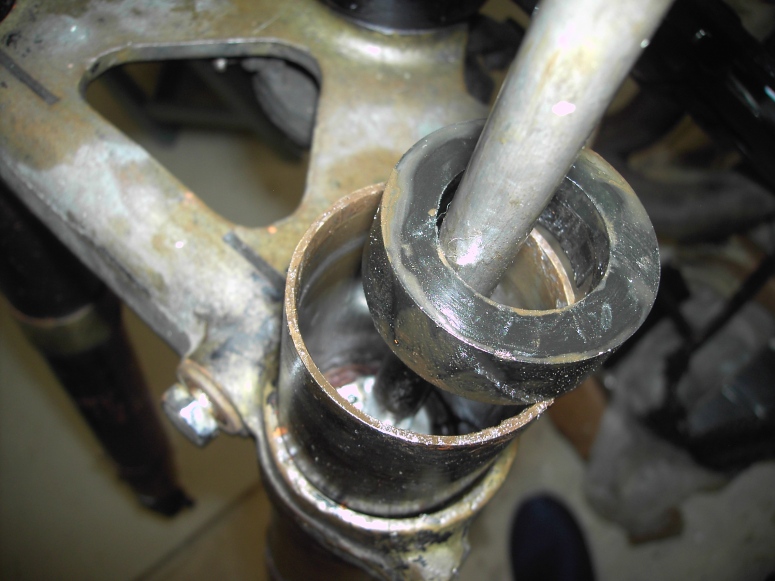
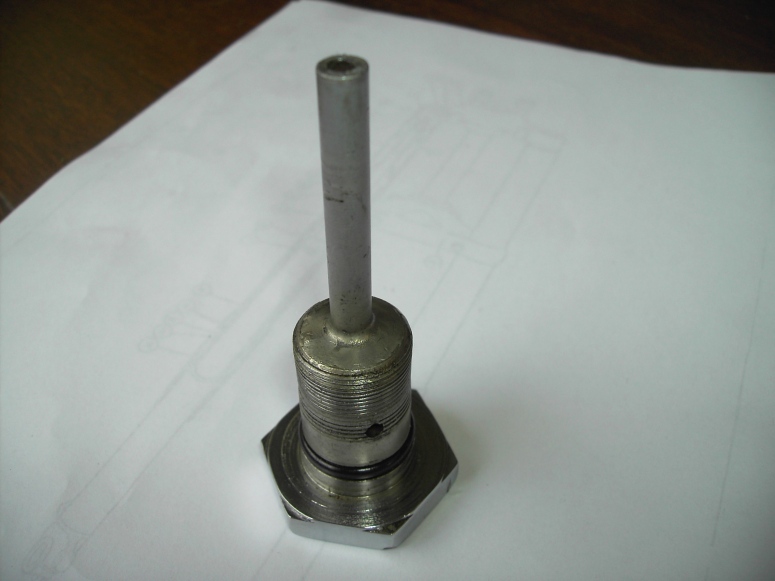

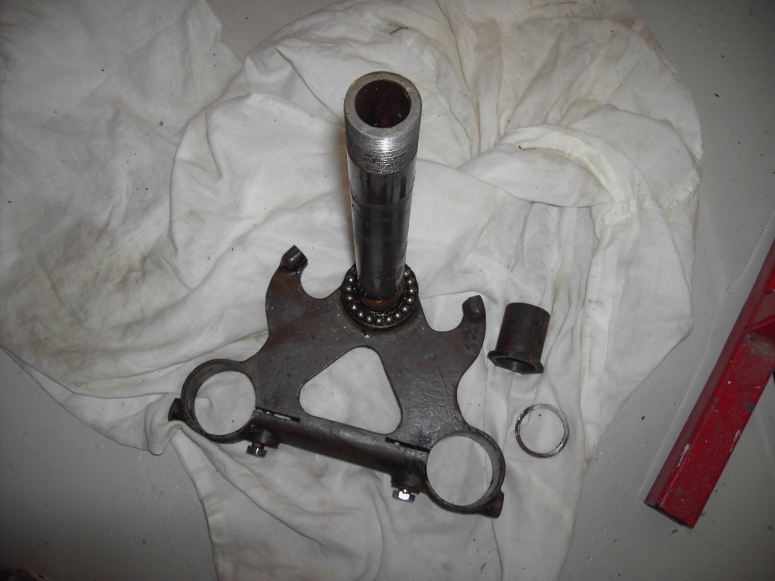
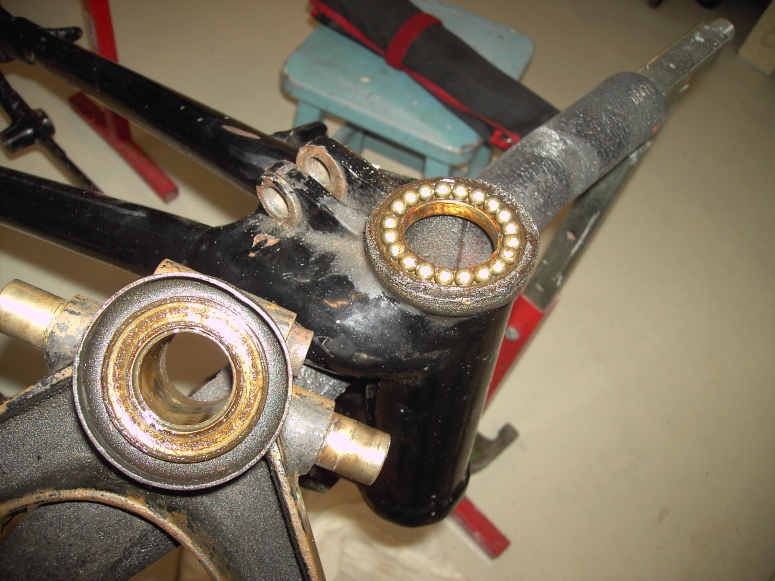
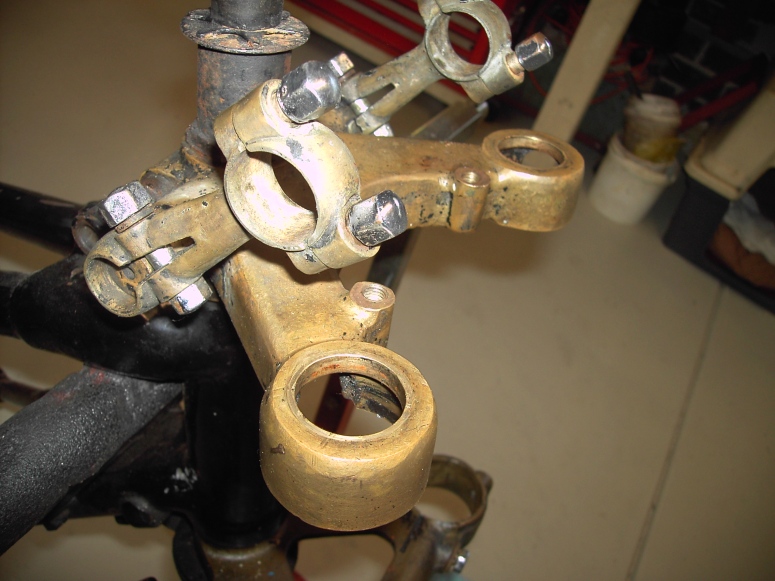

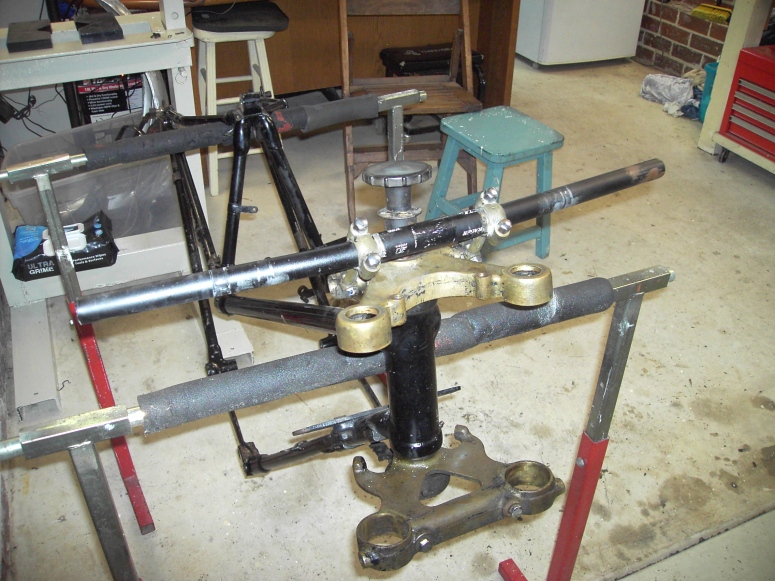
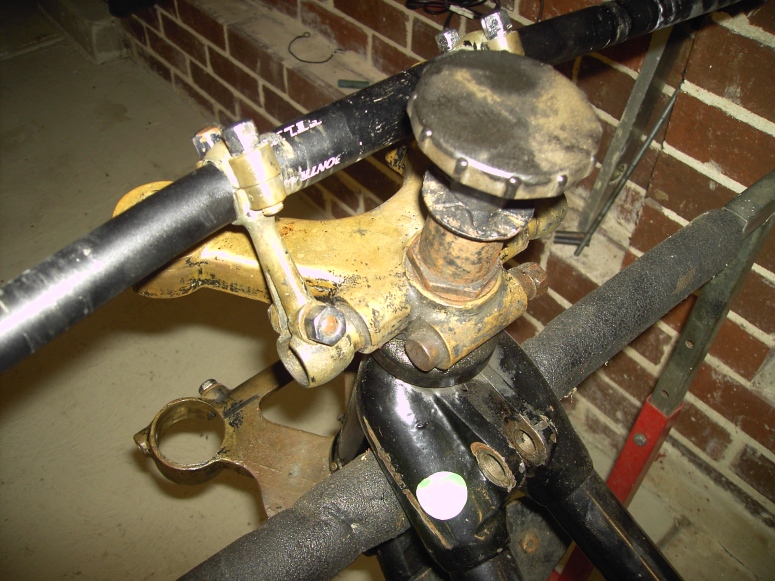


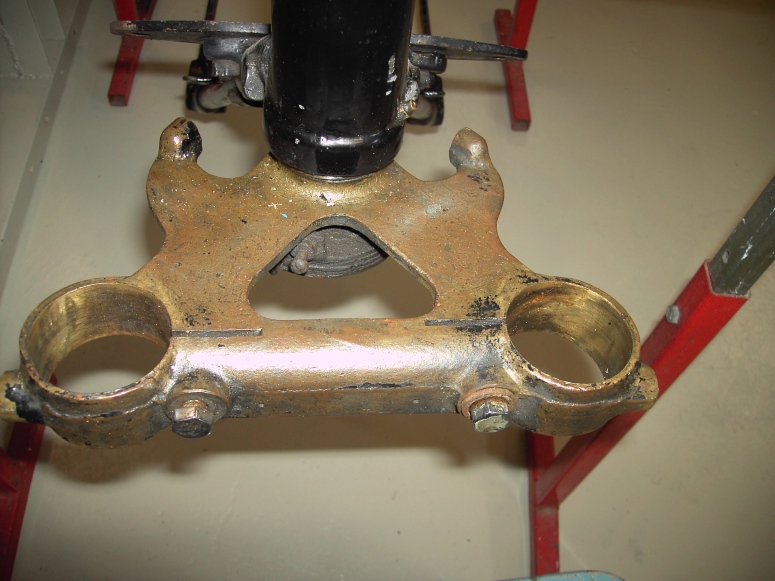
I polished the fork yokes and will leave it with the bronzed look.
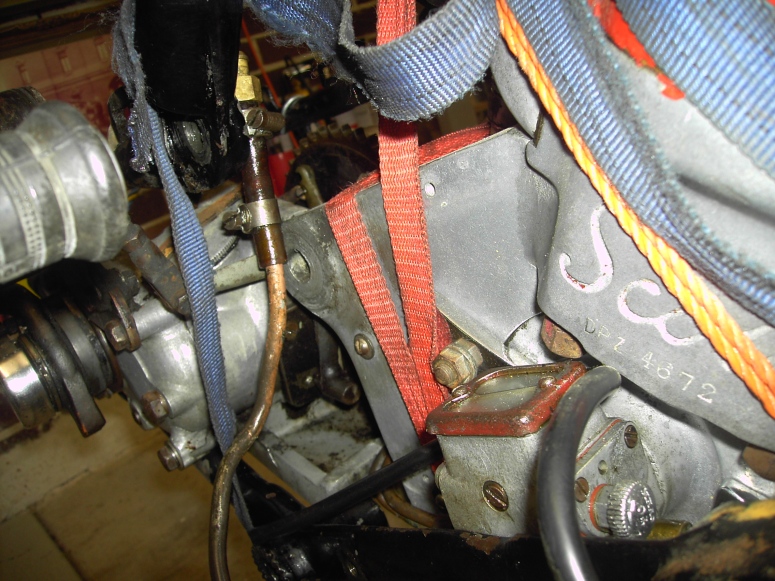
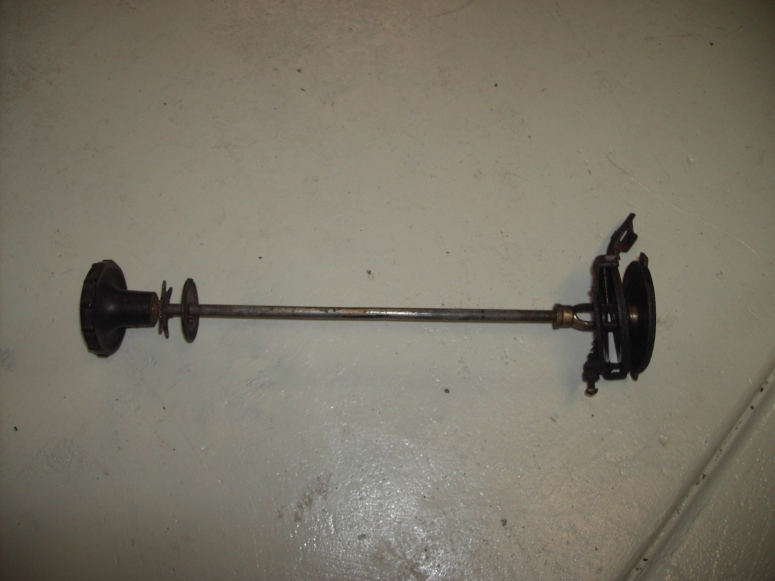
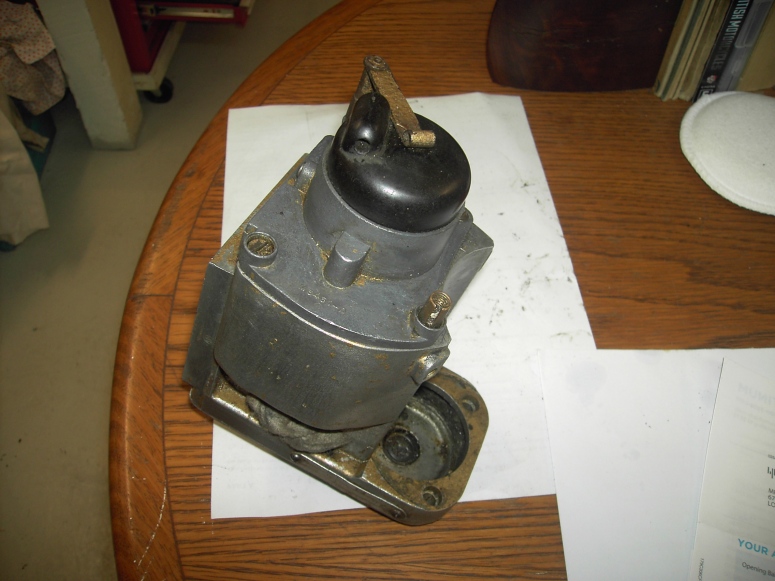
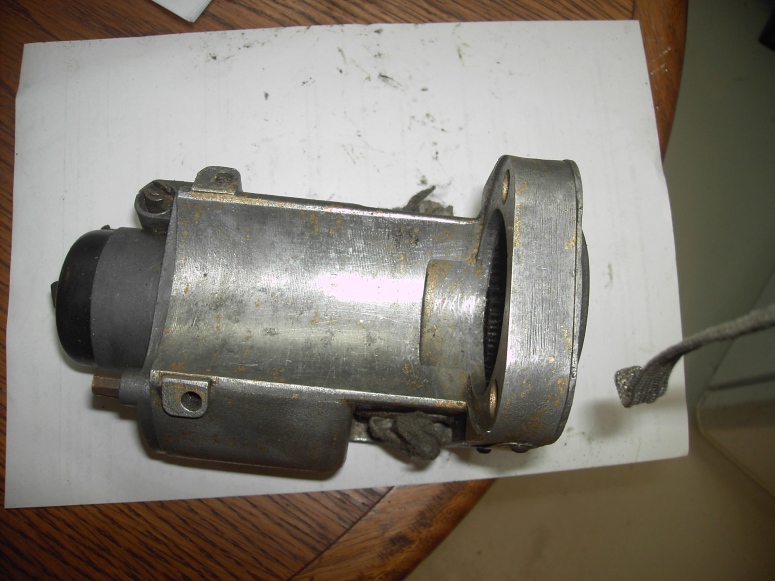
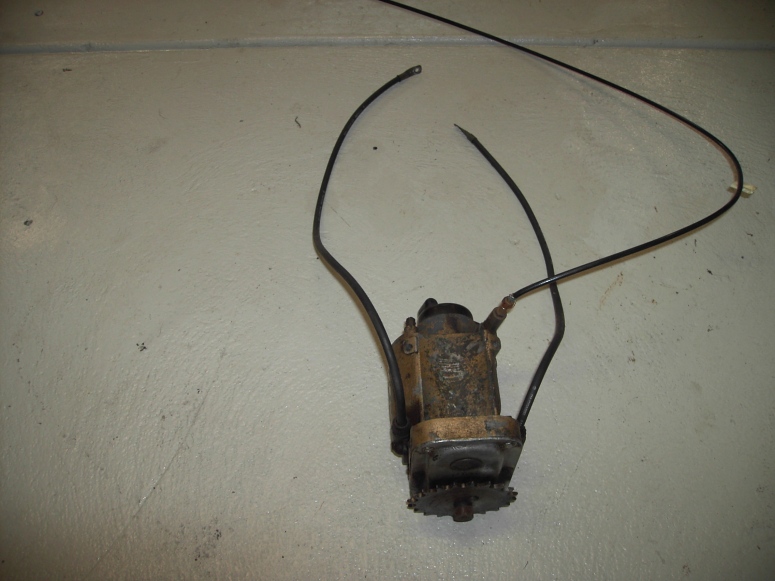
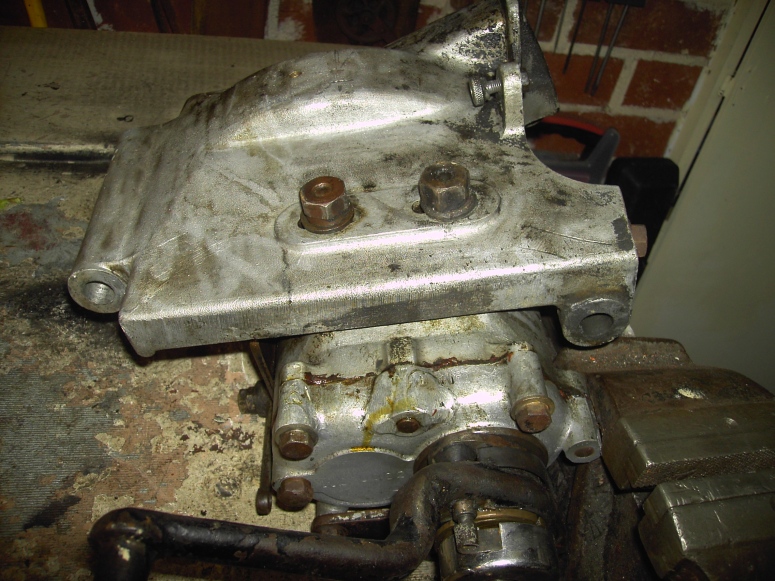
Magneto
The magneto functions perfectly and only needs refurbishment which meant cleaning and painting.
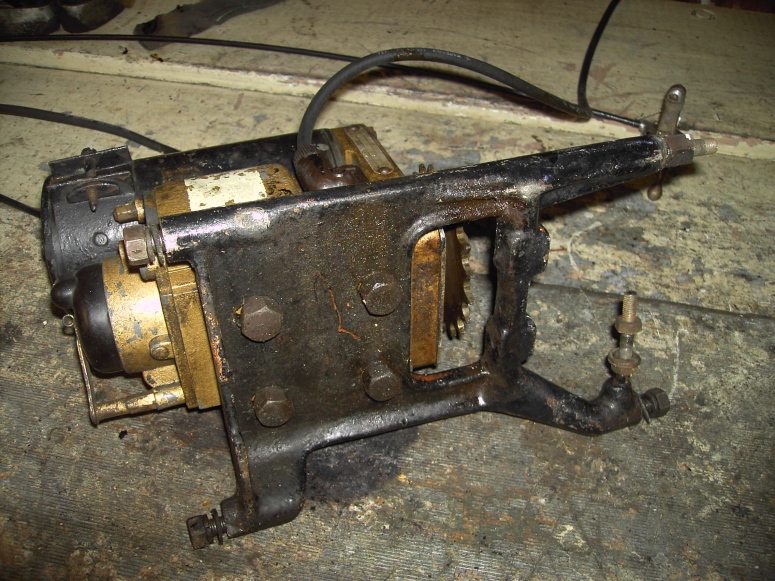

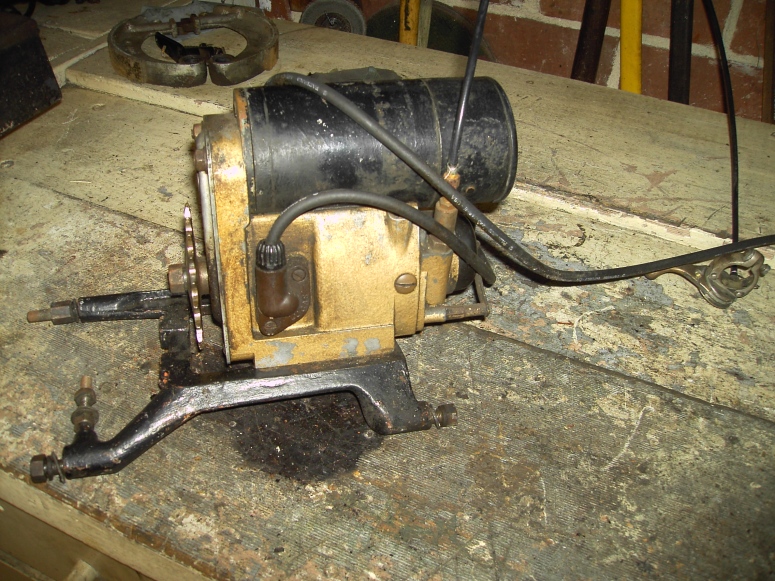
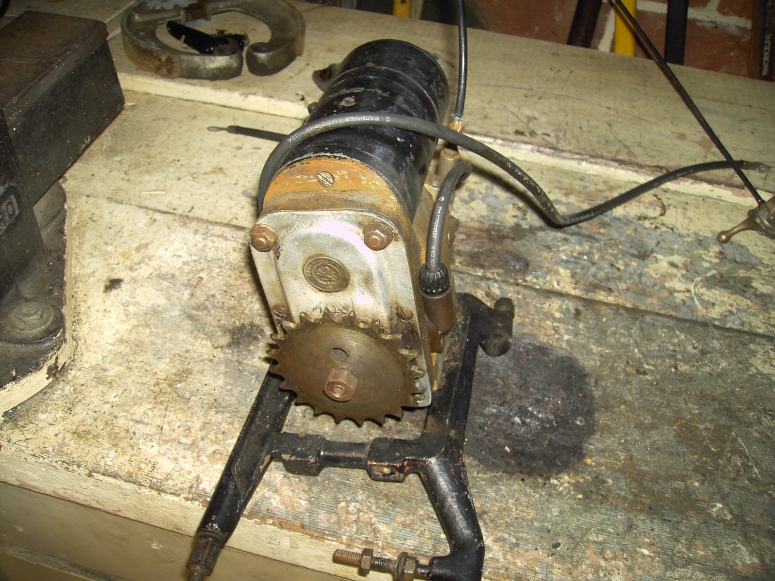
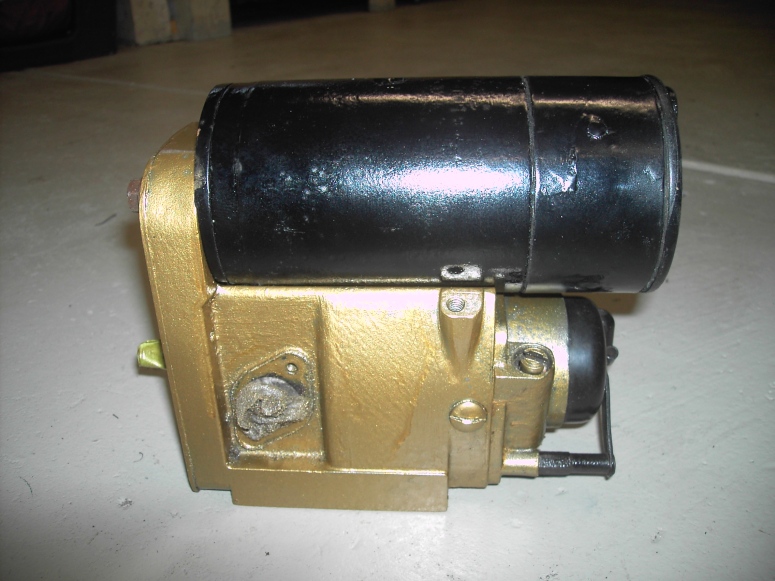

Mounted refurbished magneto.
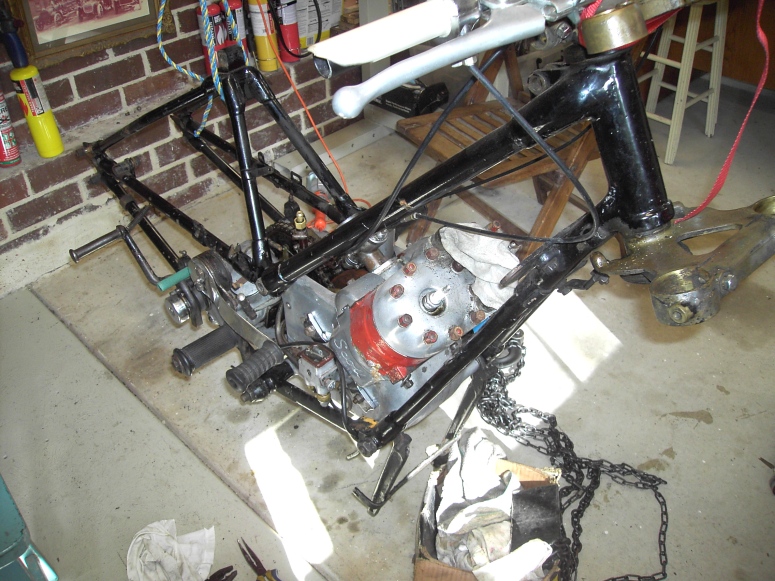
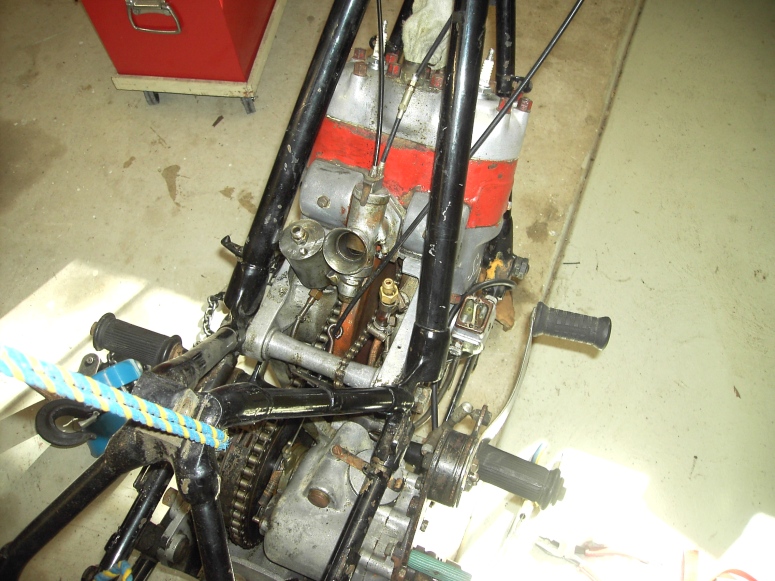
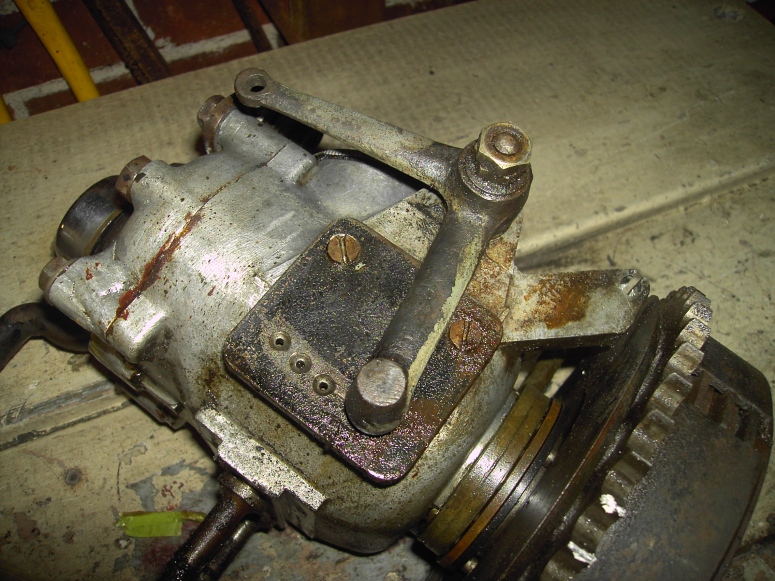
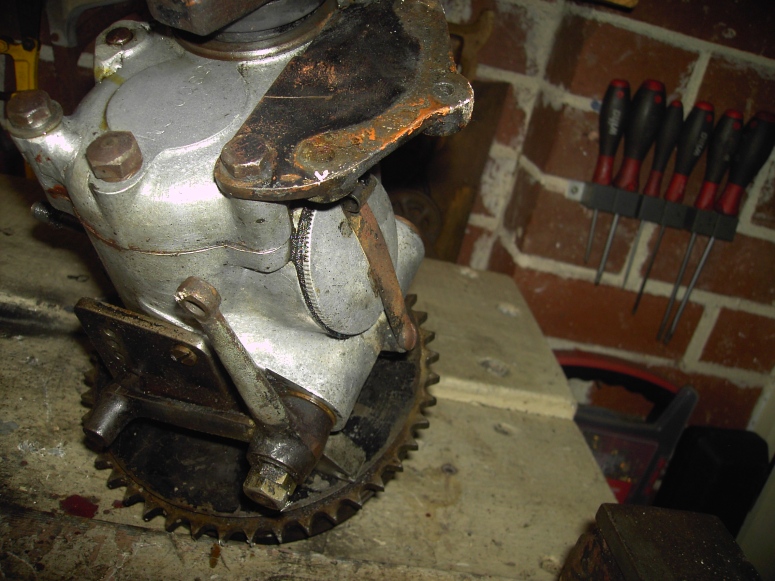
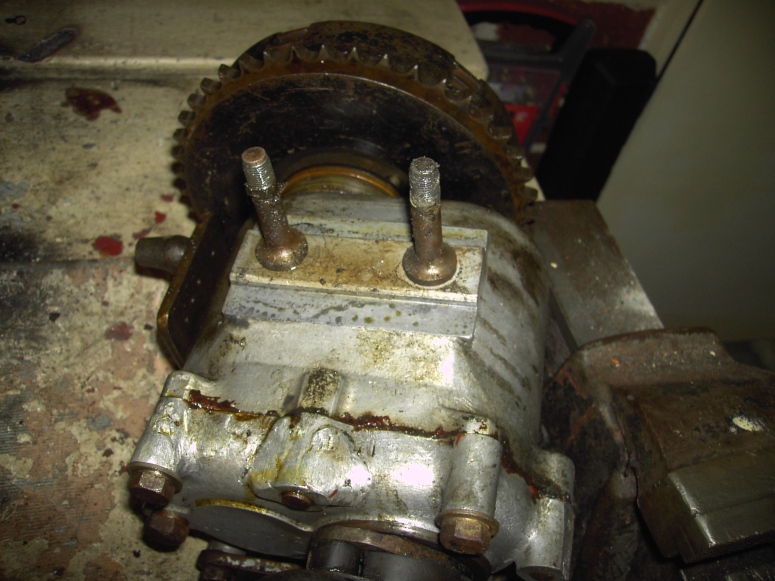
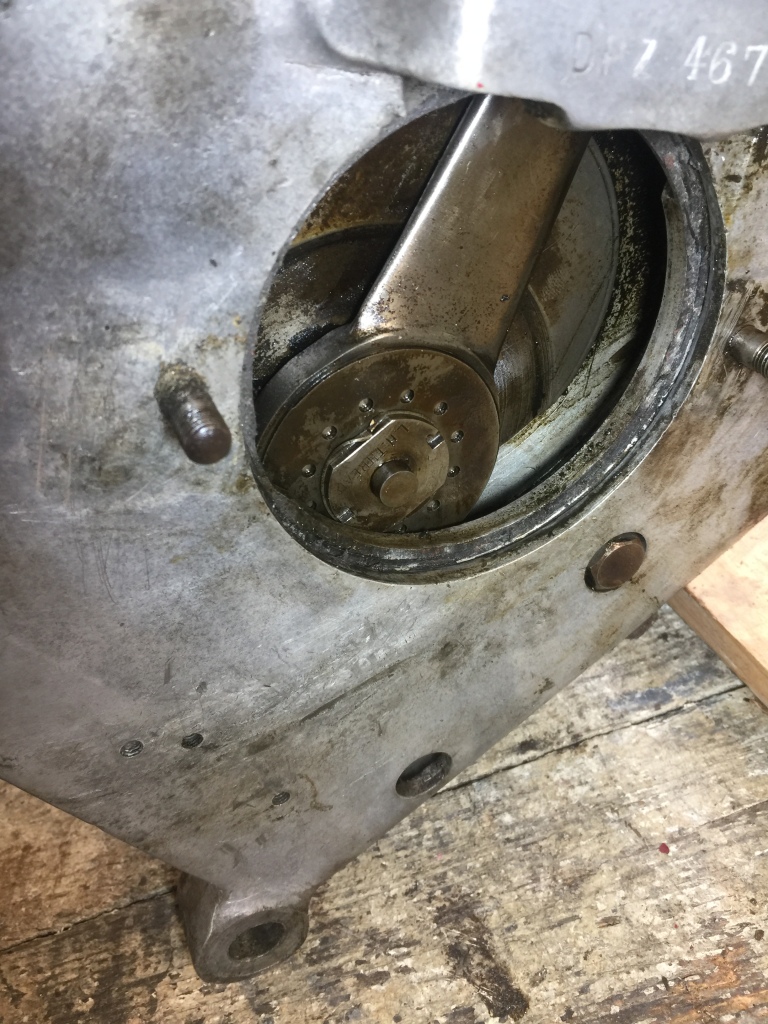
Engine and gear box removal

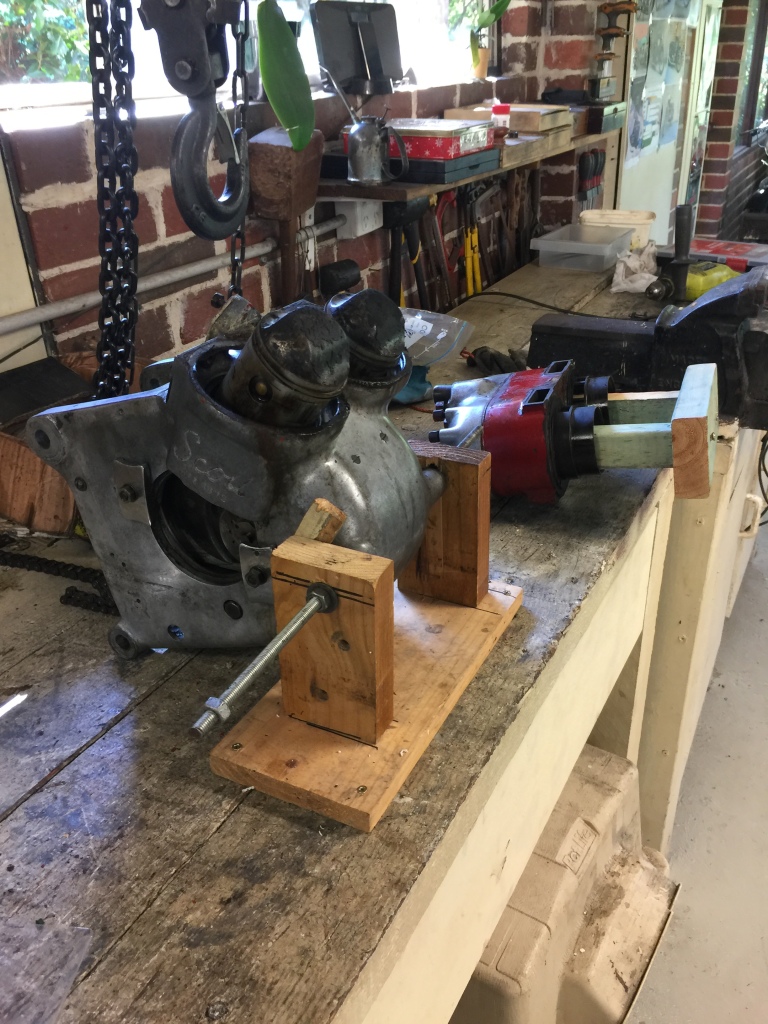
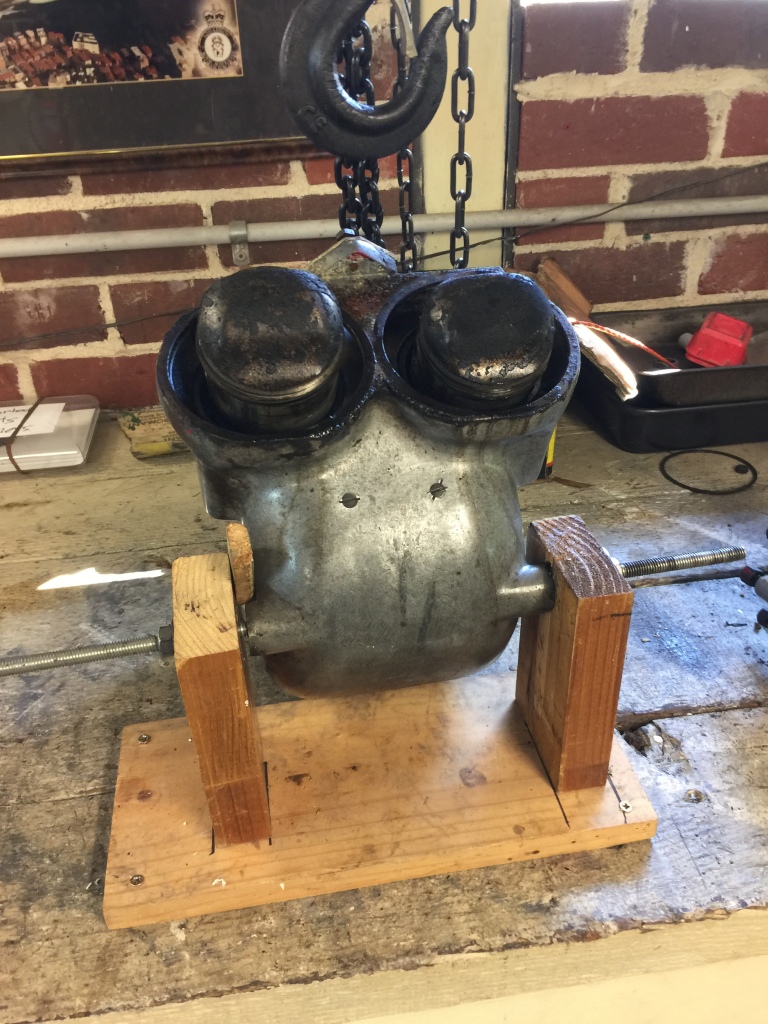
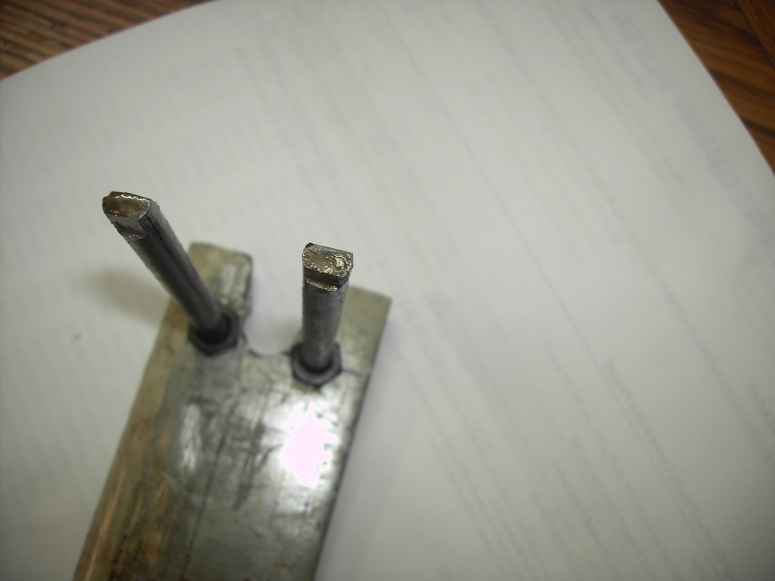
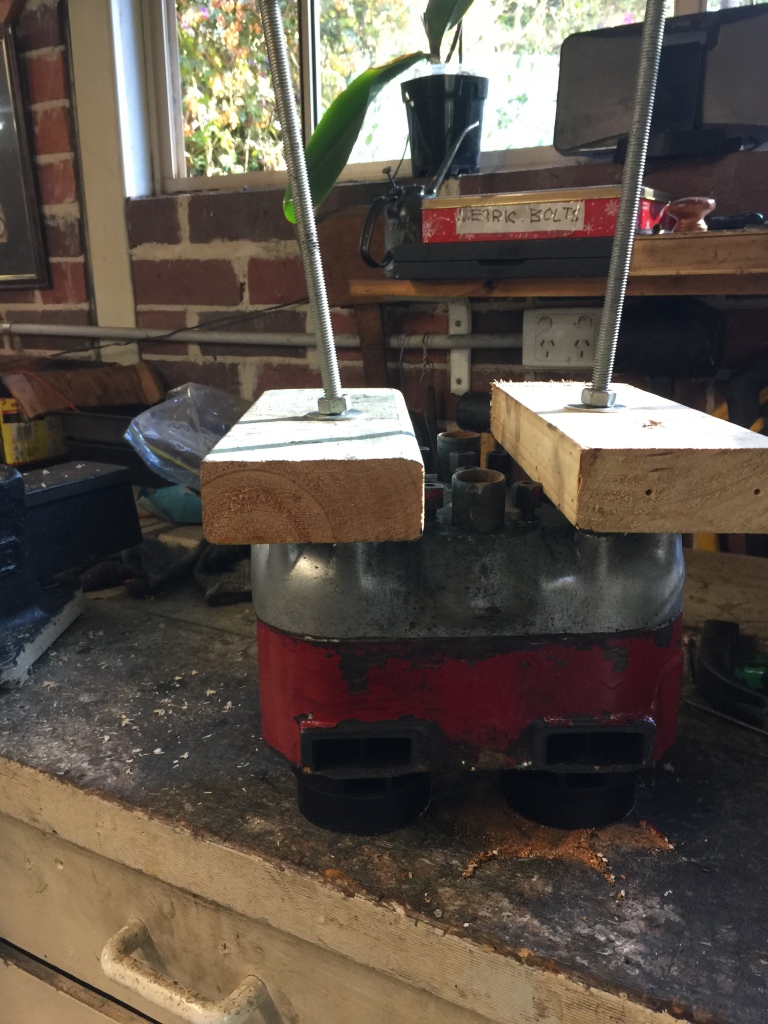
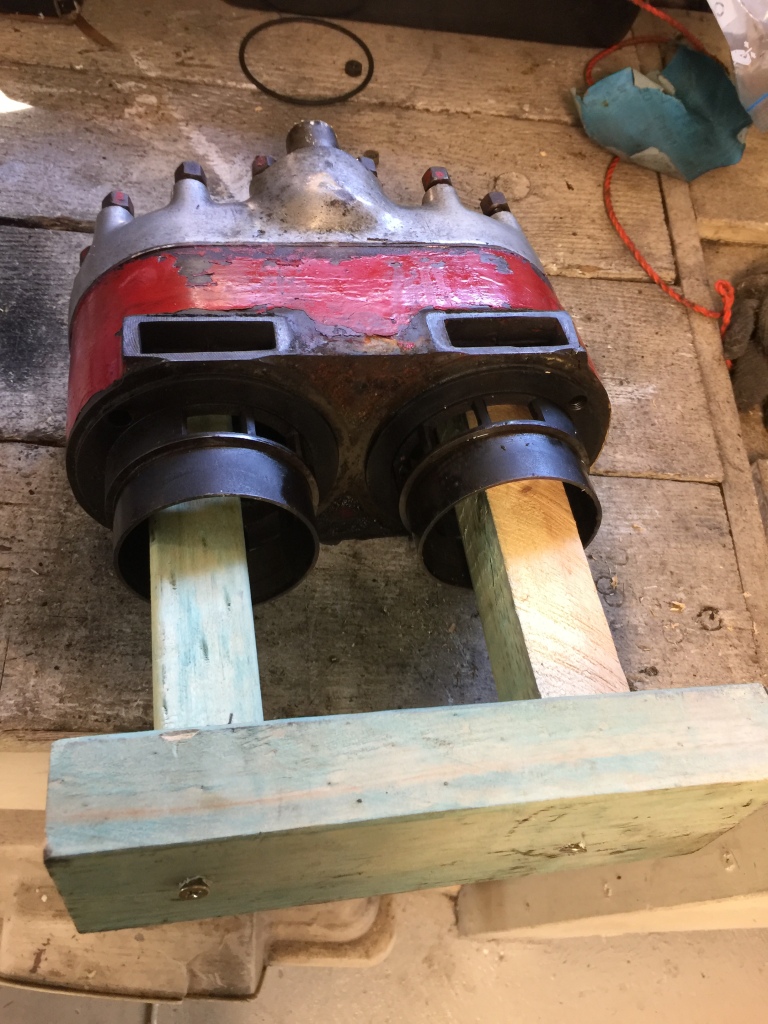
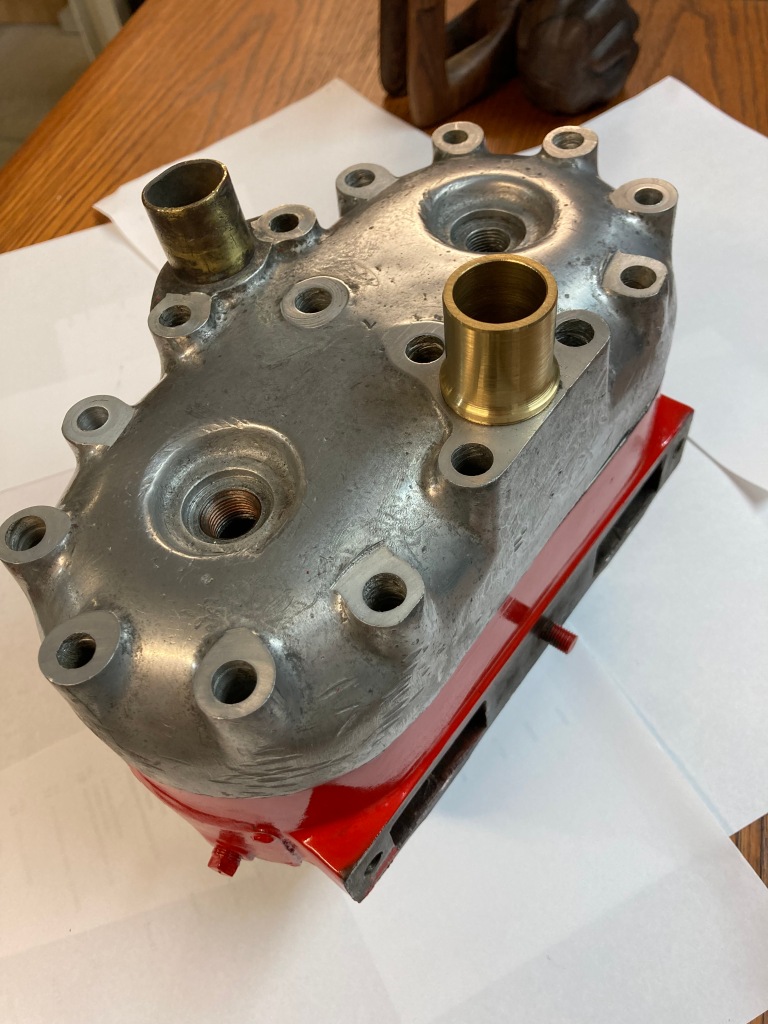
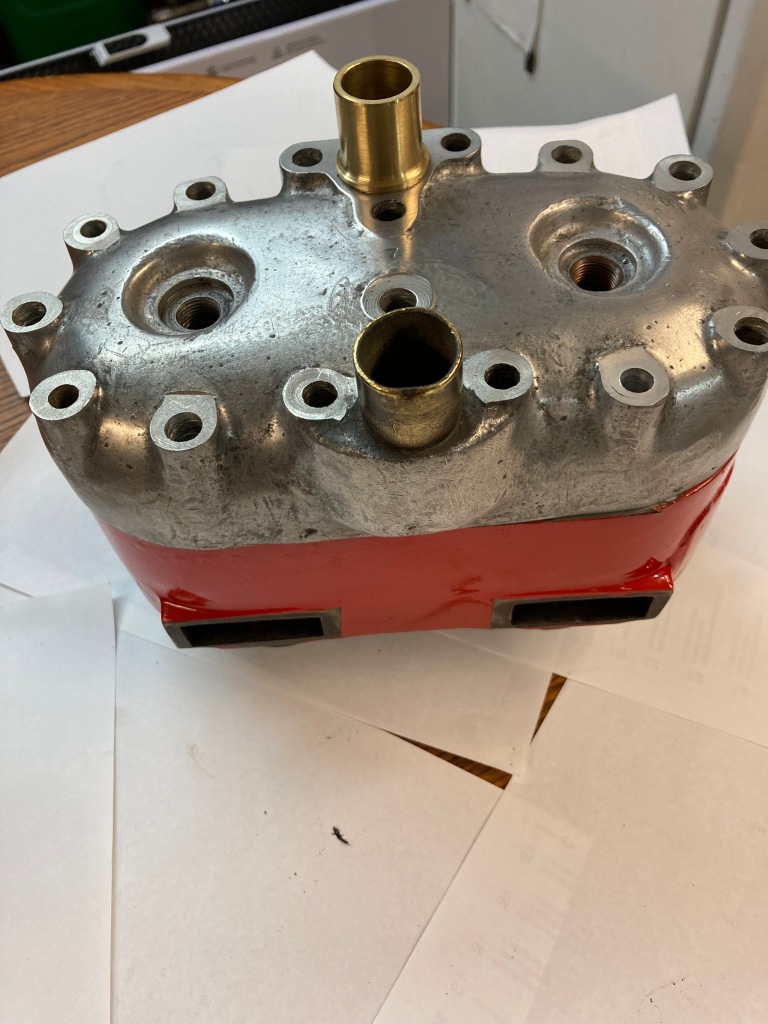
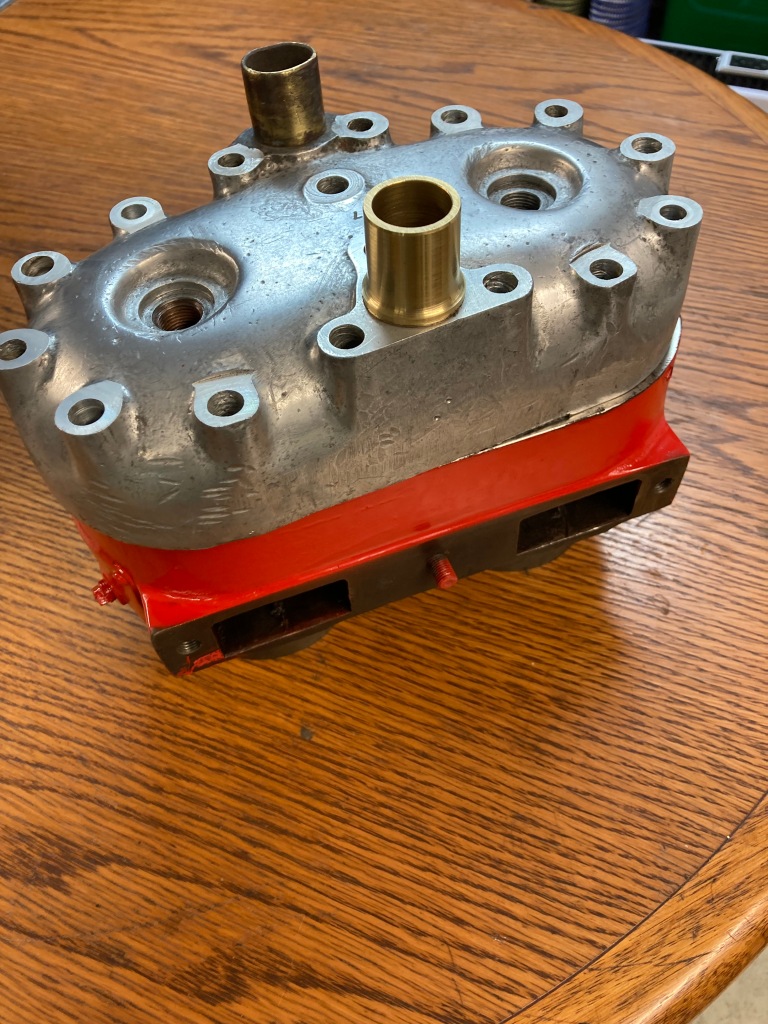
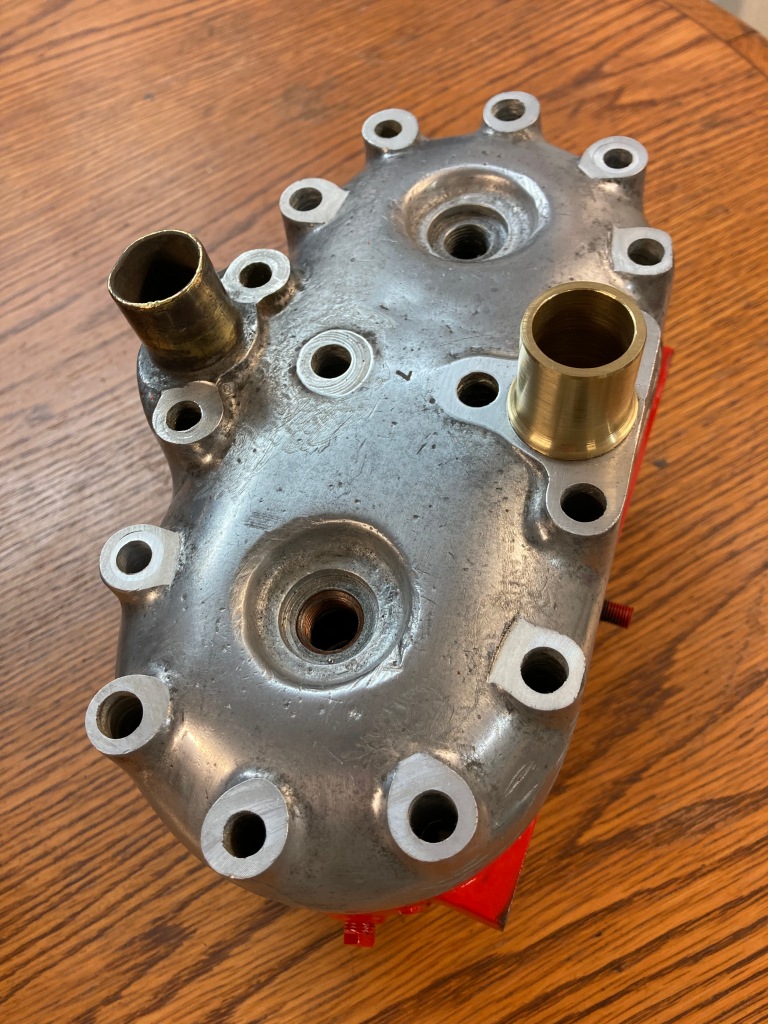
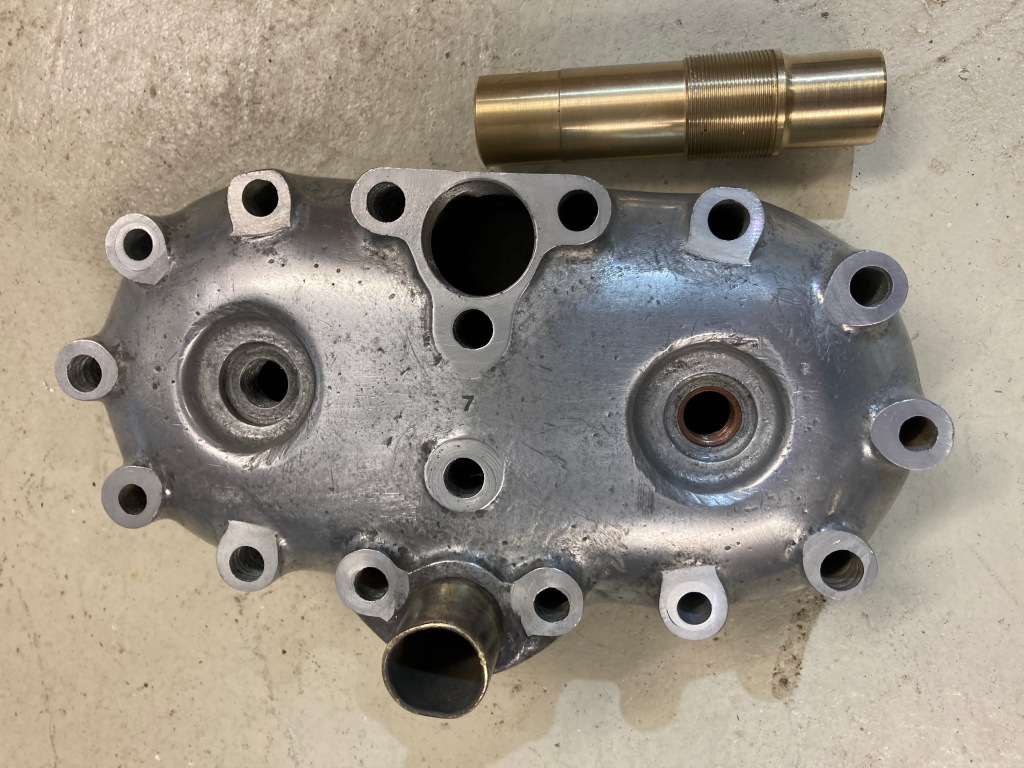
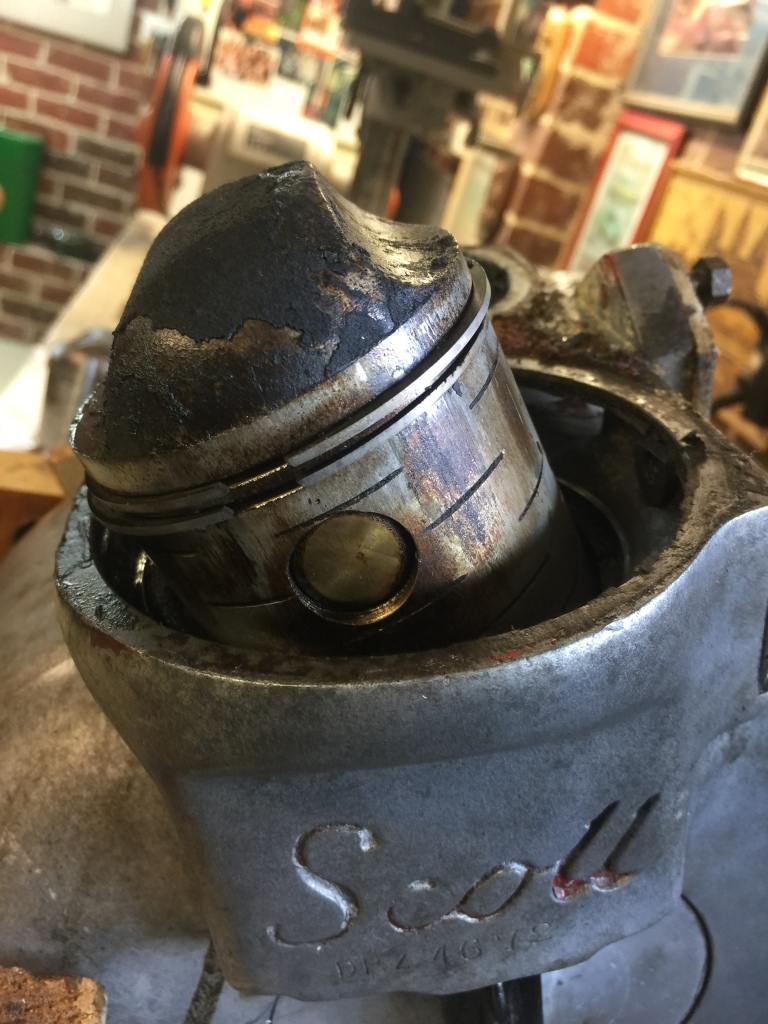
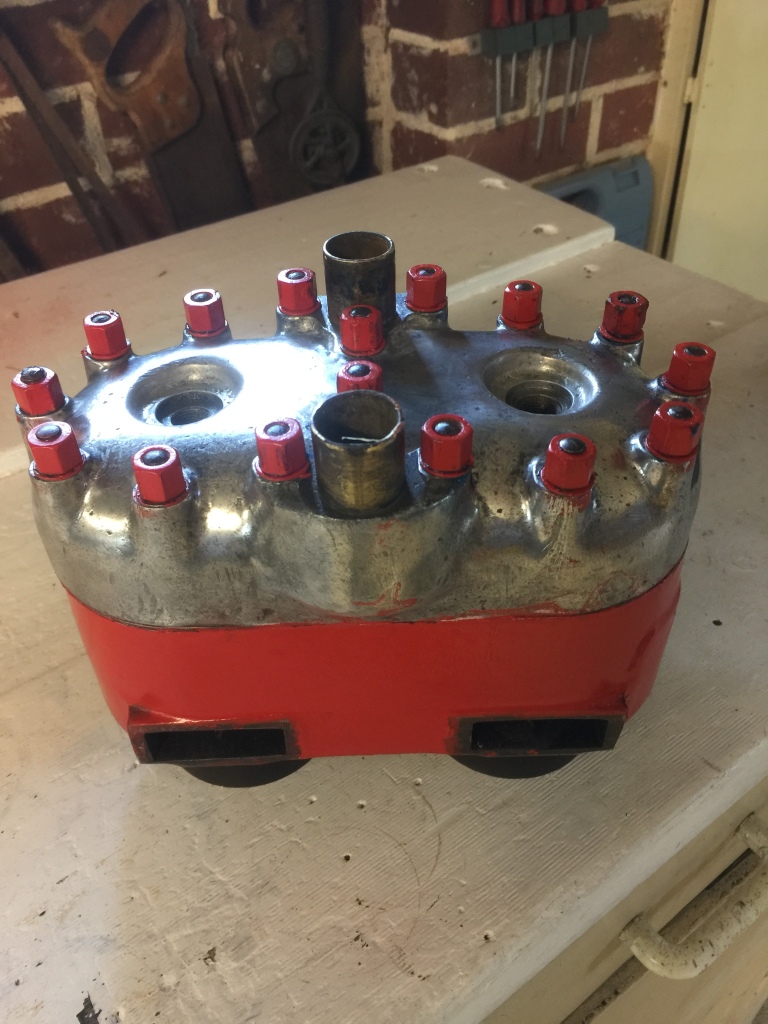
Head removal
Unable to separate head from block with jigs or brute force, read some forums and this is a common fault, decided not to try anymore.
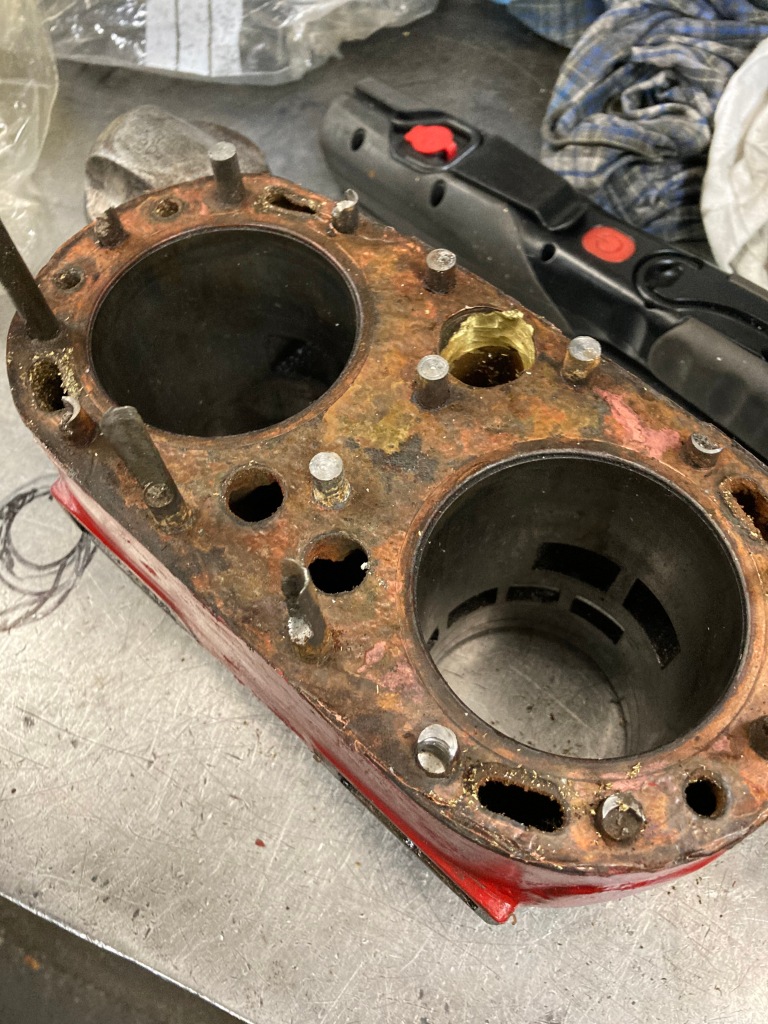

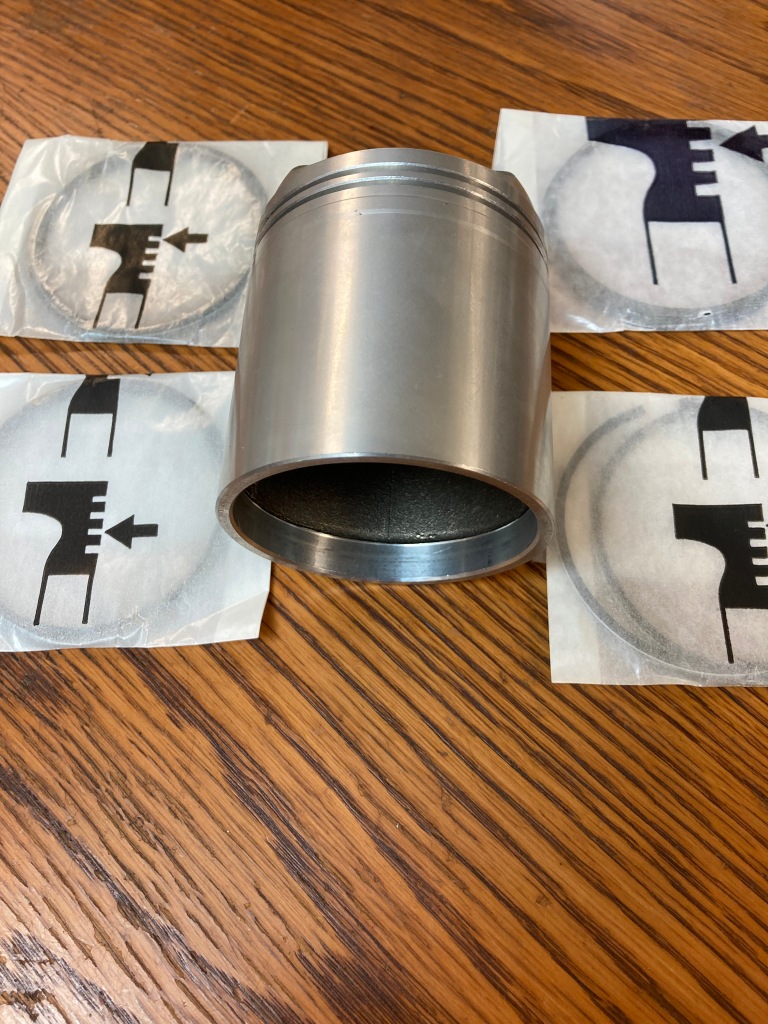
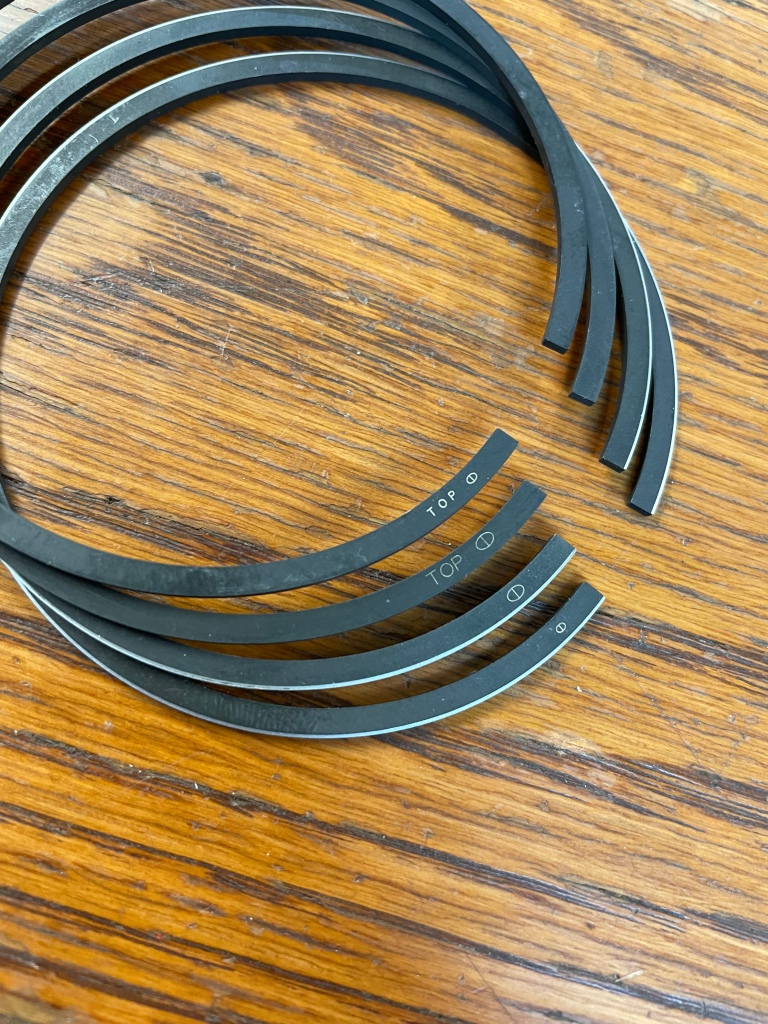
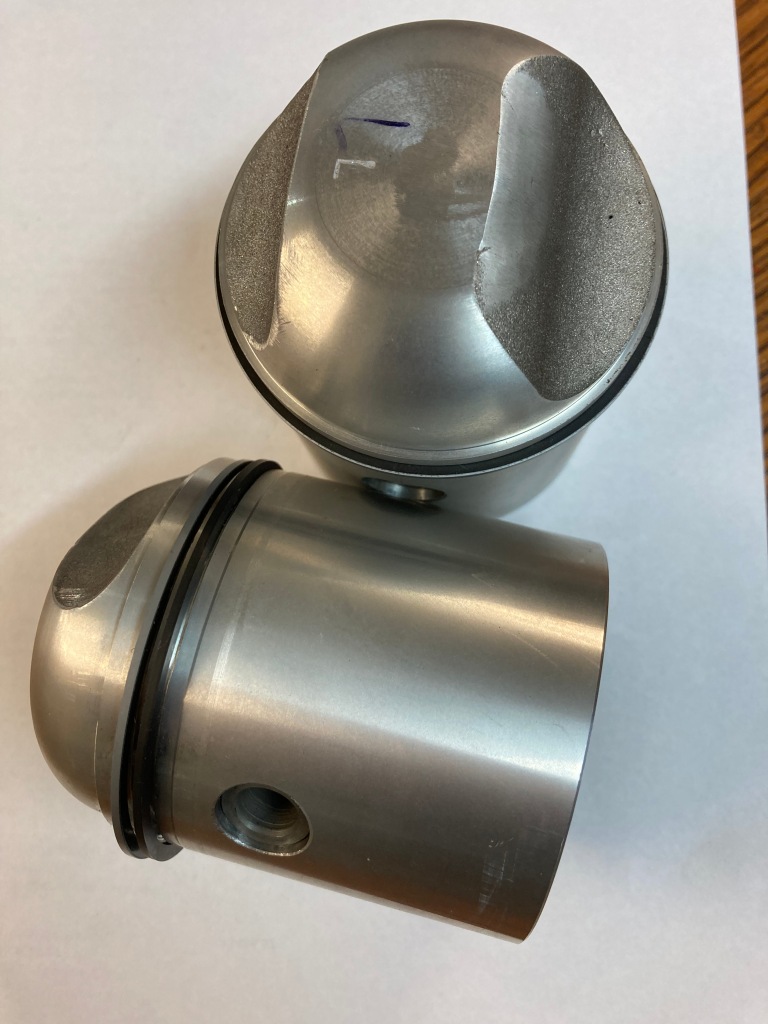
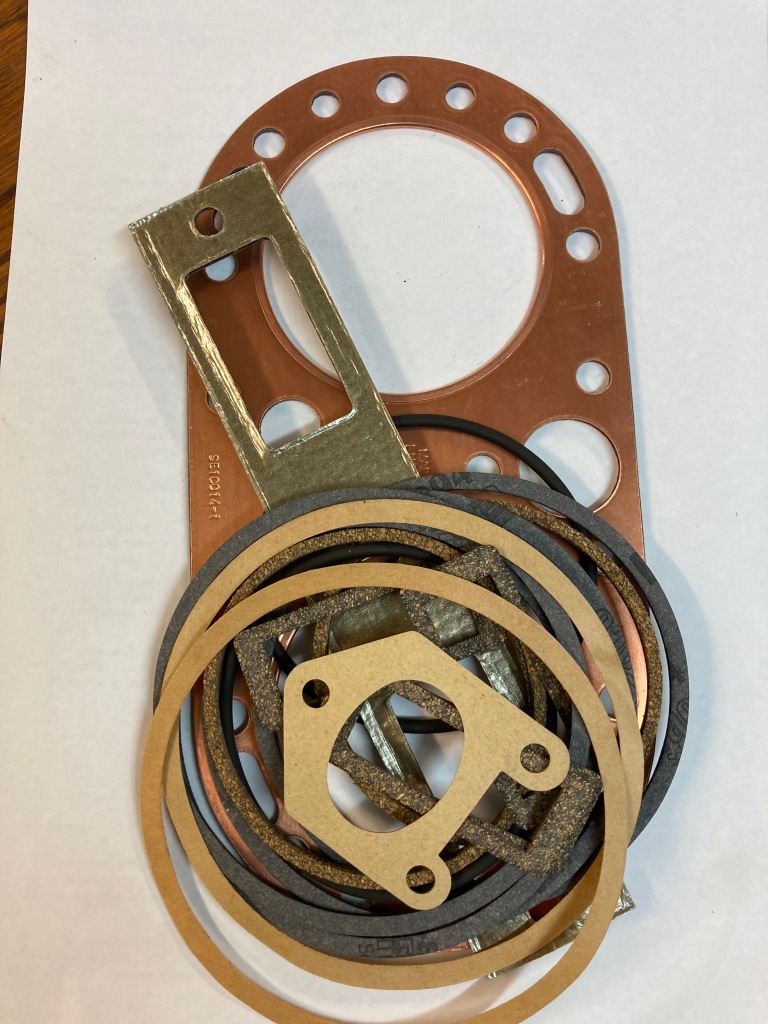
It was necessary to source new pistons, rings, gudgeons, circlips and a full gasket set. My source for these items are Scott Parts UK and eventually arrived (COVID obviouly caused delays

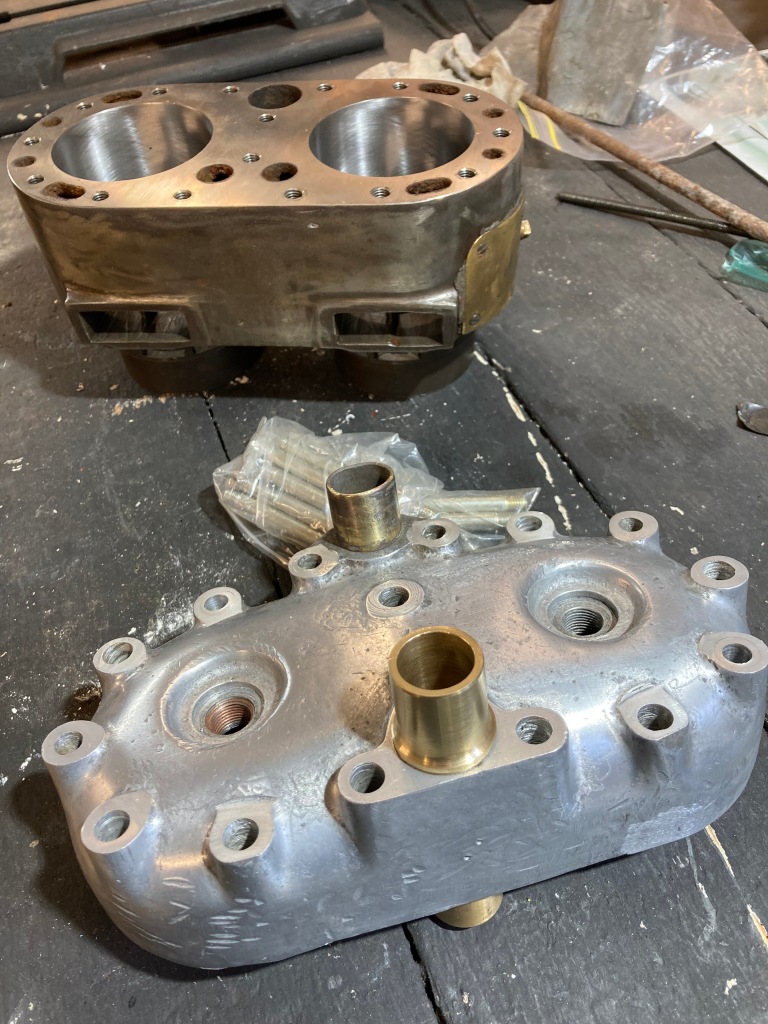
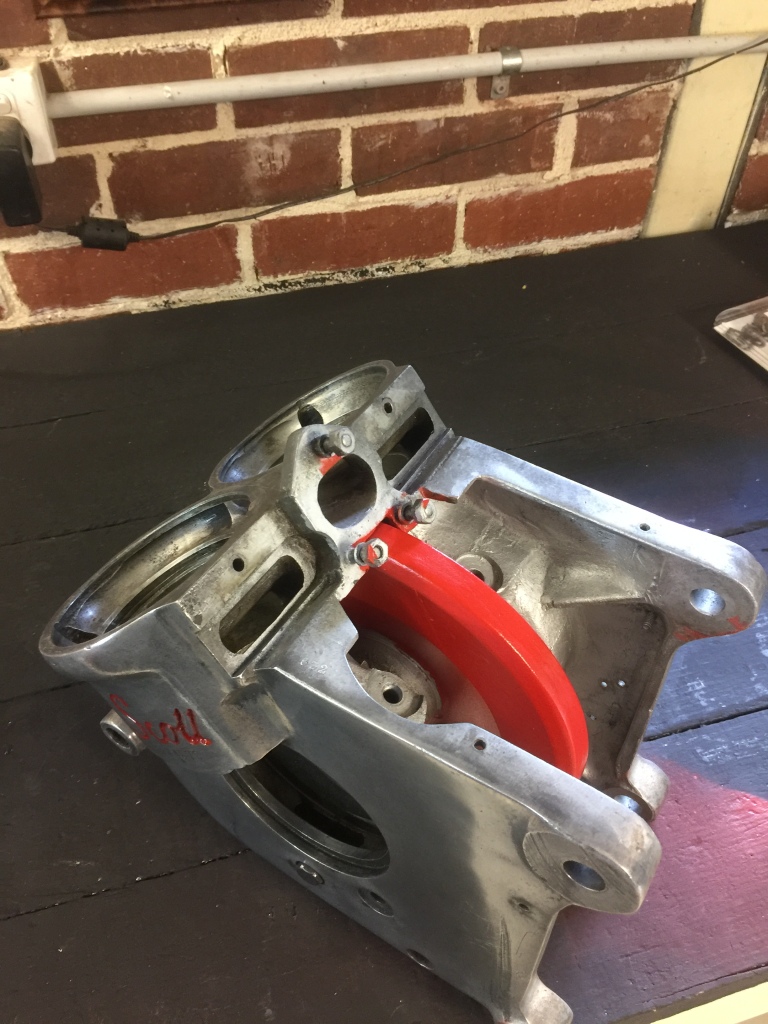
Engine assembly
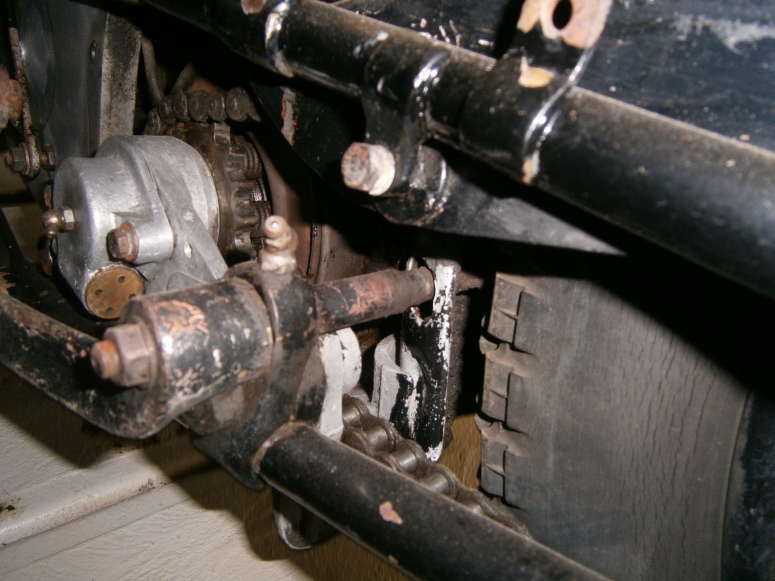
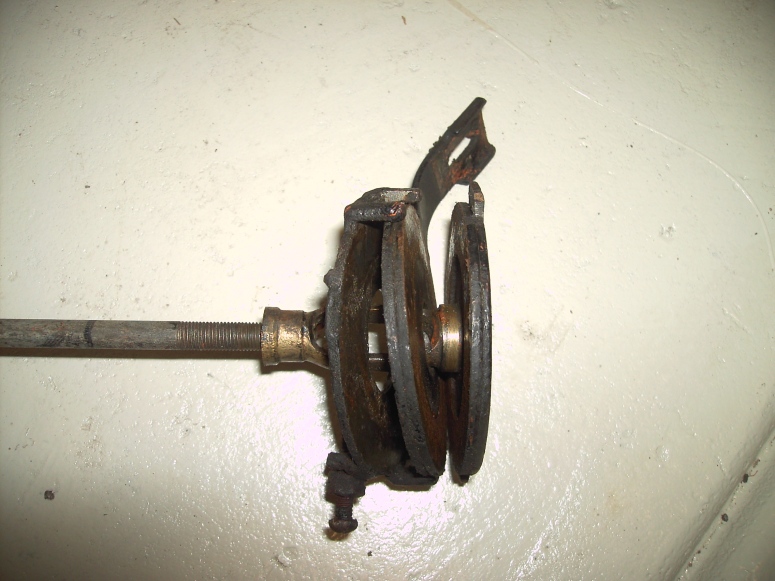
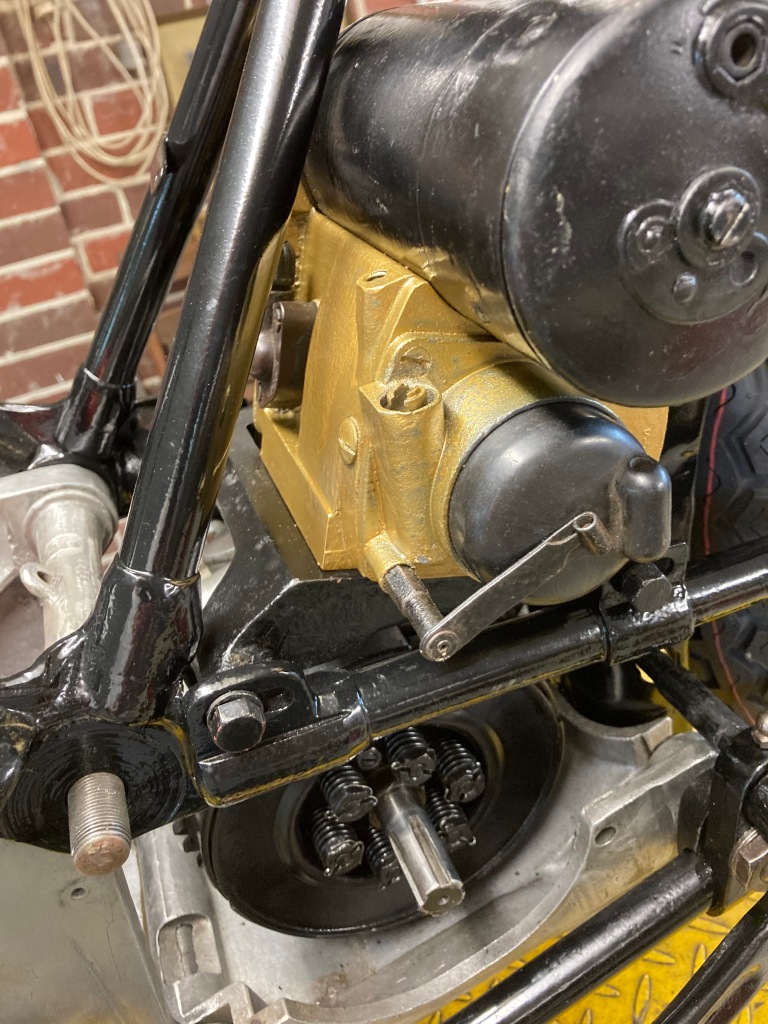
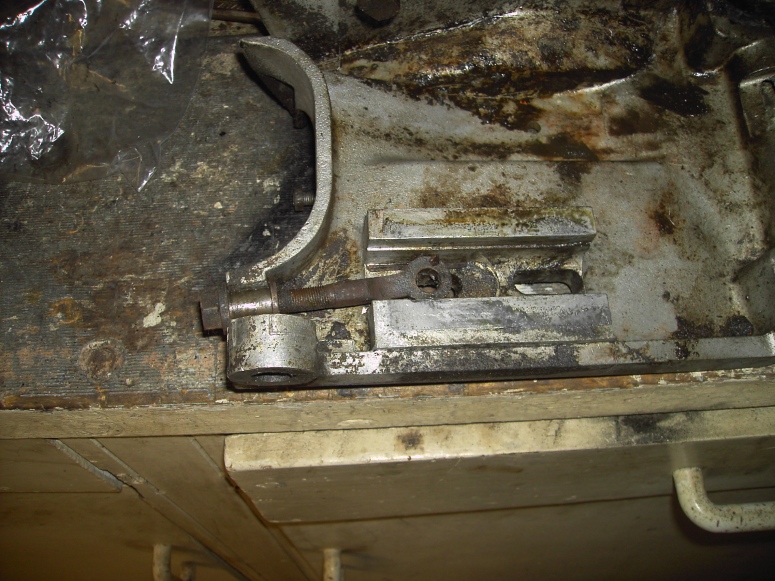
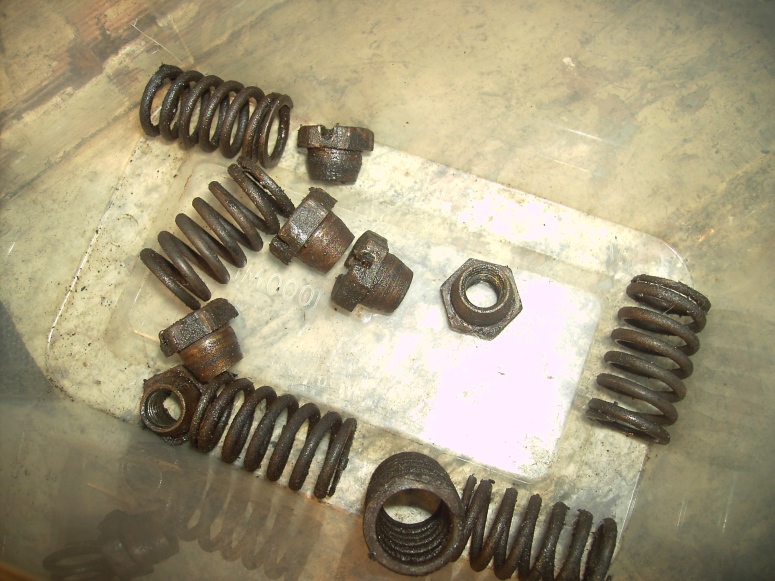
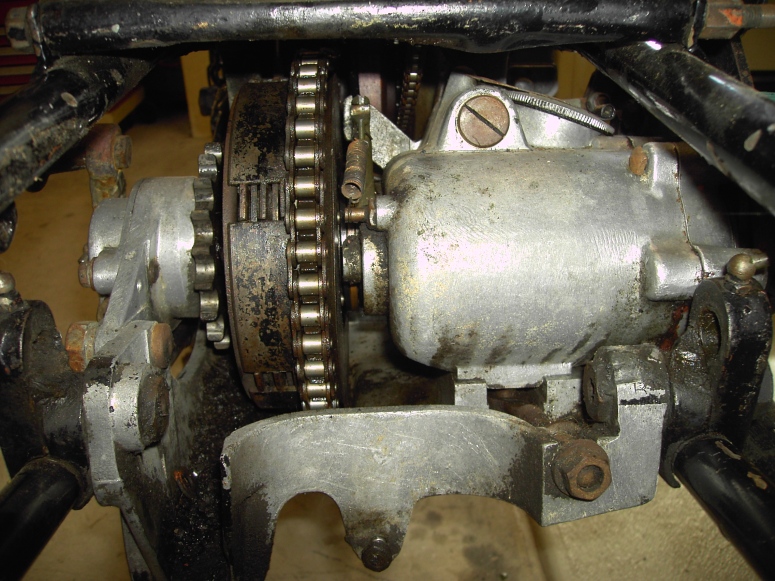
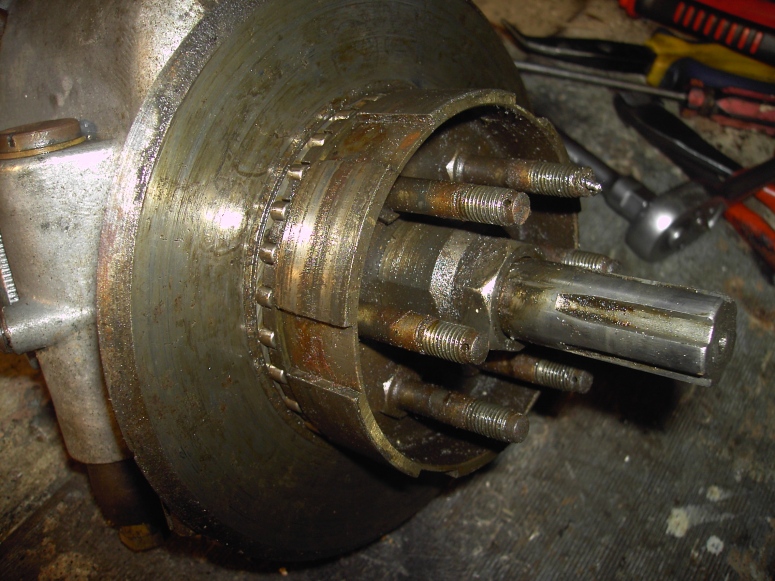
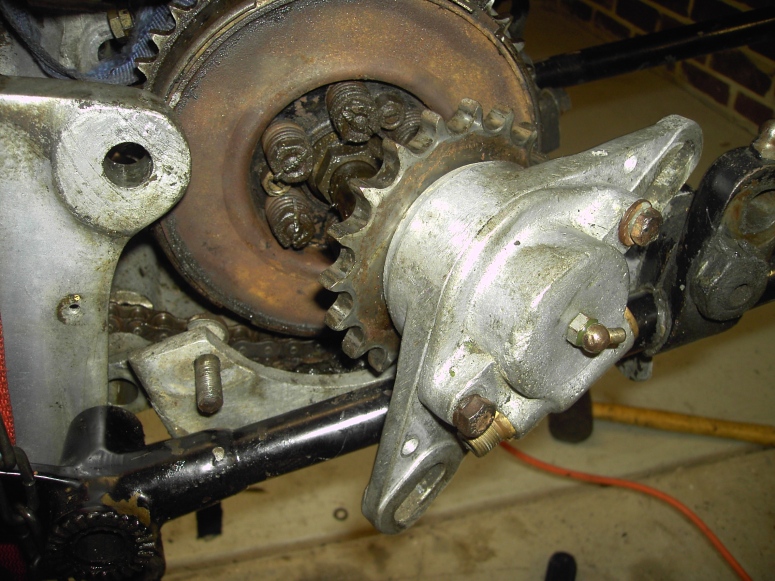
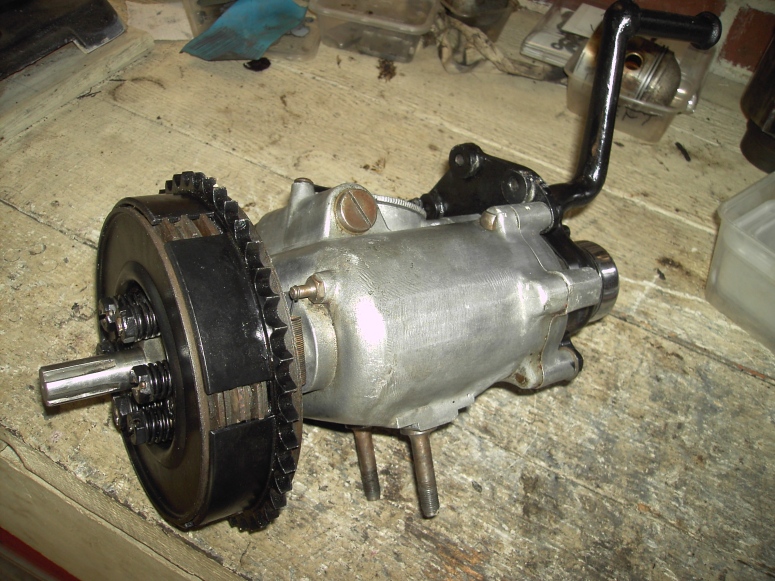
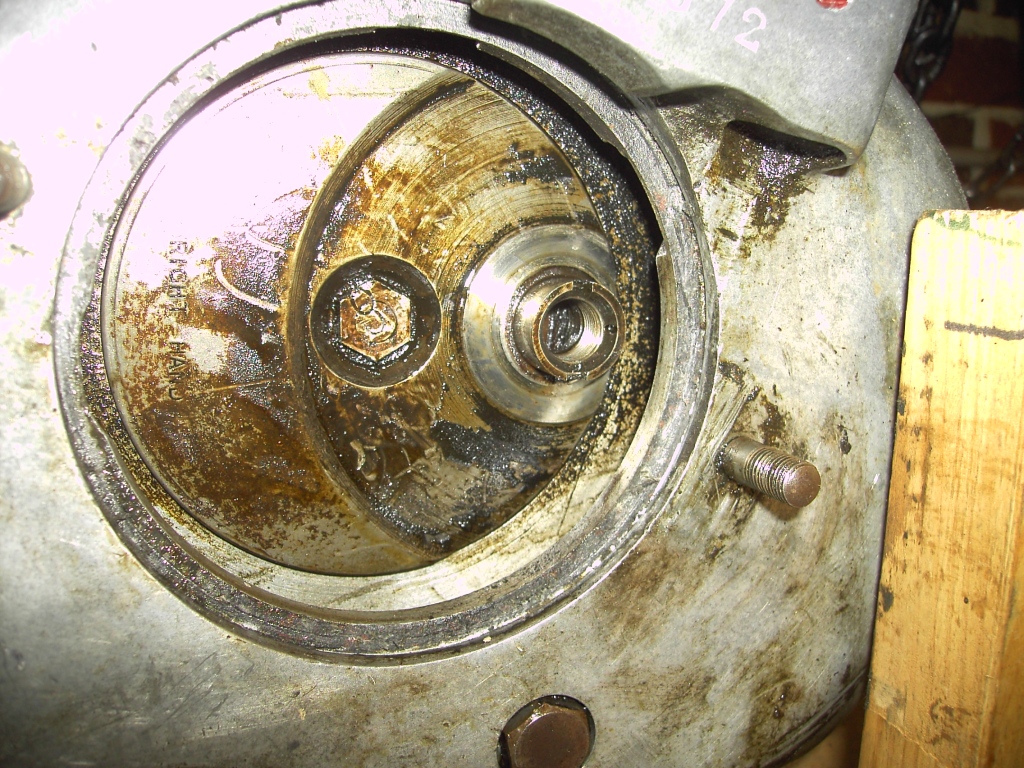
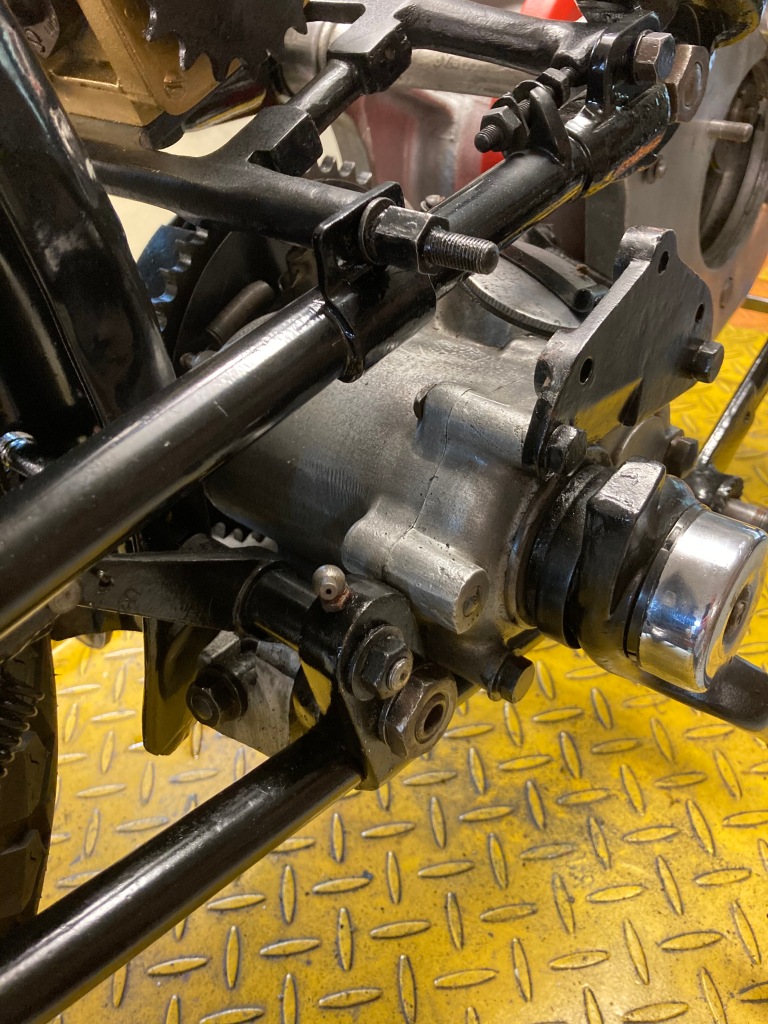
Gear box and clutch
The only trouble I found I was missing roller bearings (3/16") five on clutch primary drive, gear selection firm with no play and no damaged gears.

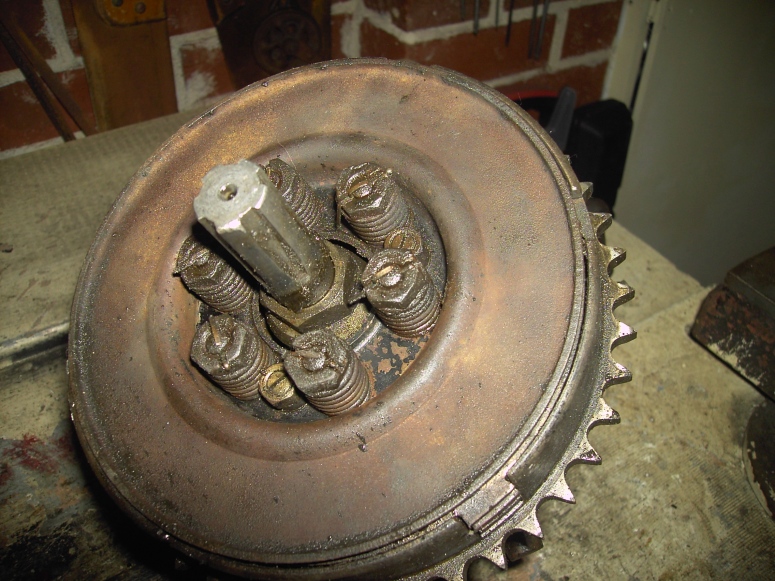


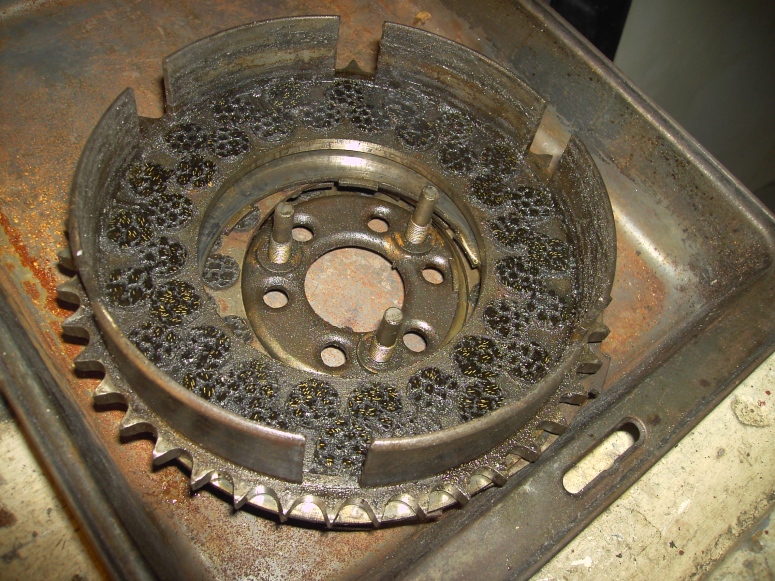
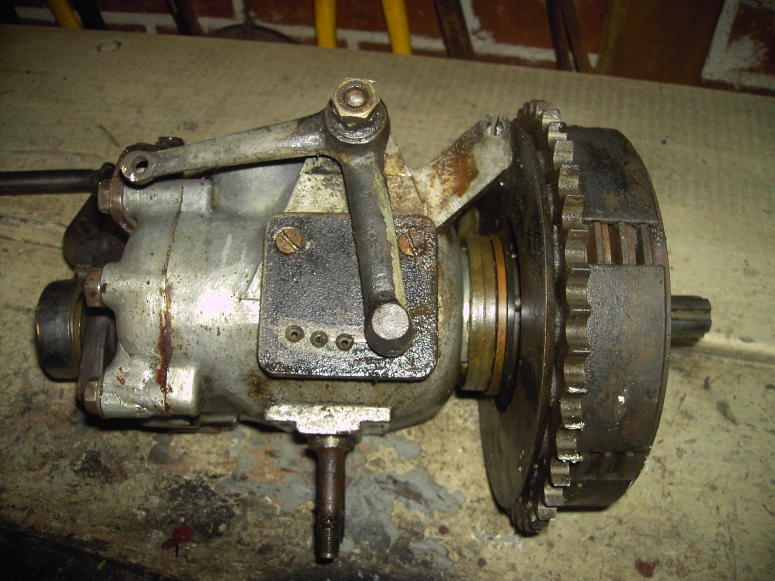
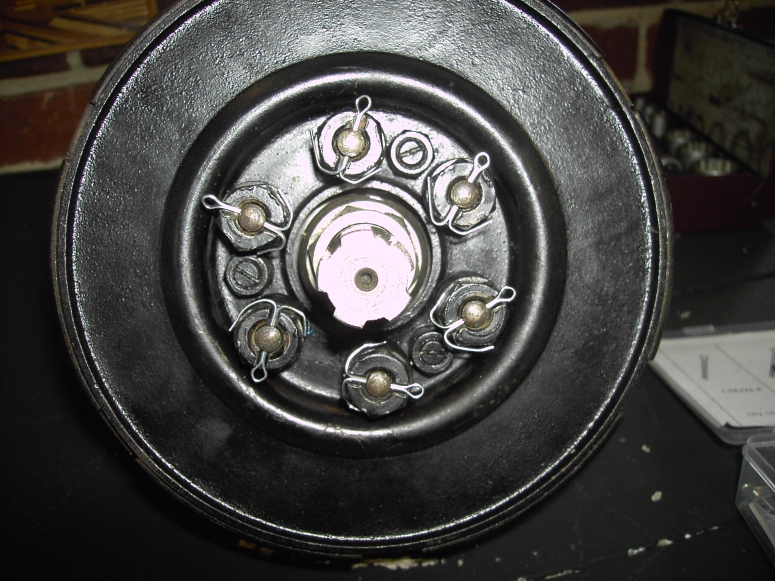
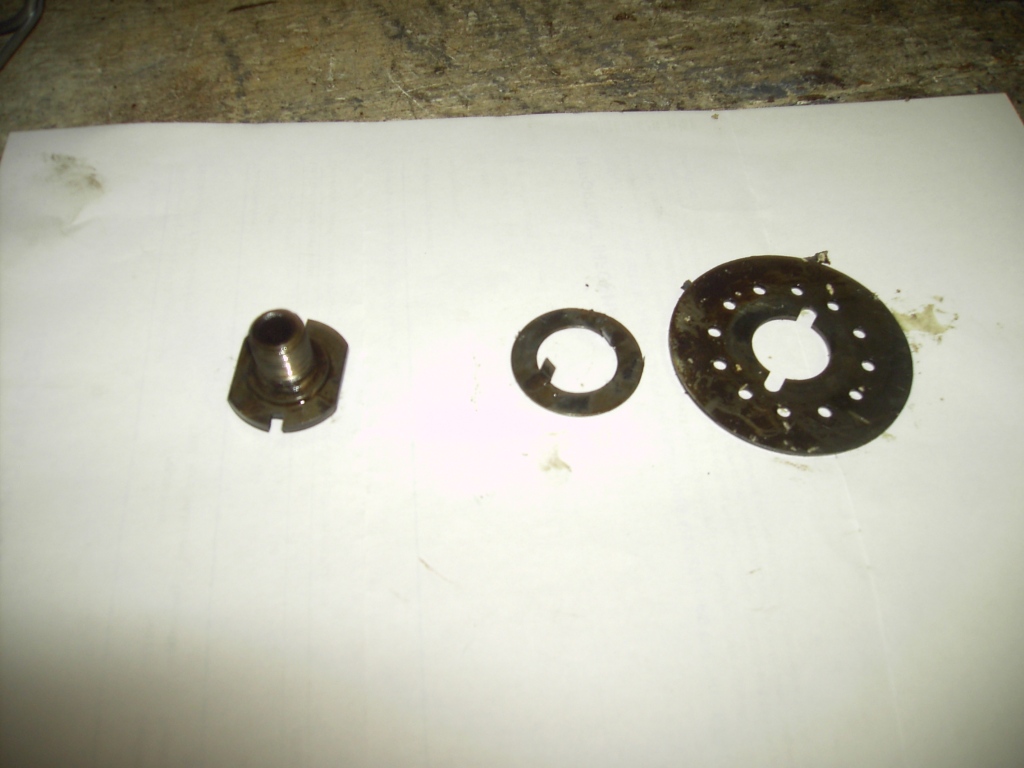
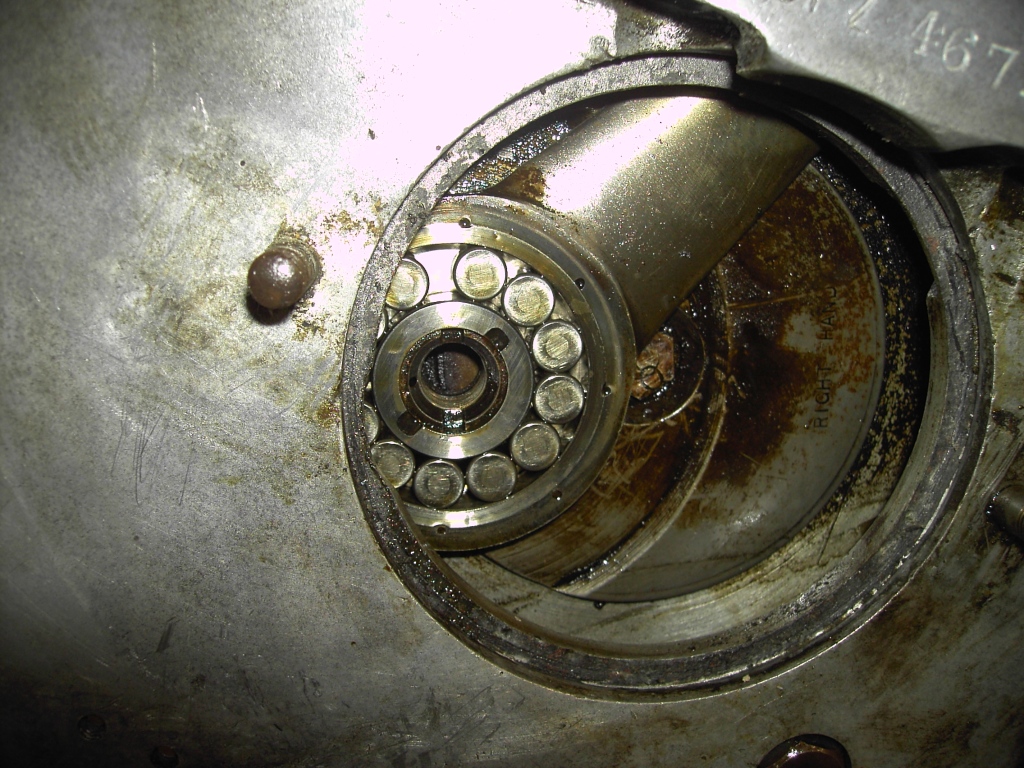
Refurbished gear box and clutch
Replaced roller bearings and cleaned components.


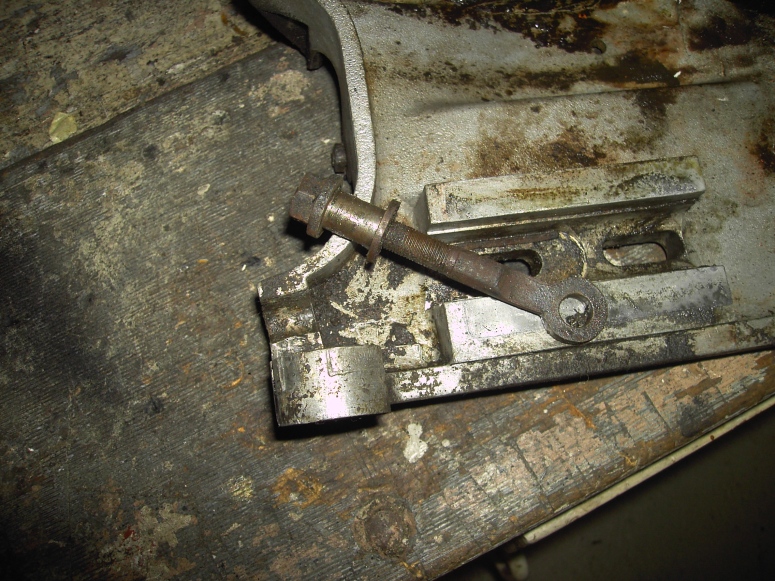
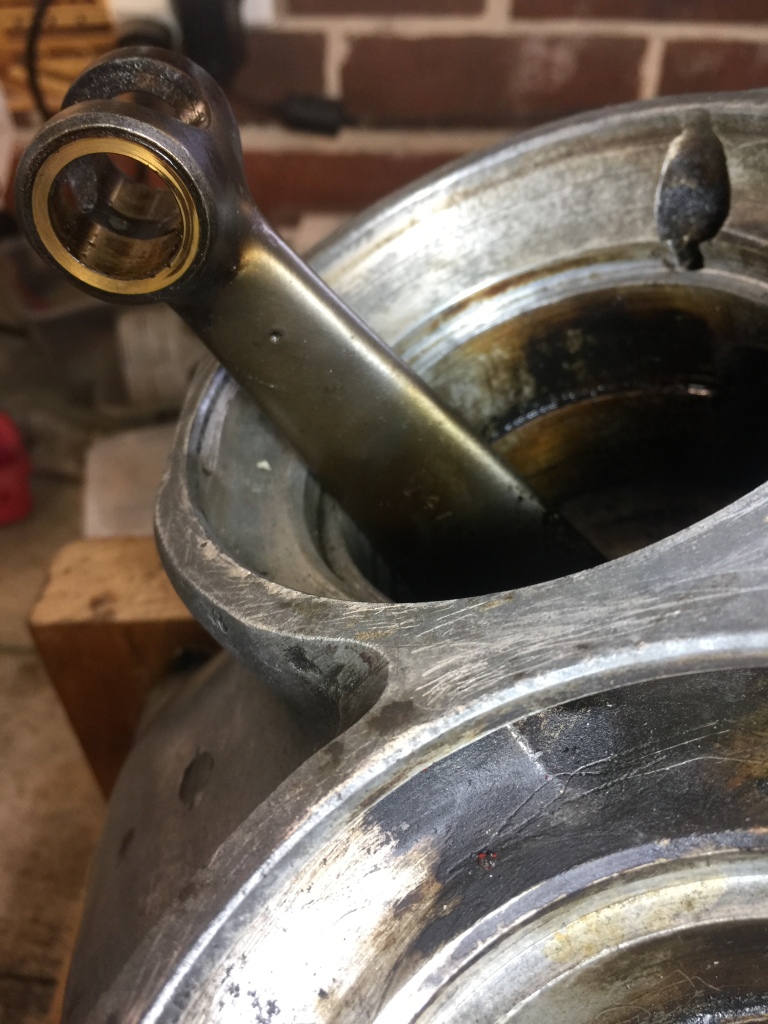
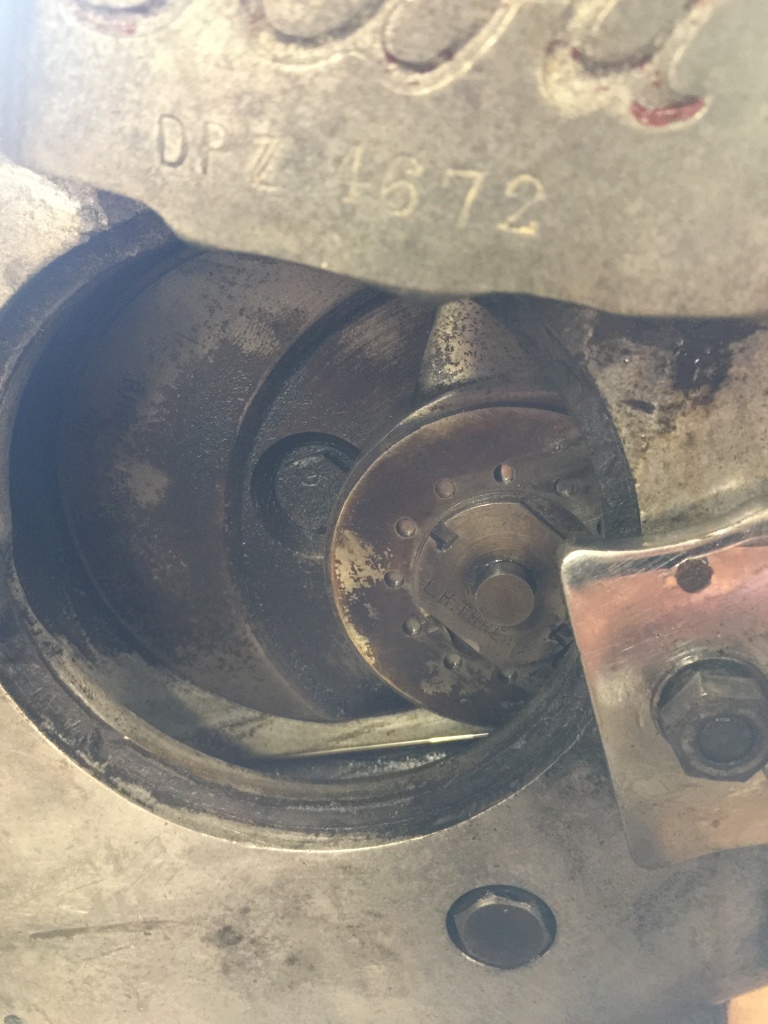
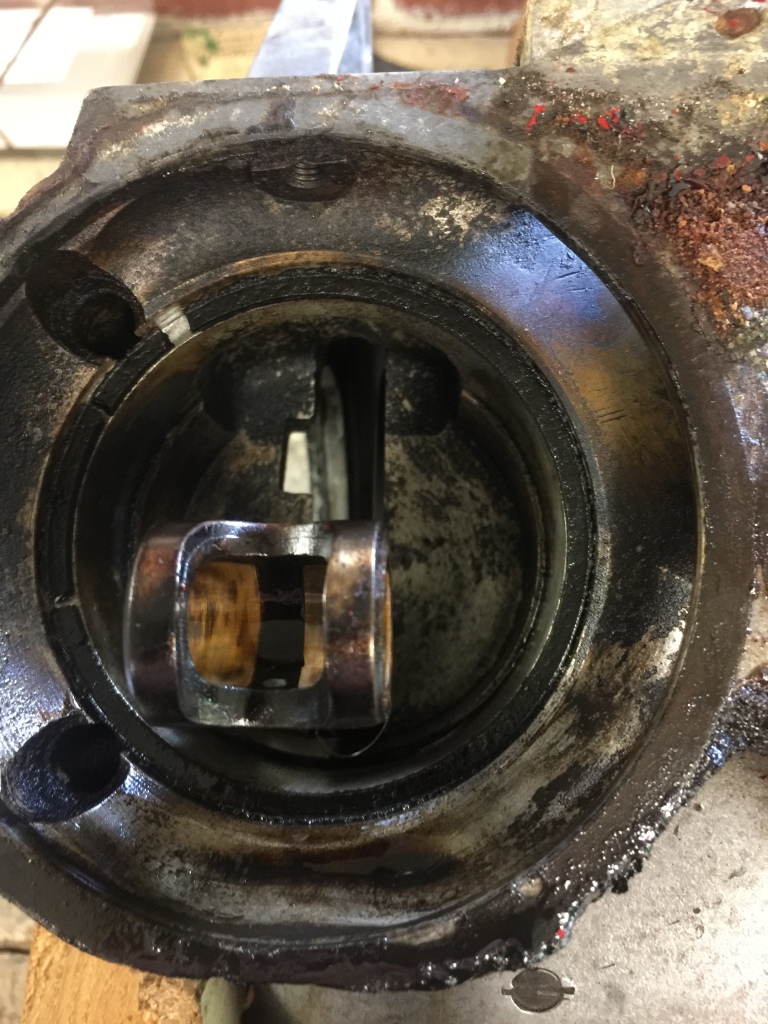
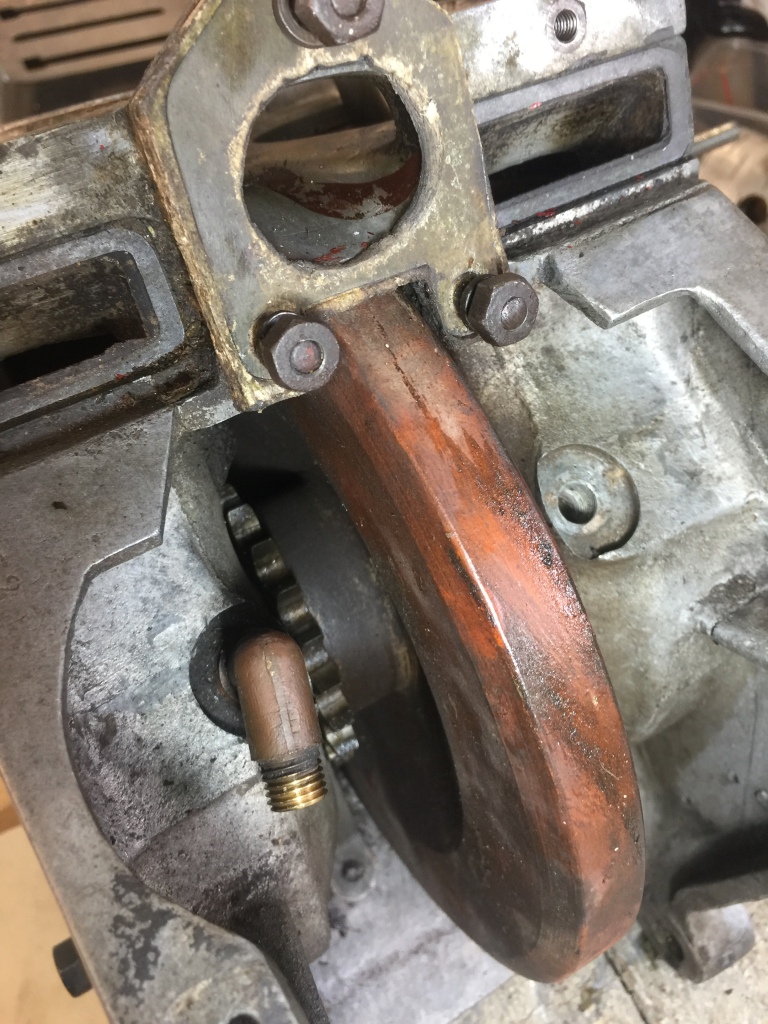
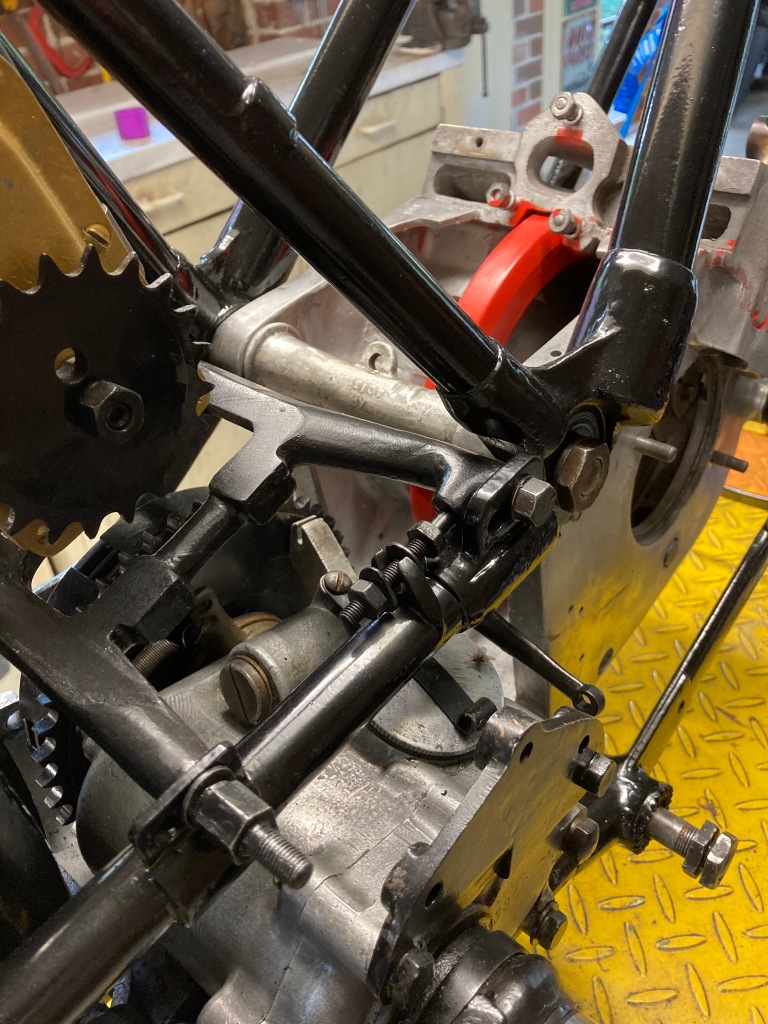
Removal of con rods


Commenced reassembly
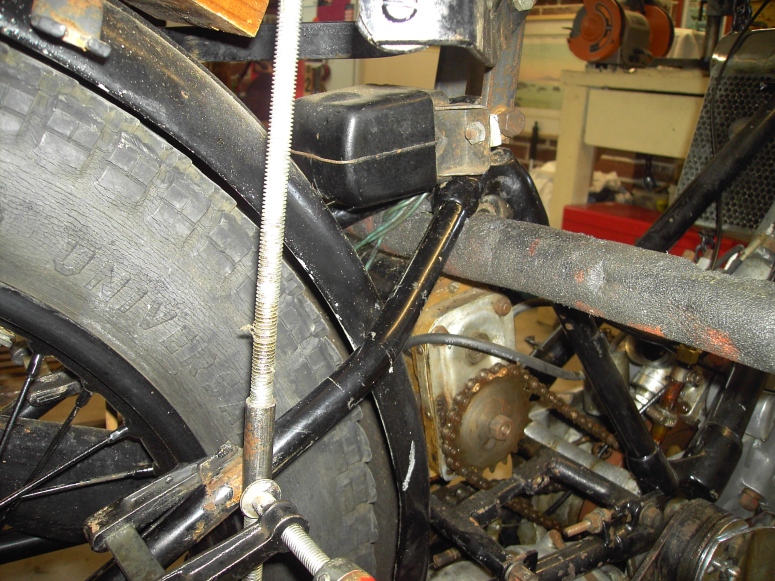
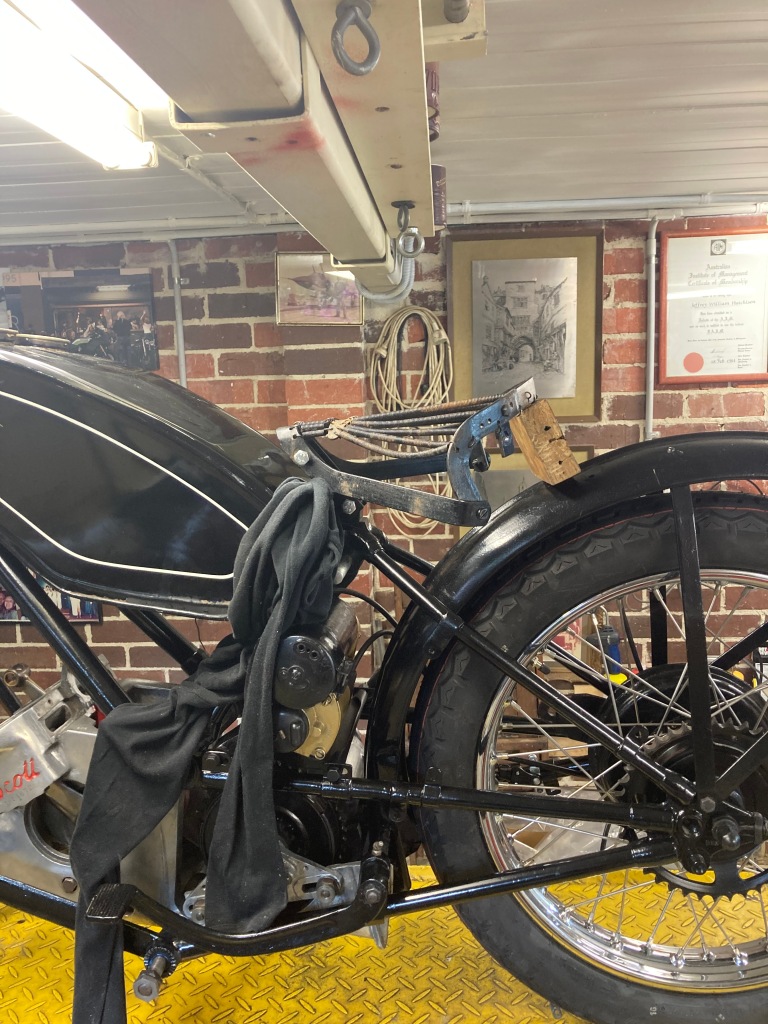
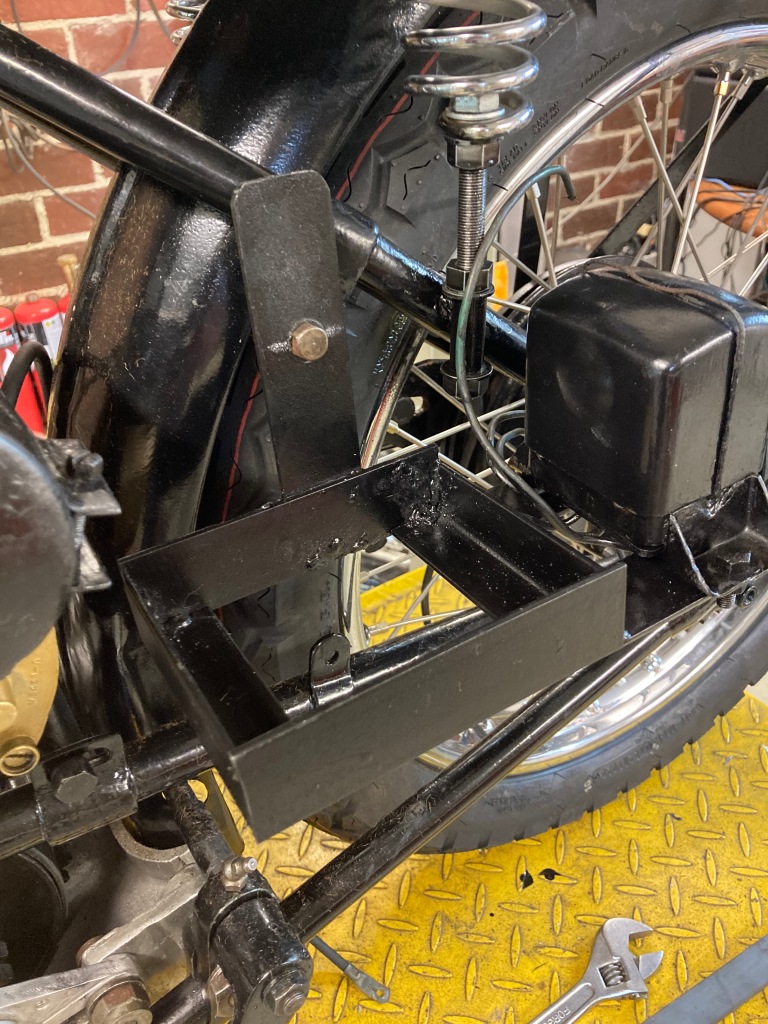
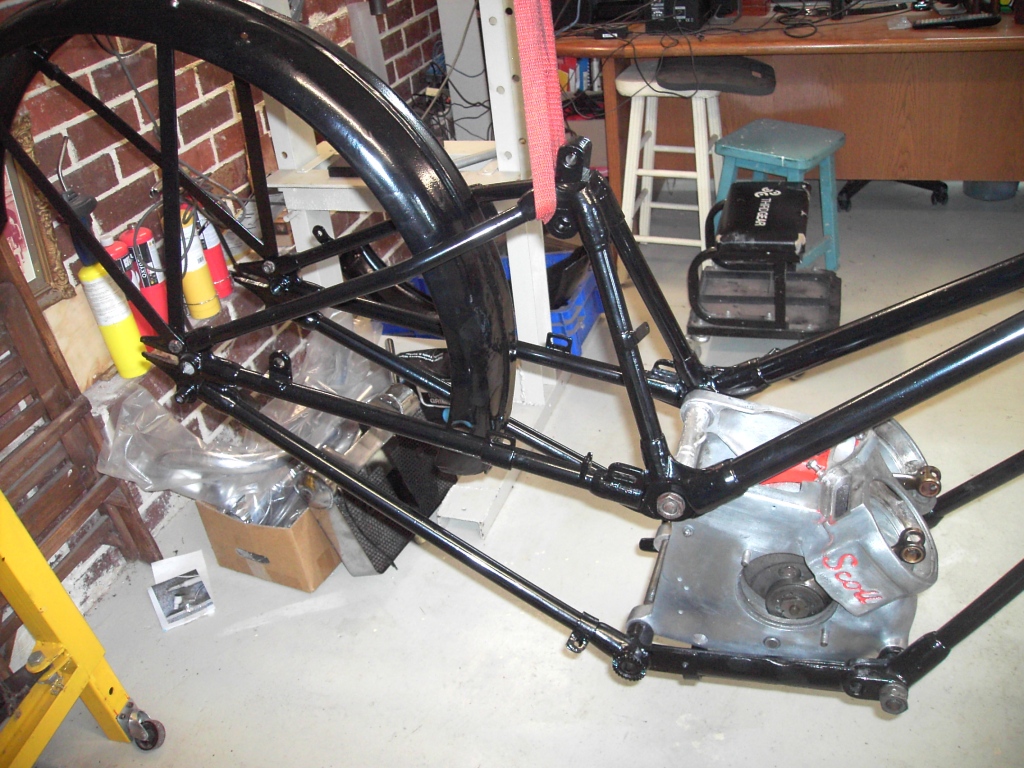
Rigged frame to start the rebuild with engine assembly first followed by the gearbox and back guard.
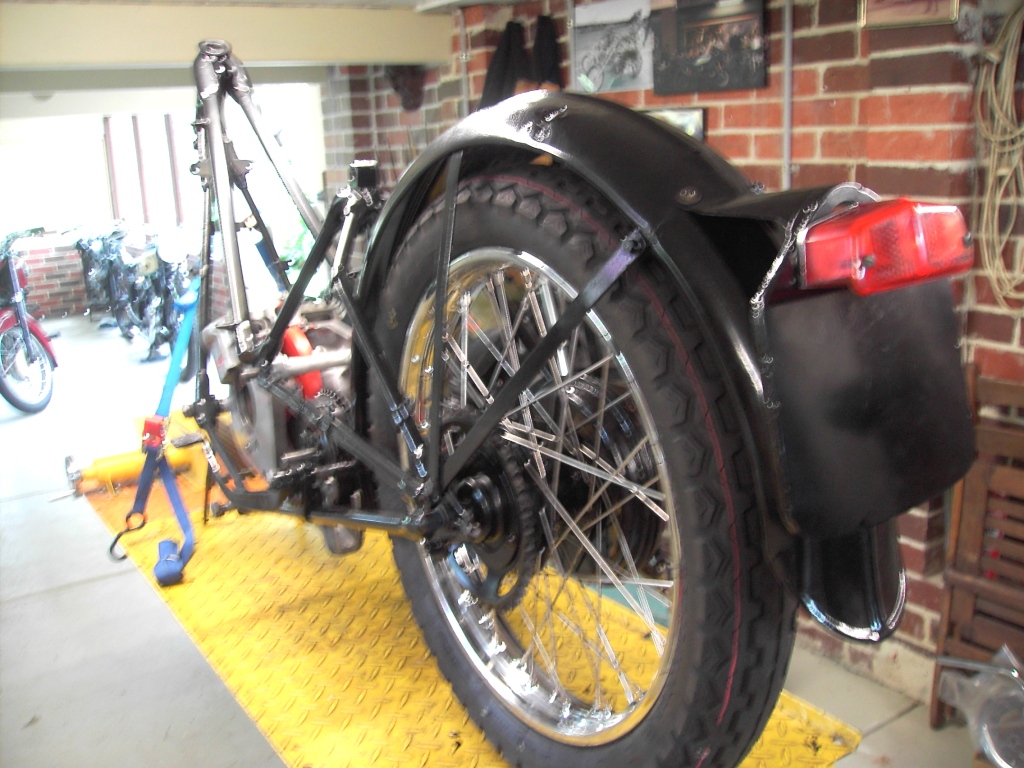
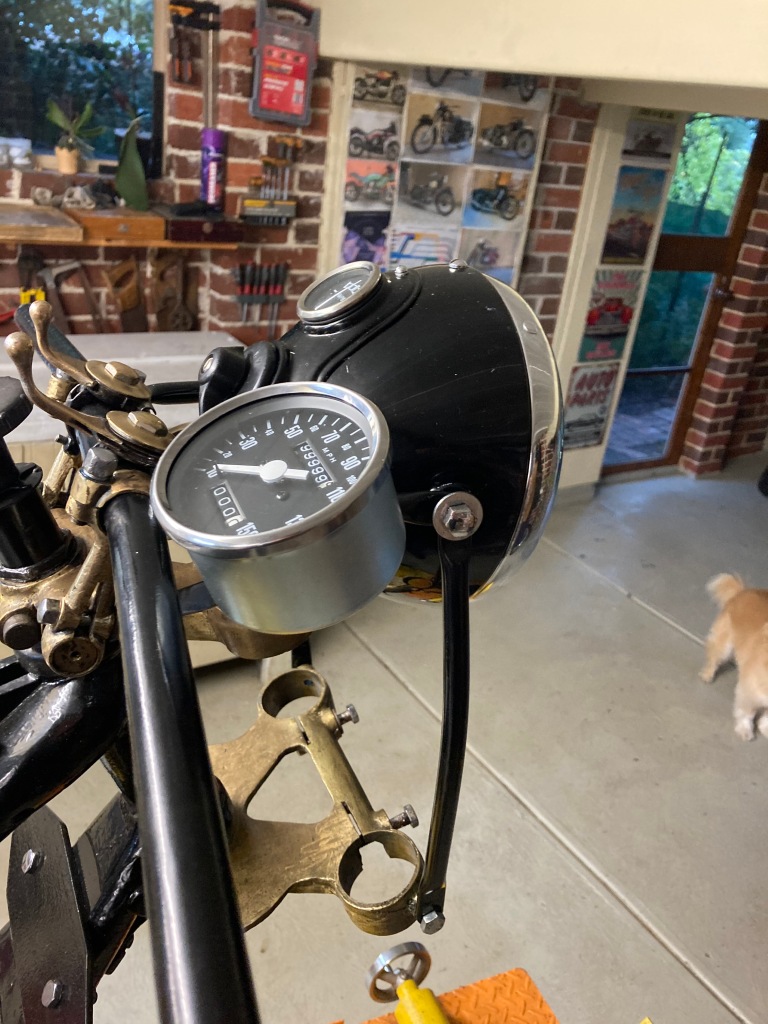
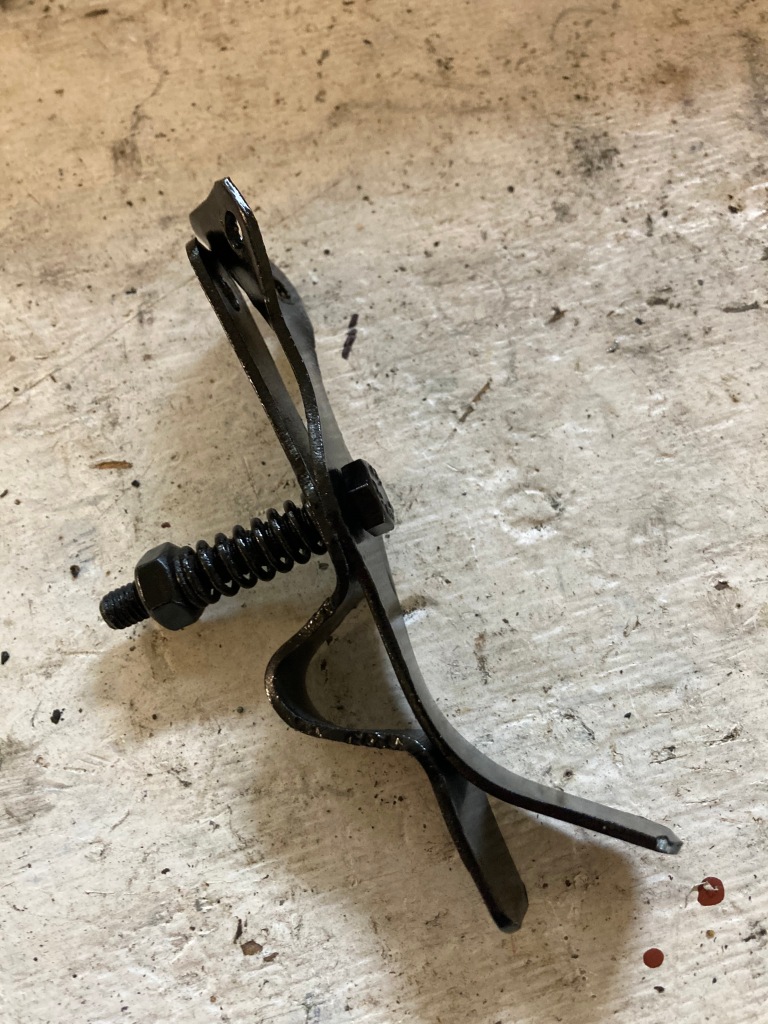
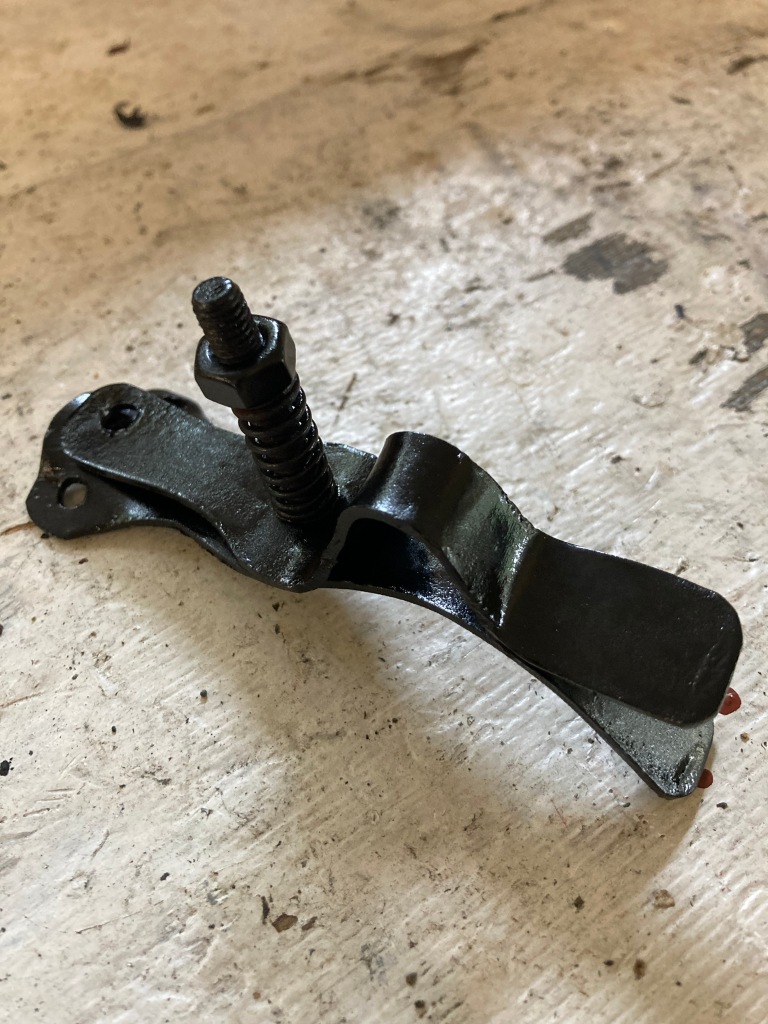
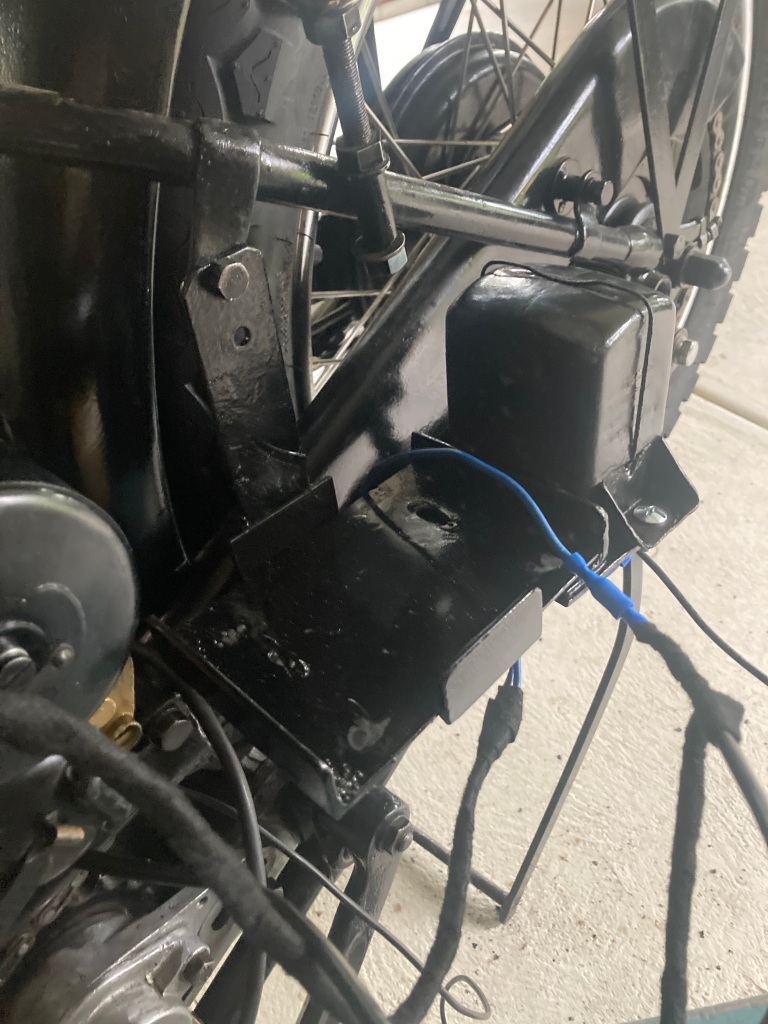
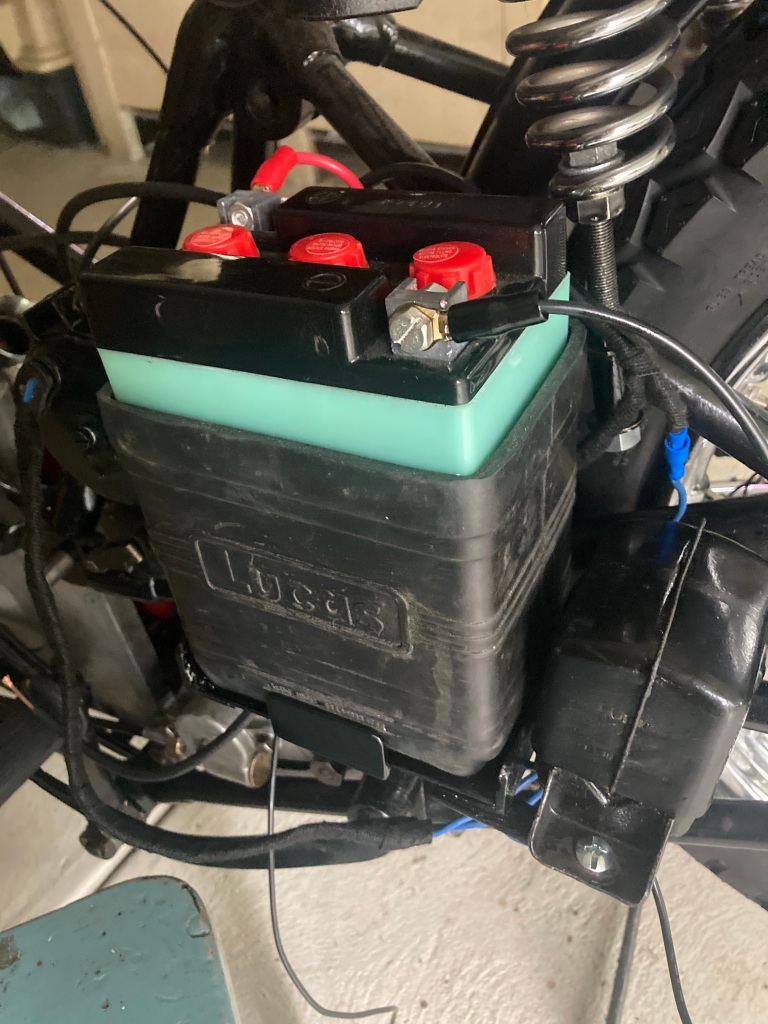
Bought headlight and speedo manufactured brackets and mounted also battery and regulator on manufactured platform together with manufactured rear stand and keeper.


Like all of your bikes i'm sure it will look as new when you have finished restoring it.
ReplyDeleteCheers
Max