1962 James Commodore

1962 James Commodore
I have decided I will leave restoration of engine till last and will commence on restoring all metal work to I hope factory quality.
With my strategy determined I commenced by recording the dismantling process with a series of photos
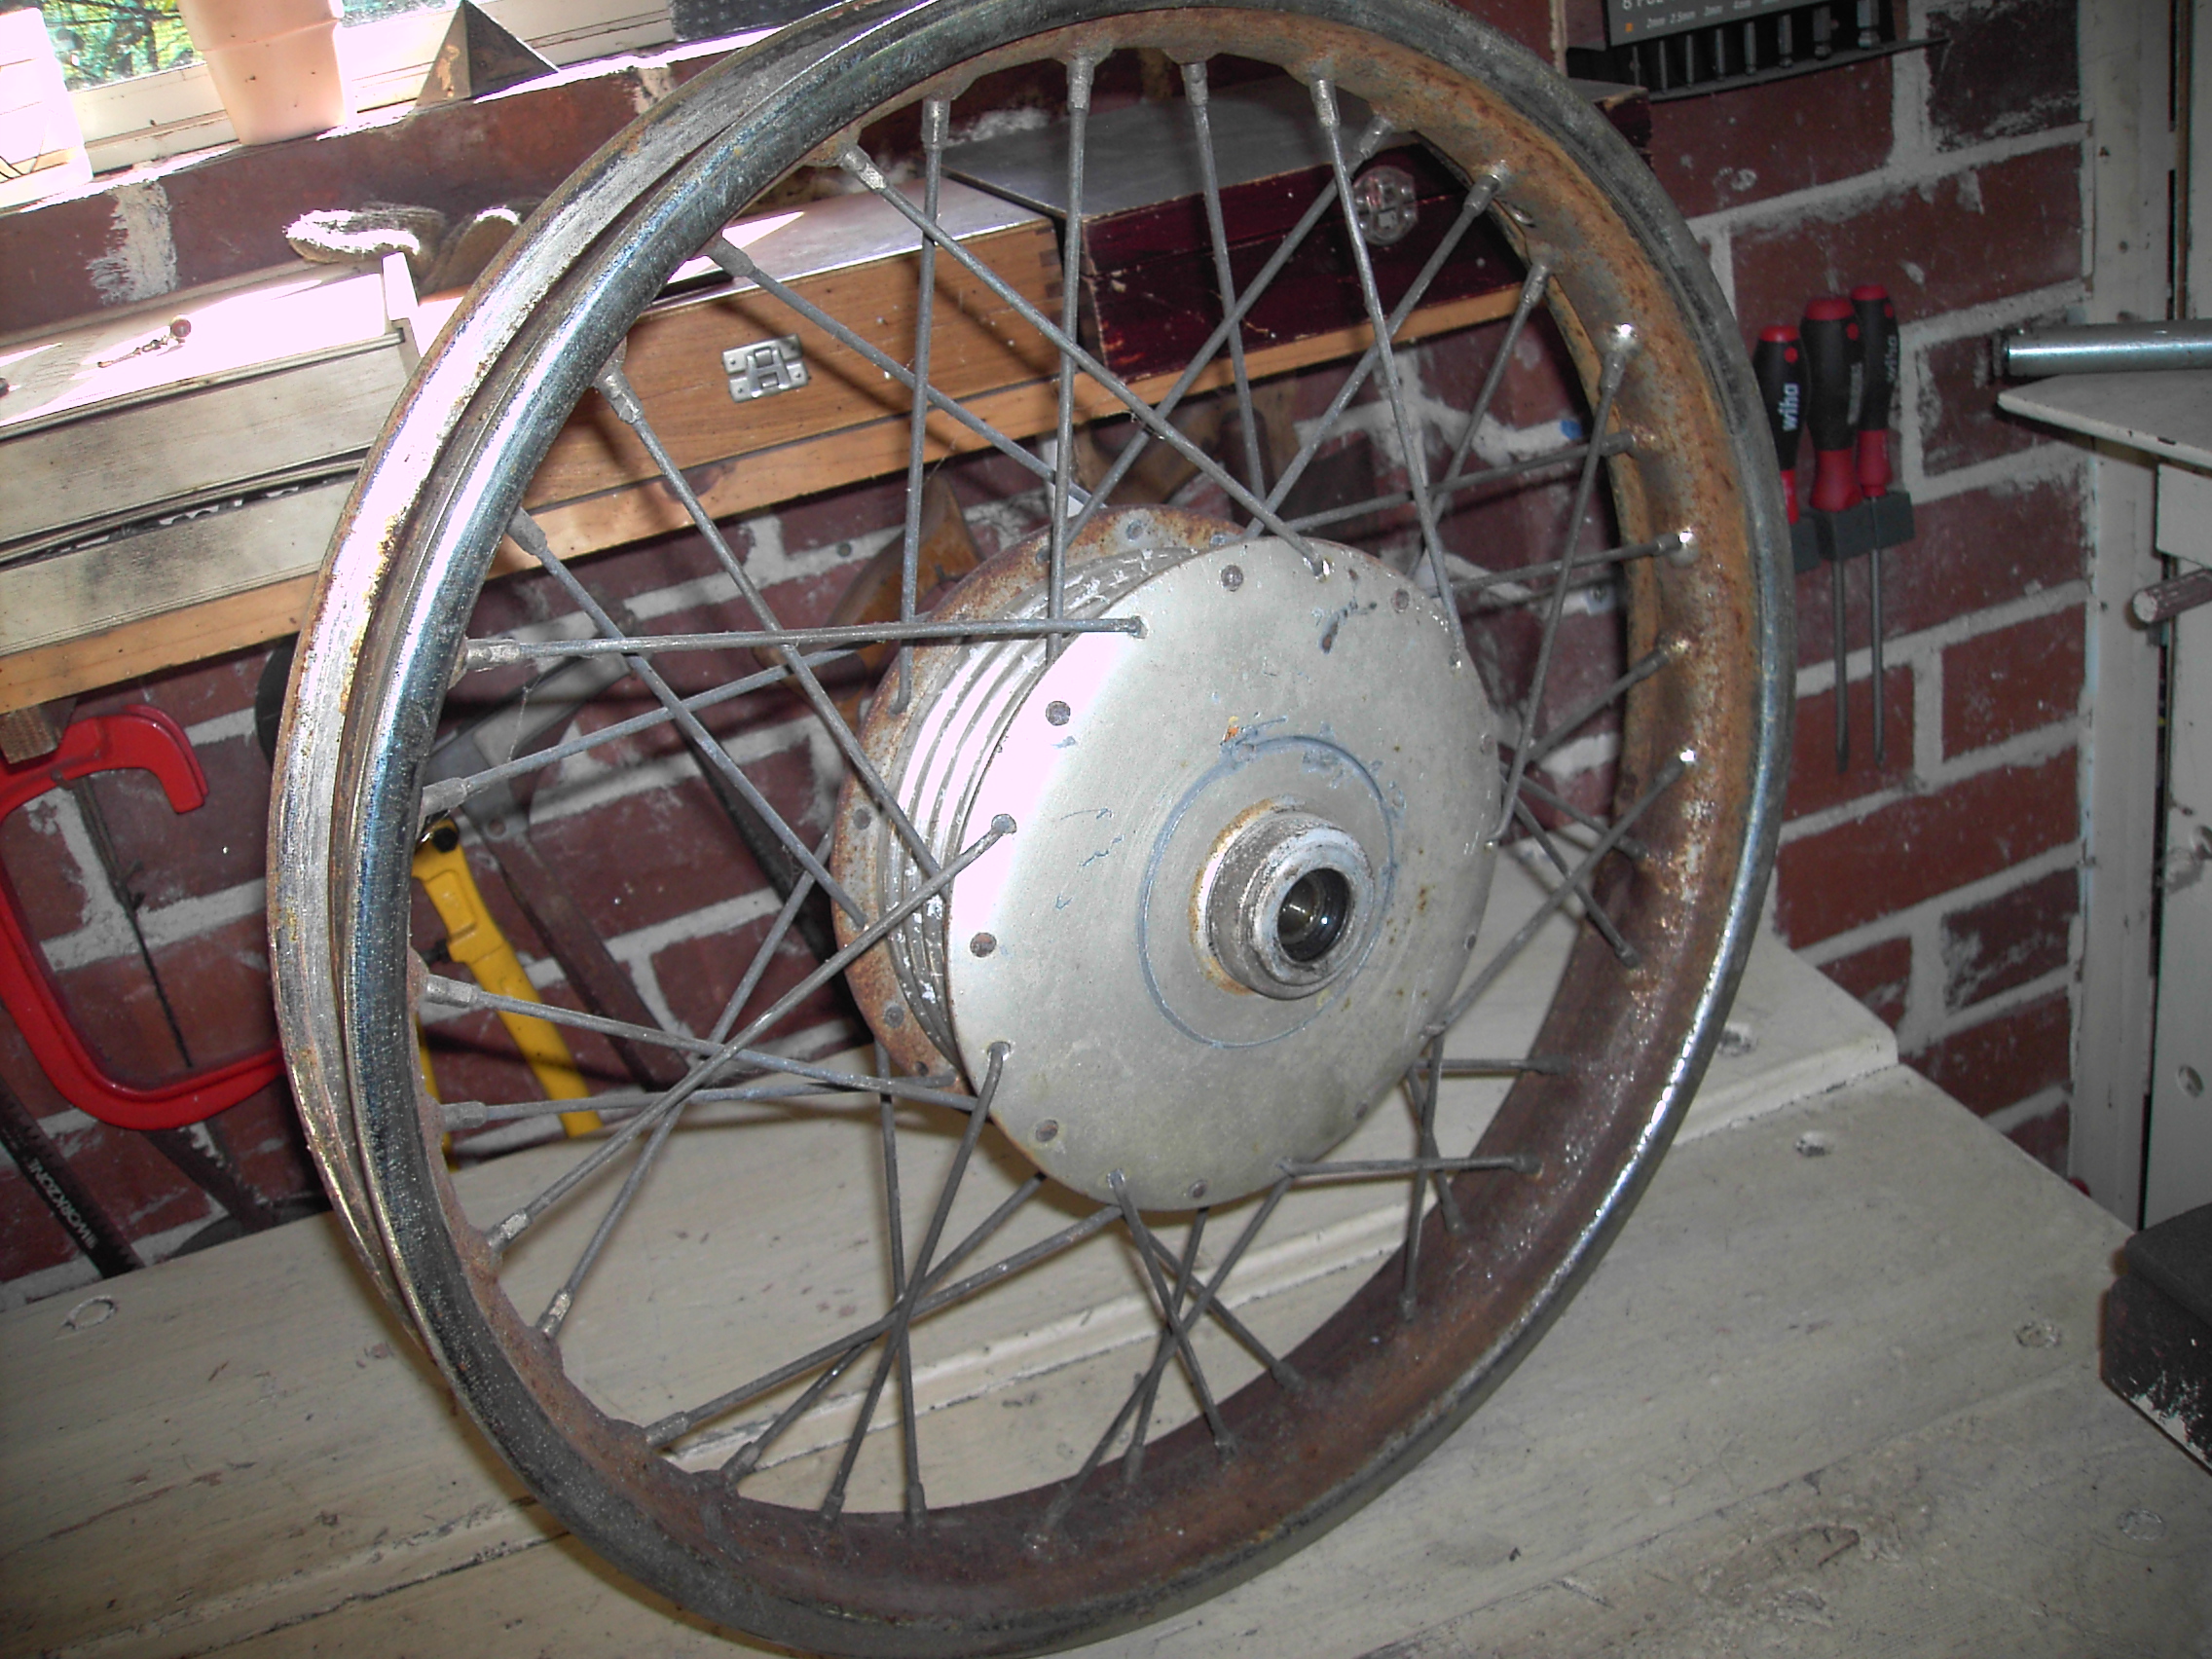
Front Wheel
A lot of paintwork and re-chroming required I will purchase new spokes and re-spoke wheel

[gallery ids="1423,1422,1429,1427" type="rectangular"]
[gallery ids="1442,1429" type="rectangular"]
Rear Wheel
A lot of refurbishing required and again re-spoking will be necessary
[gallery ids="1496,1495,1494,1493" type="rectangular"]

[gallery ids="1499,1498,1497" type="rectangular"]
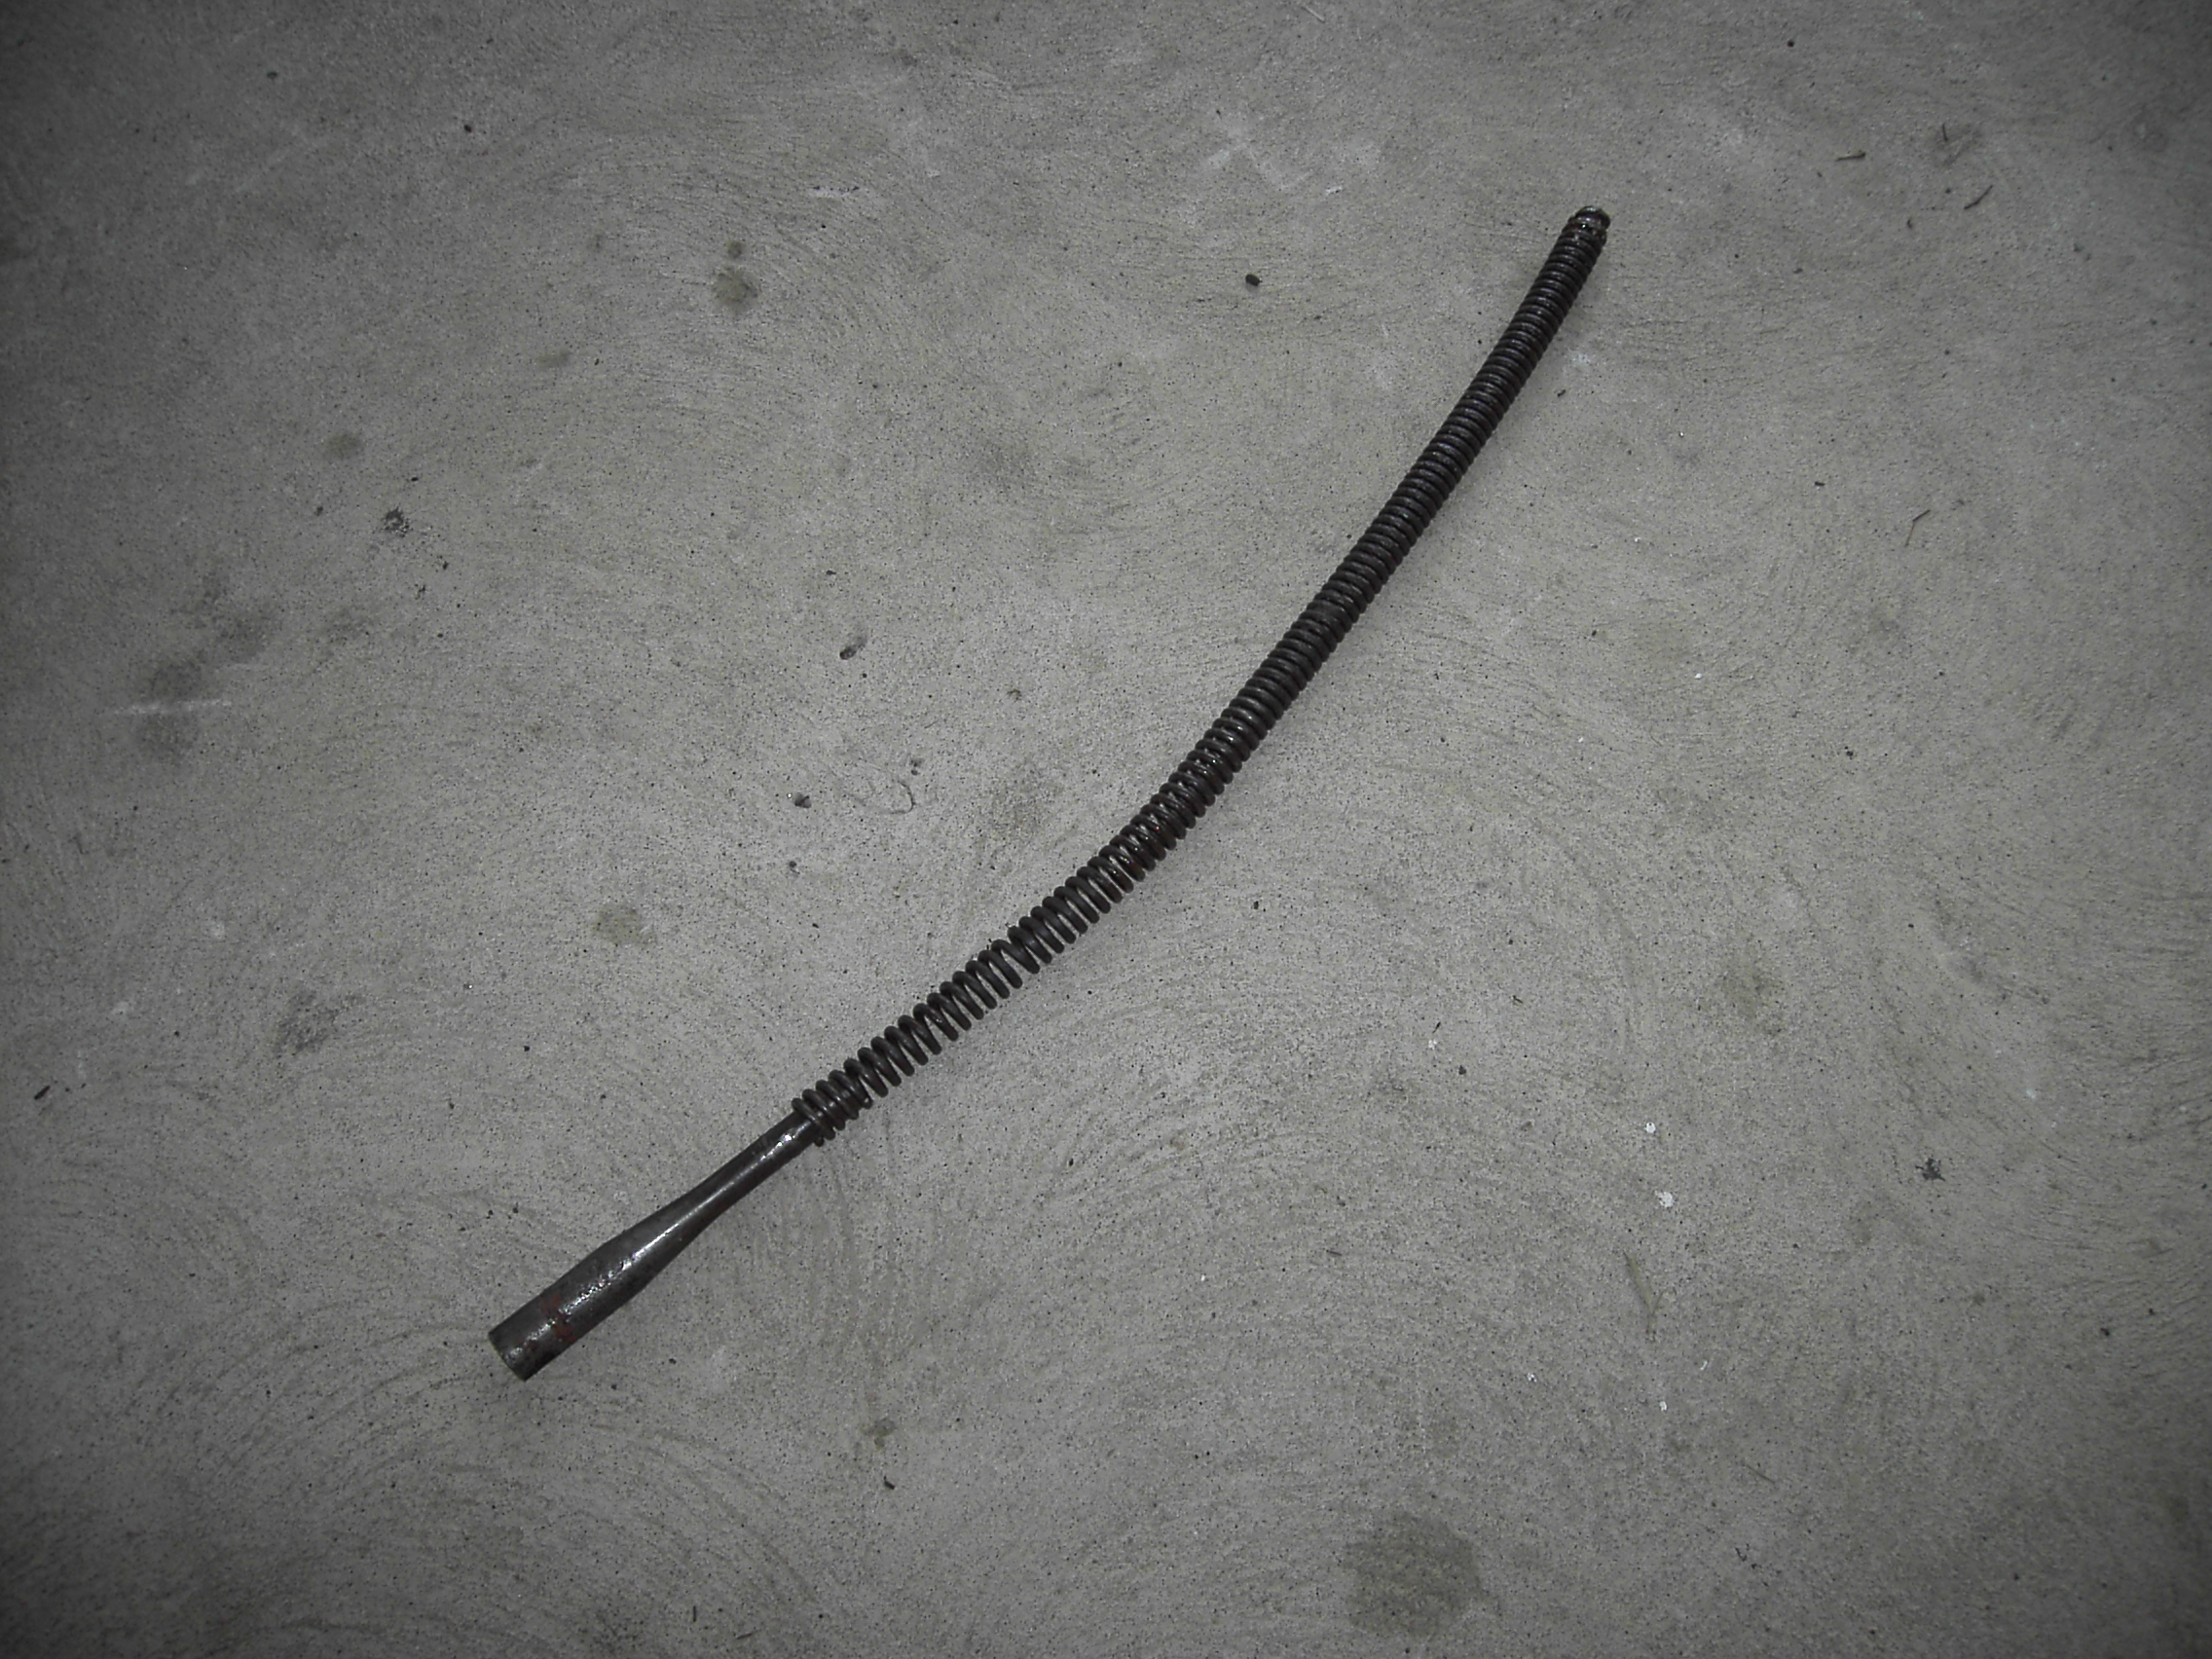
Forks
The forks were dismantled and require work I was unable to dislodge spring from bush on one leg, ended up cutting housing to free spring which was corroded into bush. Some fancy welding was carried out by Valley Engineering to repair a first class job.
[gallery ids="1485,1484,1483,1482,1481" type="rectangular"]
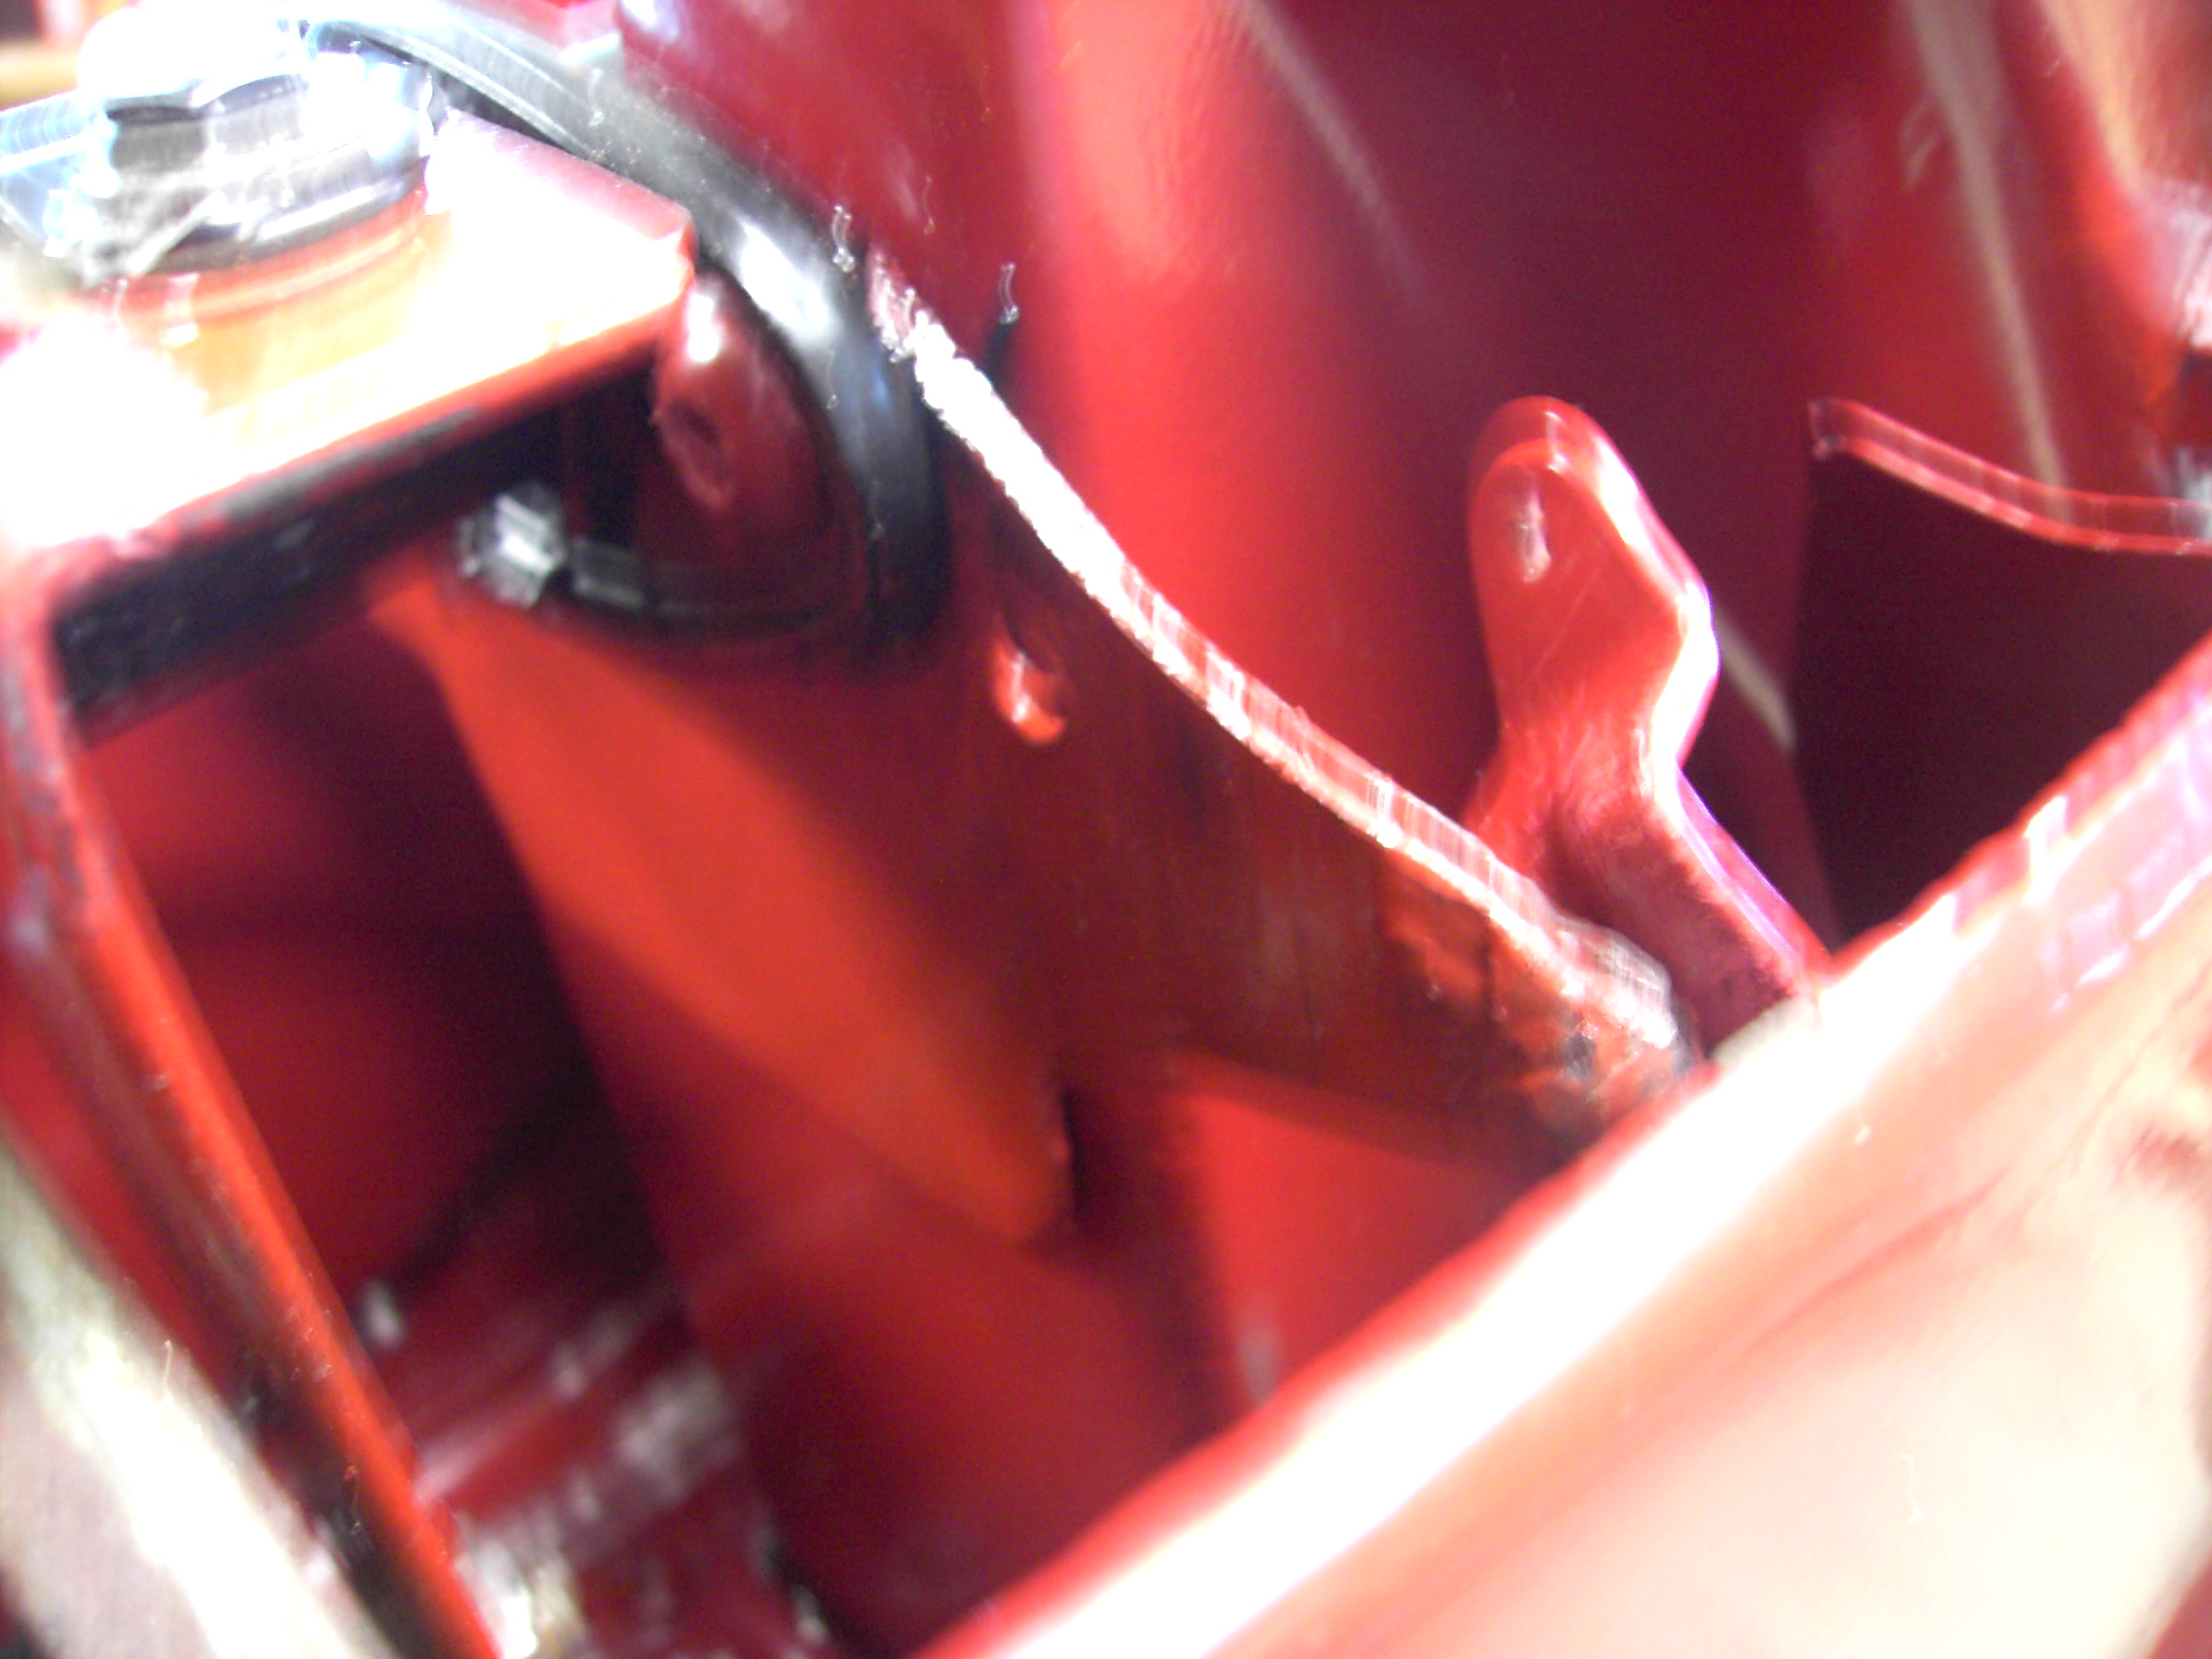
Photos Prior to Frame Dismantling
[gallery ids="1460,1453,1448,1447,1446,1439,1438,1436,1435,1433,1432,1431,1430,1428,1426,1425,1424" type="rectangular"]
Dismantling
Shock Absorbers
Started with rear shock absorbers had to make a jig quite difficult, unable to completely dismantle it appears damper is not meant to be dismantled.
Have sourced a similar replacement
[gallery ids="1510,1509,1508,1507" type="rectangular"]
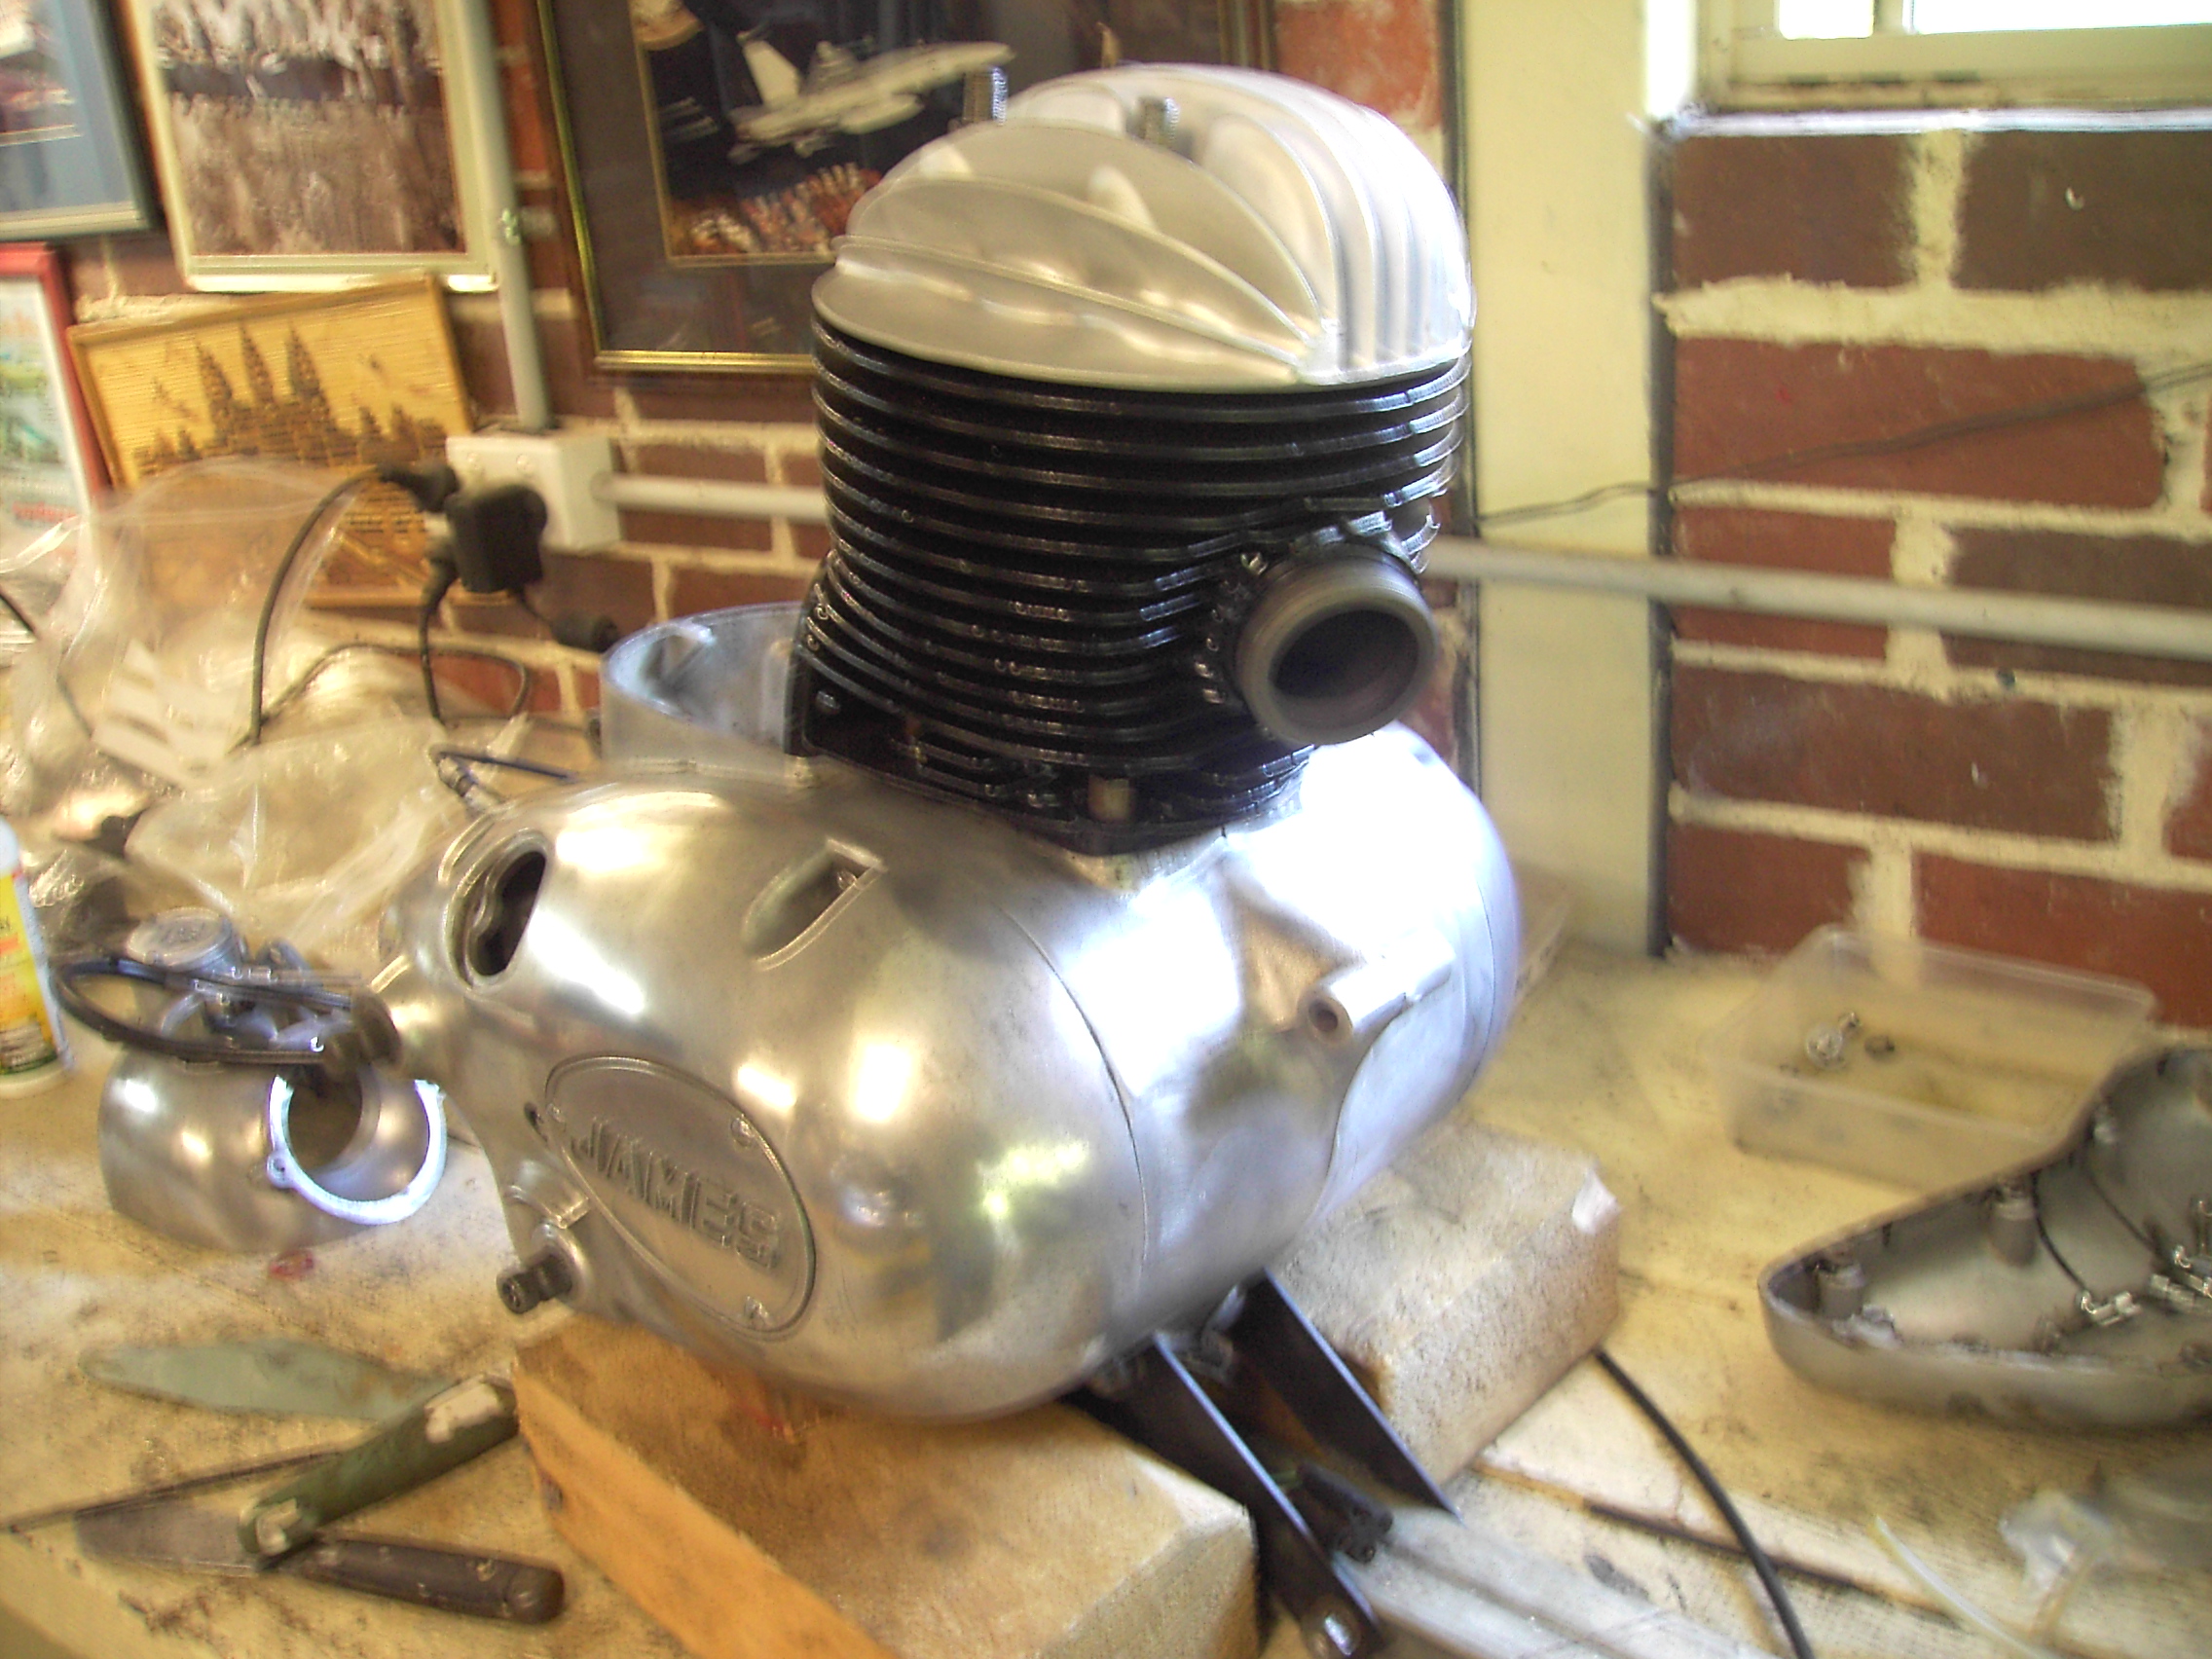
Separating Engine from Frame
Engine is an integral part of the frame photos show detail
[gallery ids="1459,1460,1458,1455,1467,1468,1469,1470" type="rectangular"]
more photos of dismantling
[gallery ids="1476,1471,1472,1473,1474" type="rectangular"]
more photos of dismantling
[gallery ids="1440,1439,1451,1450,1449" type="rectangular"]
more photos of dismantling
[gallery ids="1476,1452,1443,1456,1462" type="rectangular"]
Engine Dismantling
Made holding jig so I could work on engine dismantling in vice
[gallery ids="1477,1478" type="rectangular"]
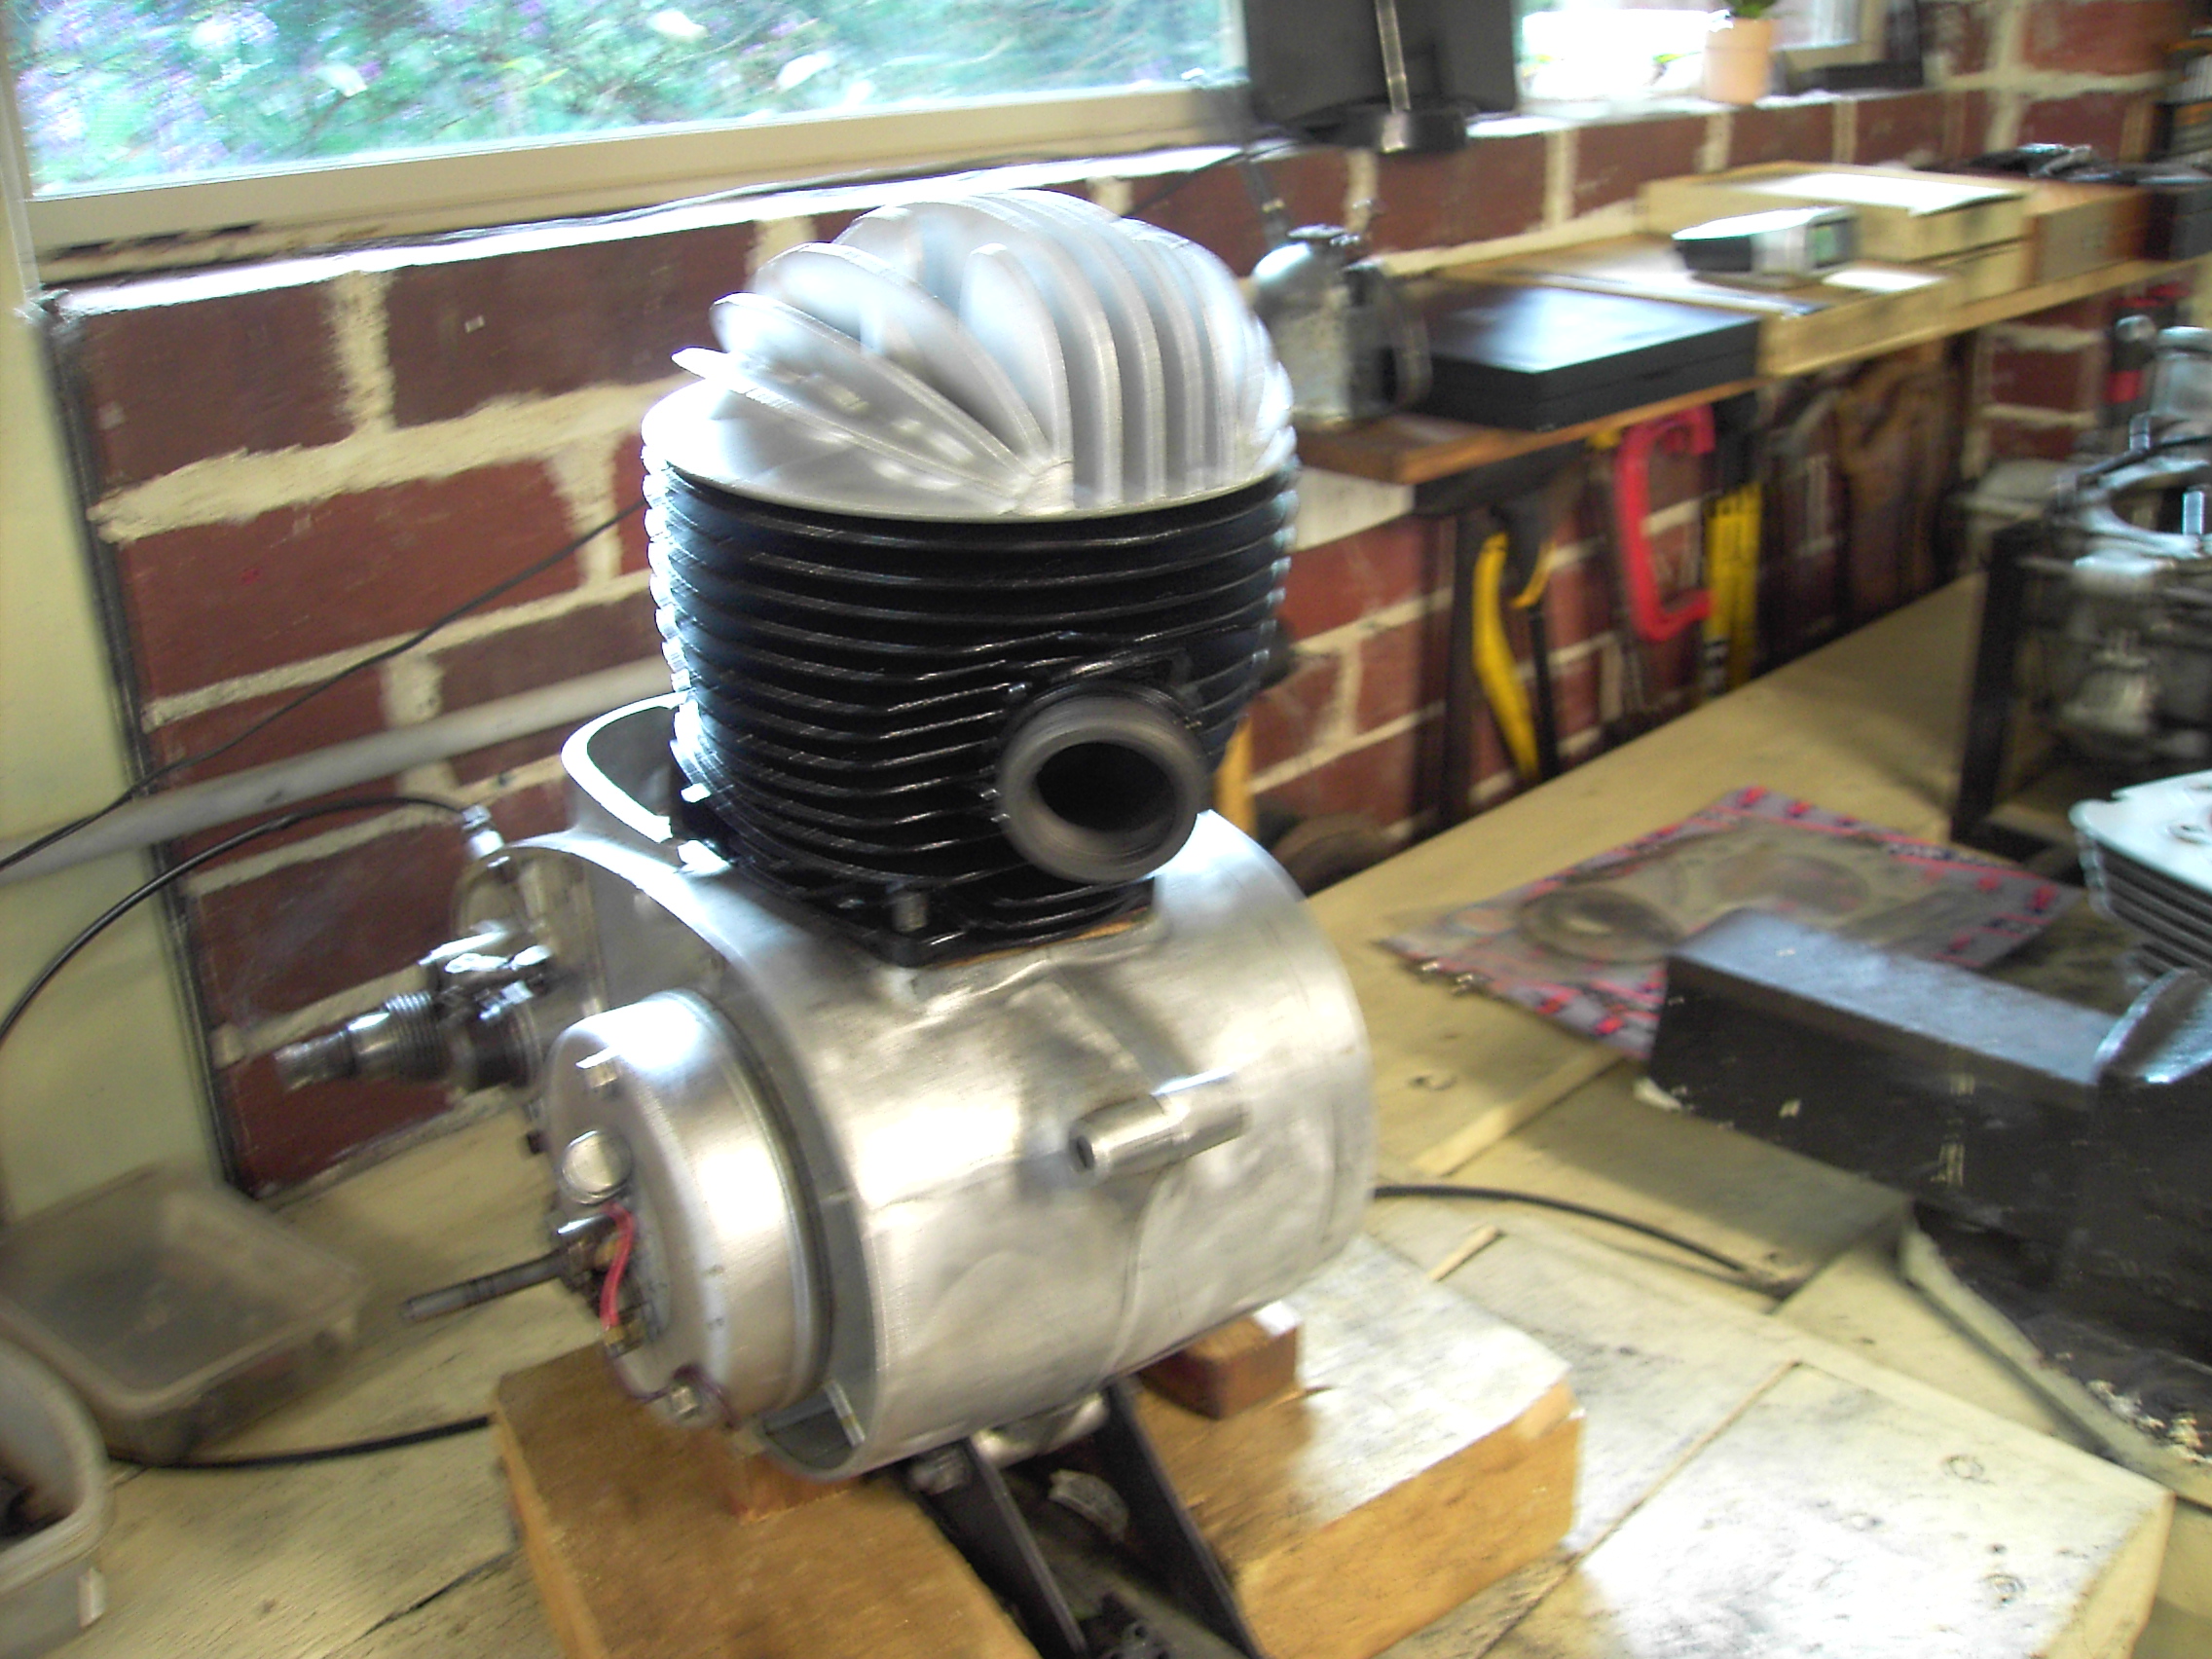
Removed barrel and covers and decided to replace rings, this became an interesting exercise as I was unaware that for a two stroke it is important that the rings do not rotate' this is achieved by having a small spigot in each ring groove and the are displaced to ensure they do not allow gas to bypass each ring. Painted barrel after sandblasting
I was fortunate to have barrel and piston checked by Crankshaft Re-grinders which determined all was well. I was able to source replacement rings which was lucky as I broke a couple putting barrel back on. I really is two man job my son assisted me.
It is worthwhile recording ring details see photo
[gallery ids="1583,1584,1585,1586,1587" type="rectangular"]
During dismantling of kick started discovered gear shift lever return spring was broken. was able to one manufactured as break was clean and new one was therefore able to be made with correct profile.
[gallery ids="1589,1590" type="rectangular"]
Polished casings and reassembled, carburettor was also overhauled
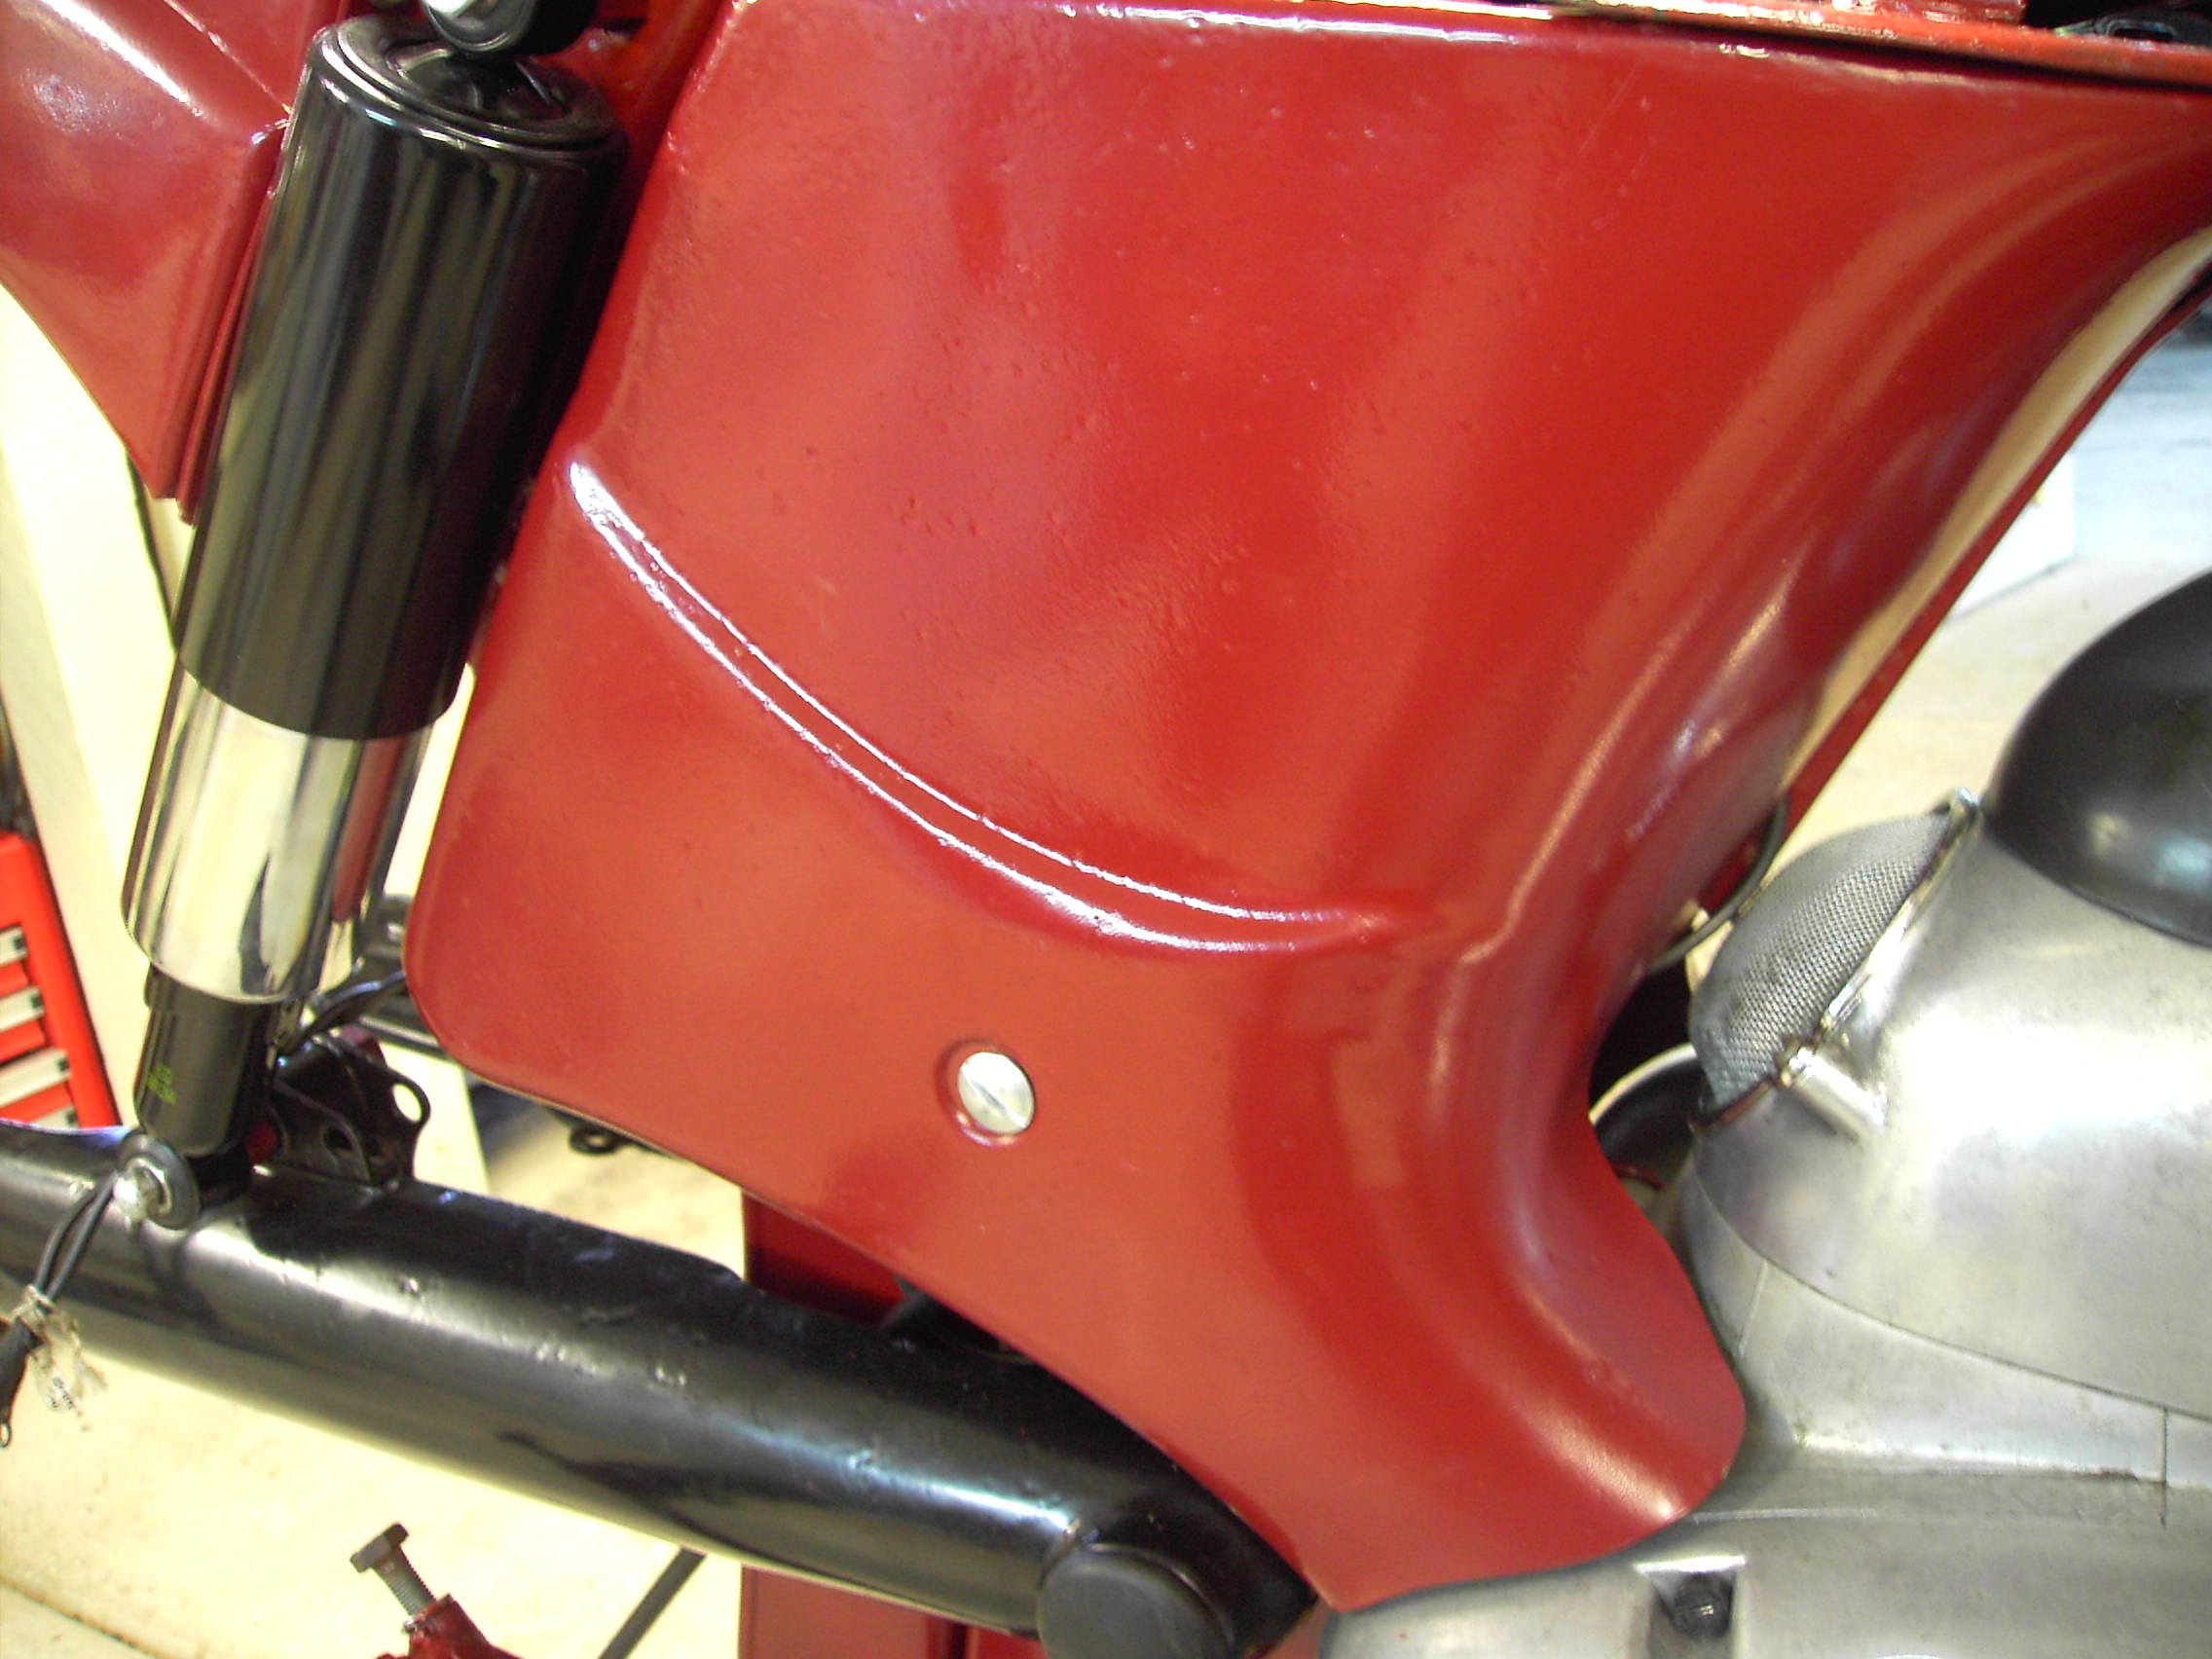
Commenced Reassembly
All metal components were sand blasted and then powder coated excellent job positioned frame on stand and began the task, as the engine is an integral part of the frame positioned engine first
[gallery ids="1622,1623,1624,1625" type="rectangular"]
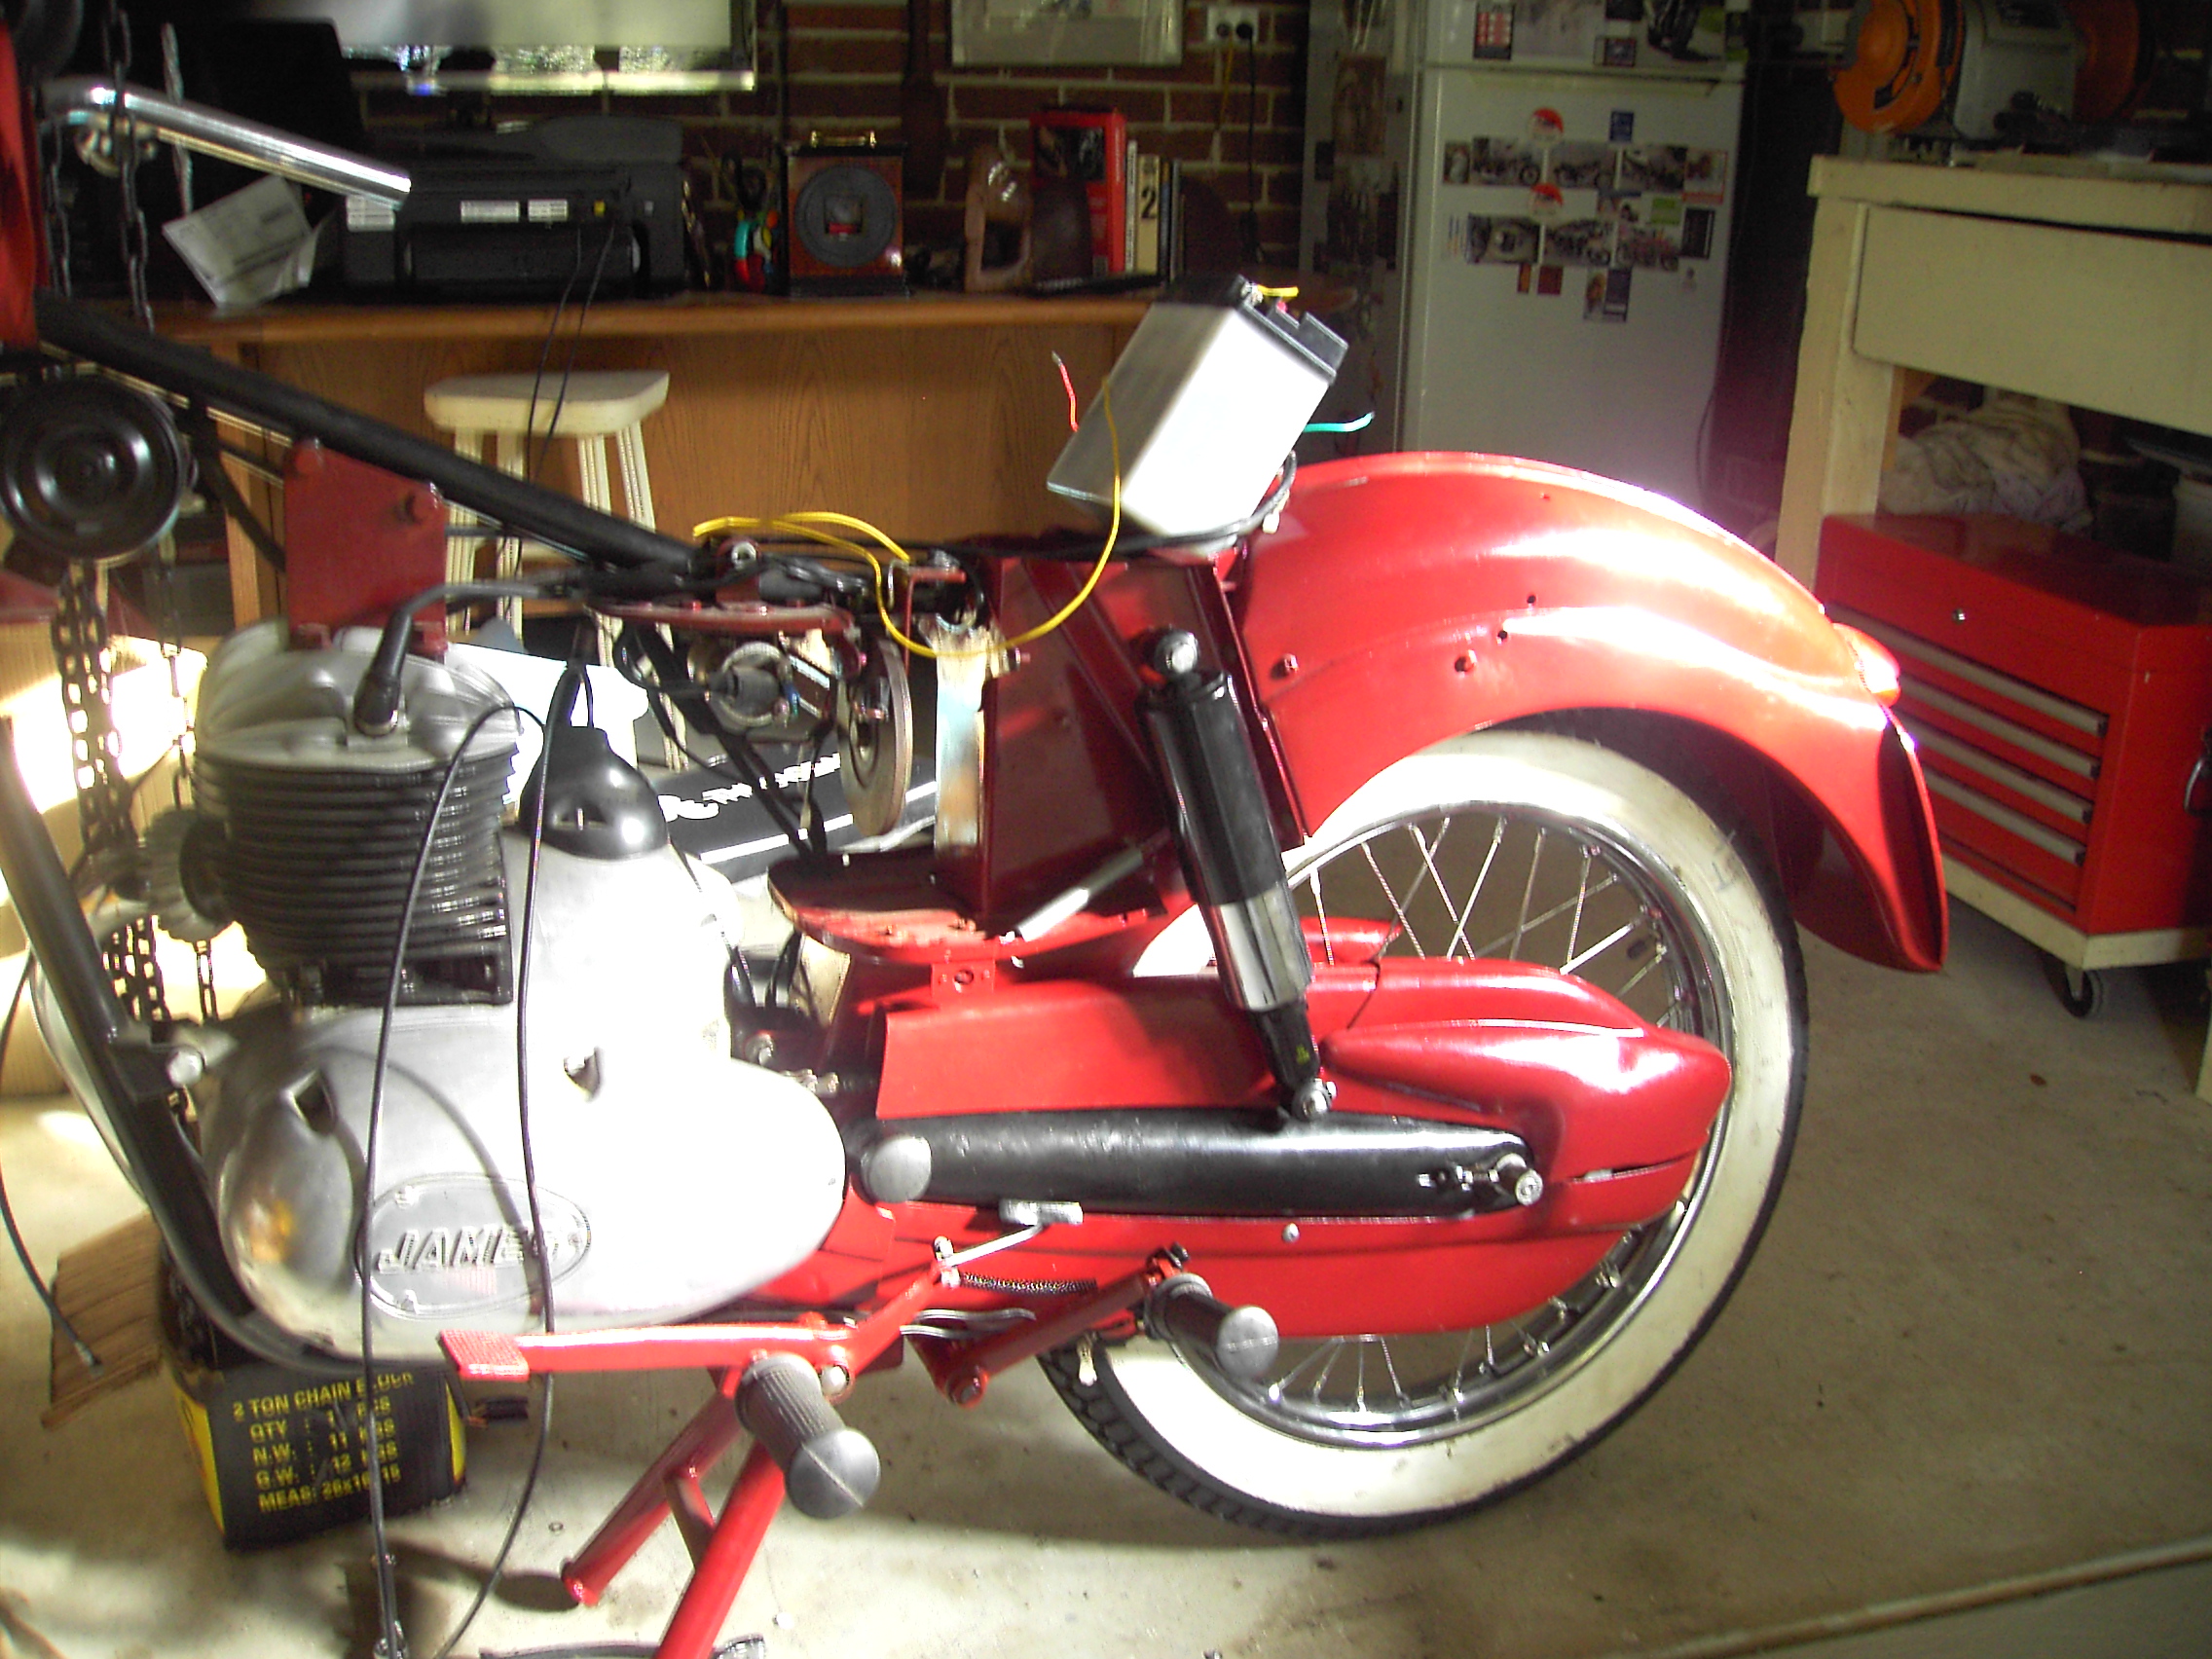
Continued with reassembly included installing new shock absorbers there was a need to machine mounting bush pins to suit new shock absorbers
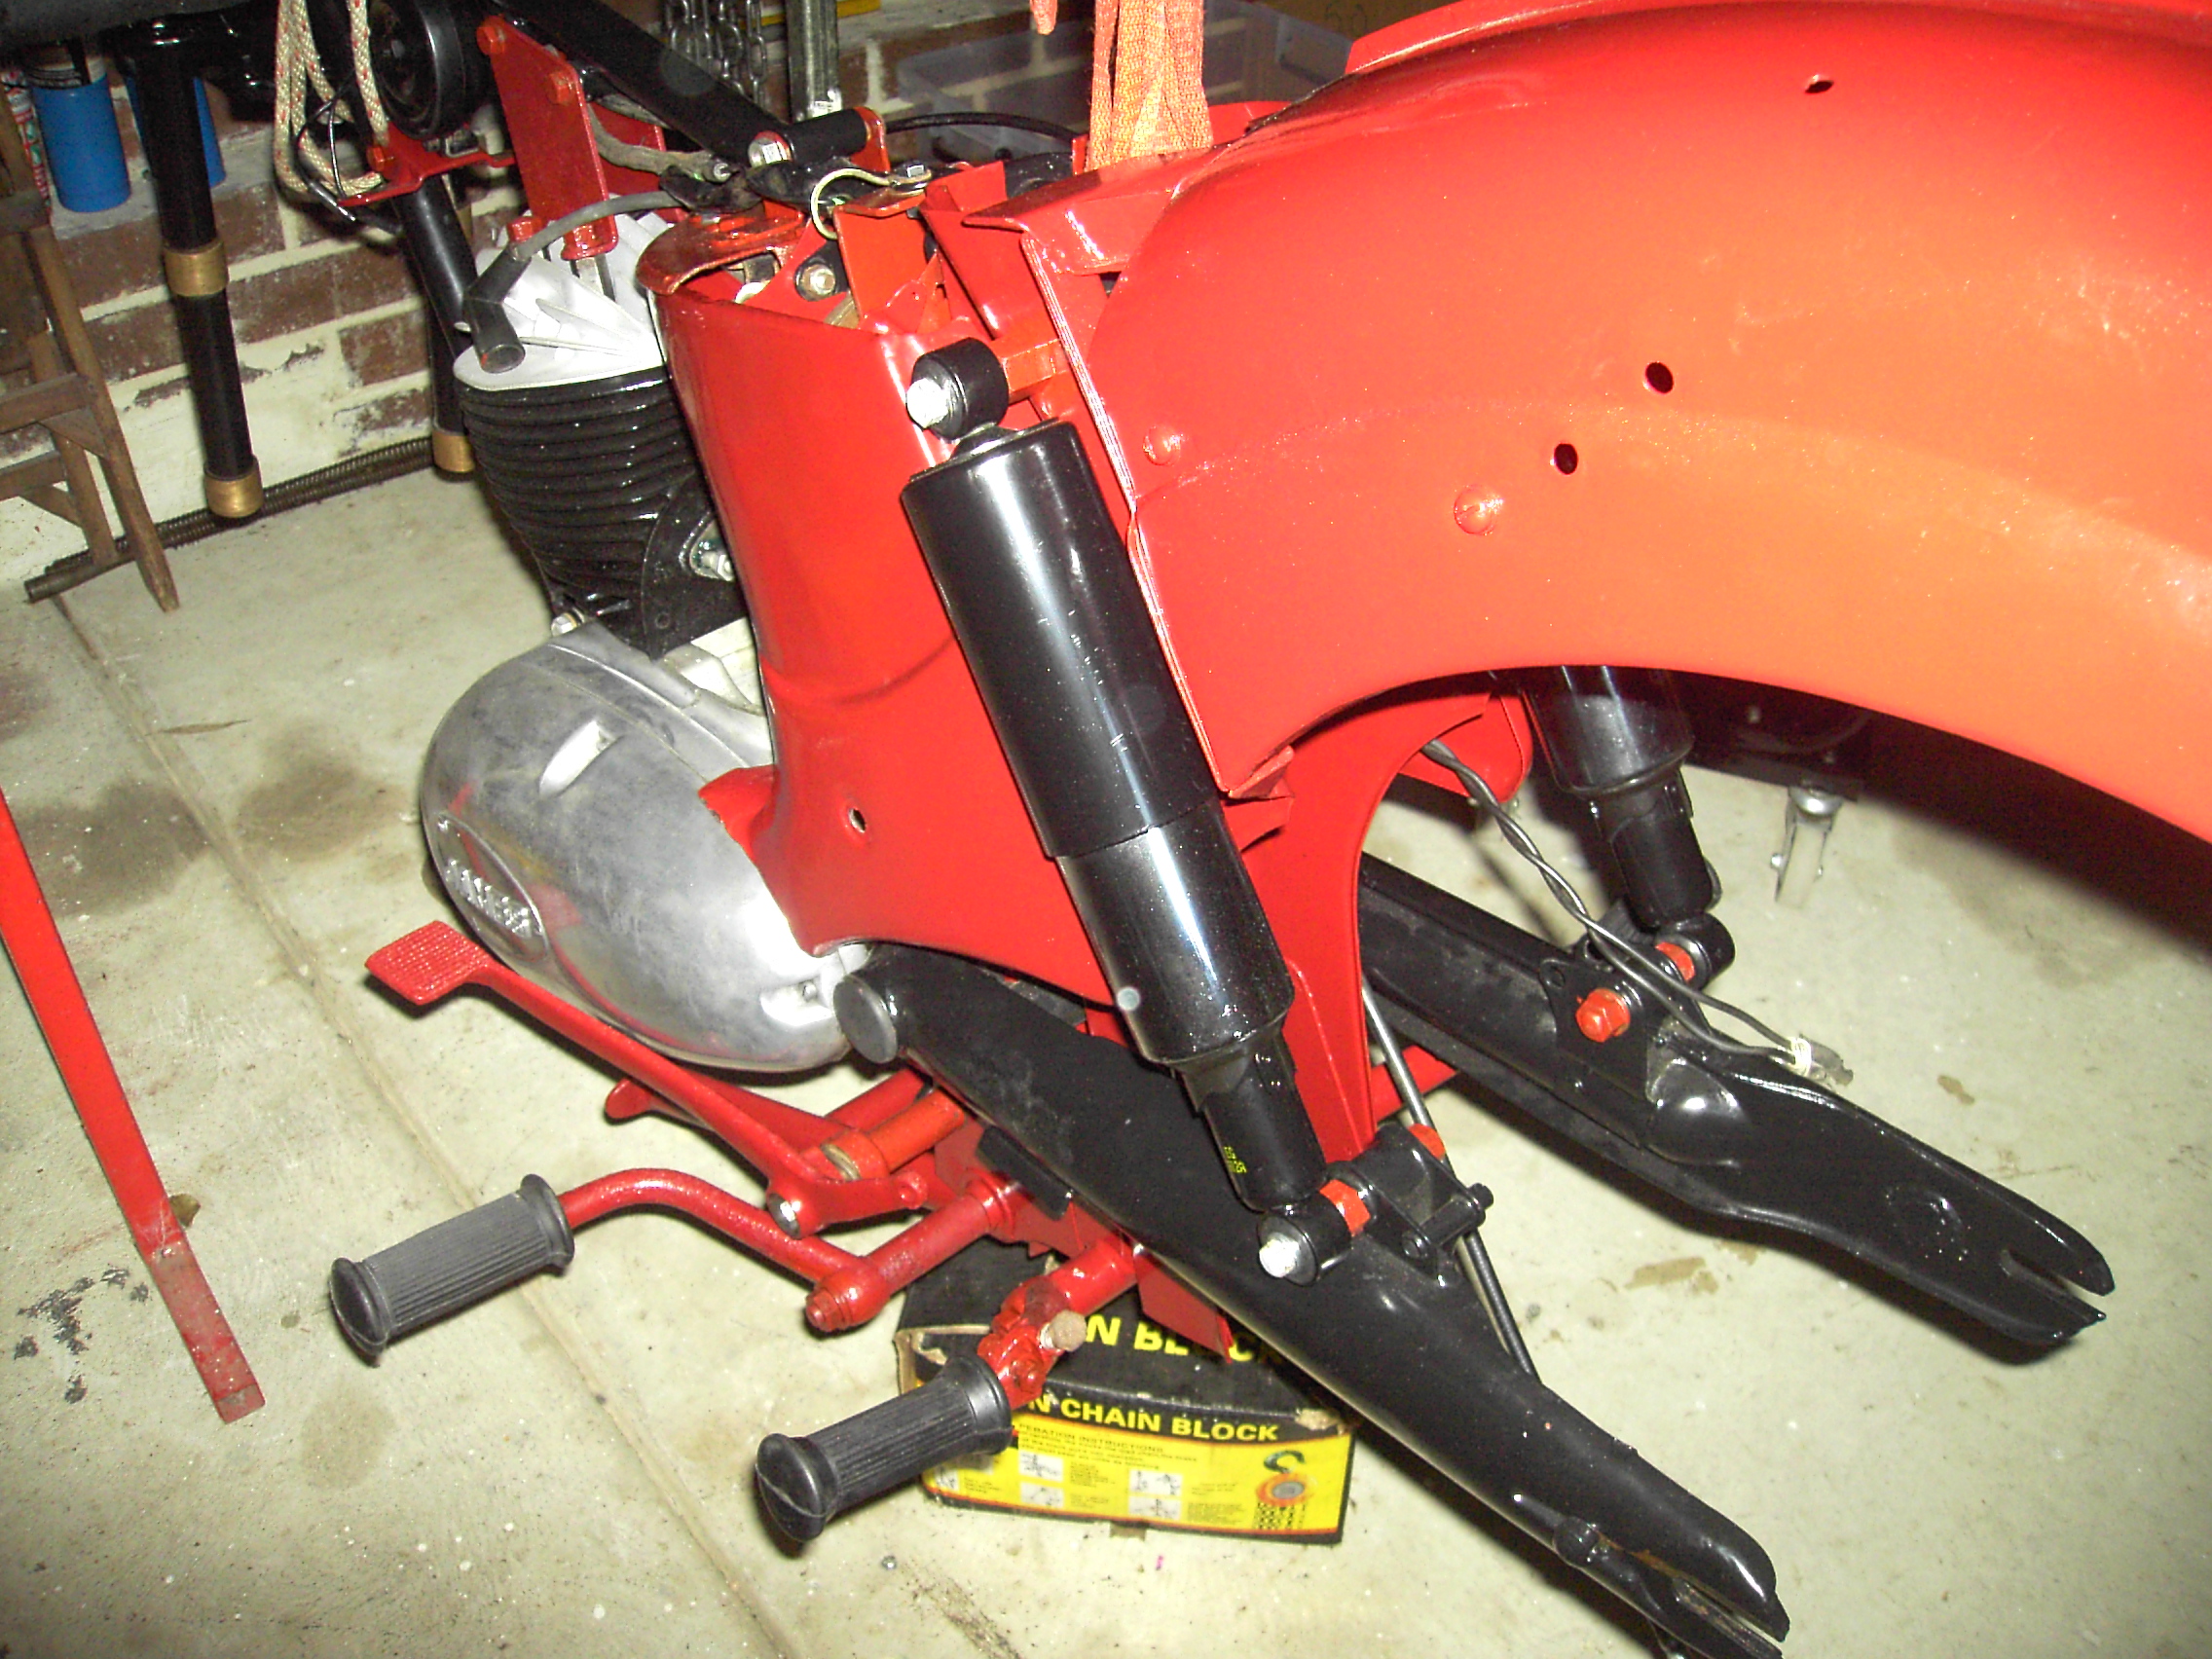
Continued with reassembly front end next needed to be patient with placing of forks on ball bearings loads of grease and large rag to catch dislodged ball bearings
[gallery ids="1638,1639" type="rectangular"]
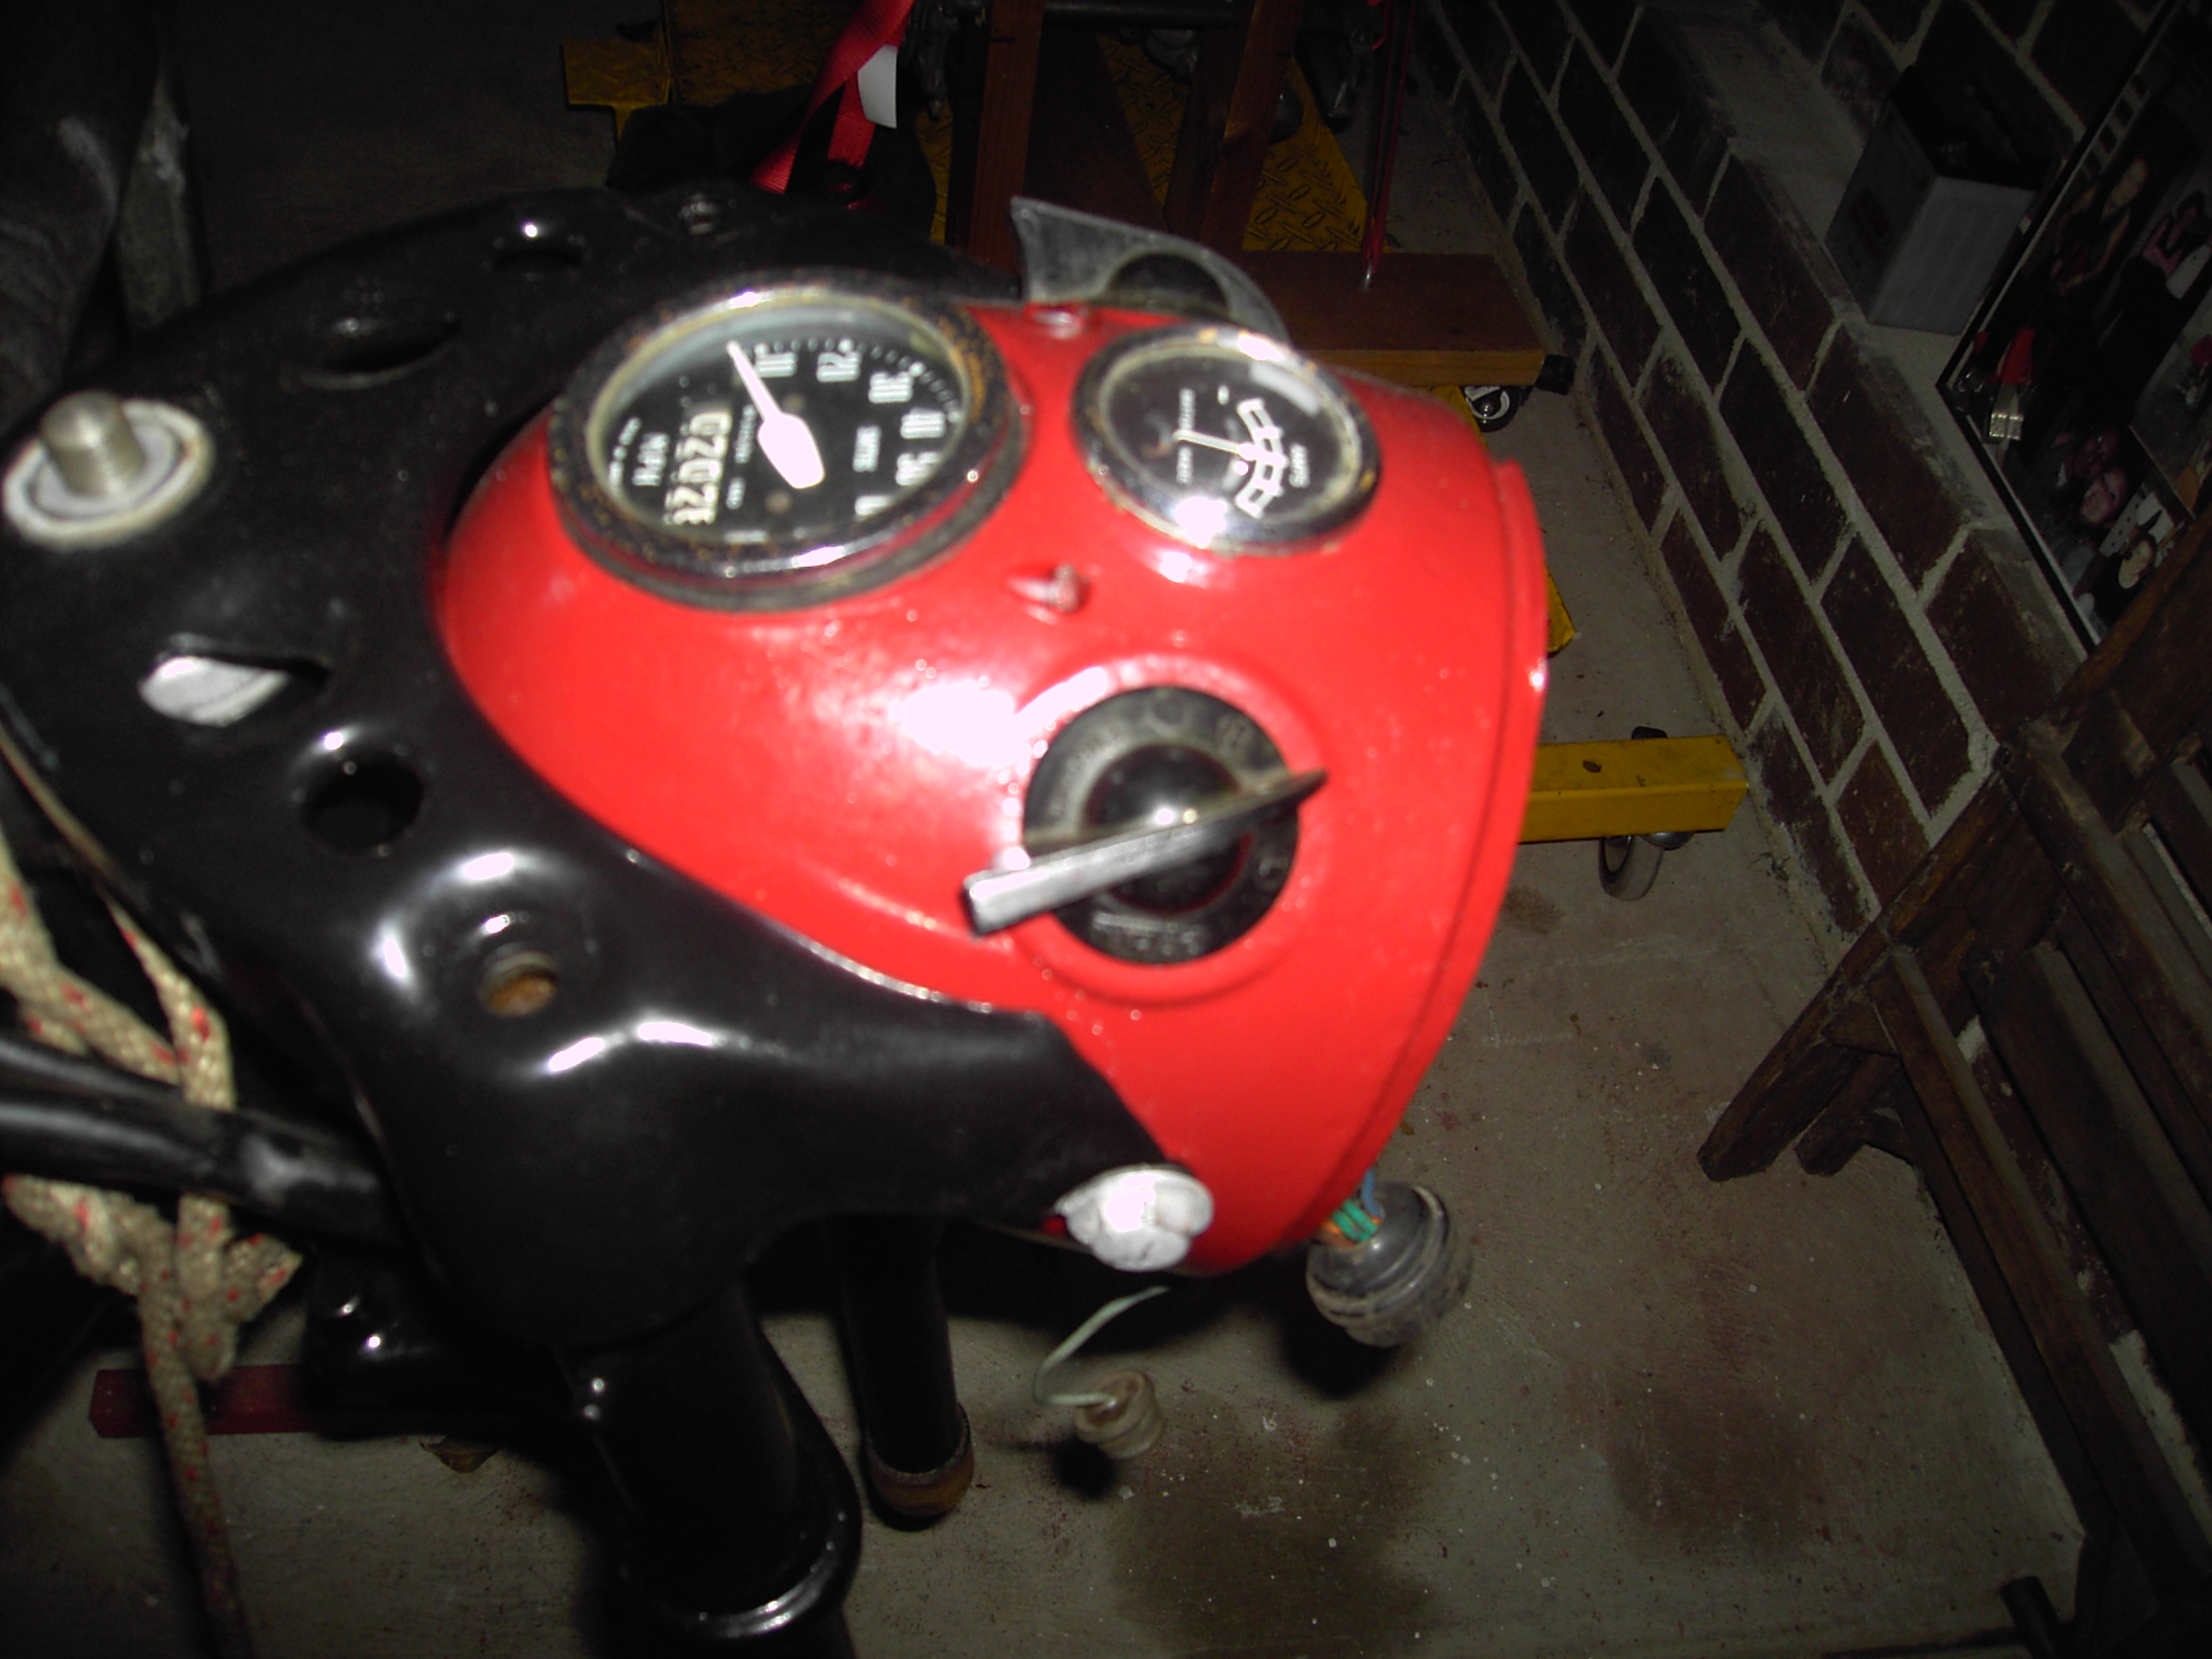
head light cowell next and the replacement of coil and rectifier
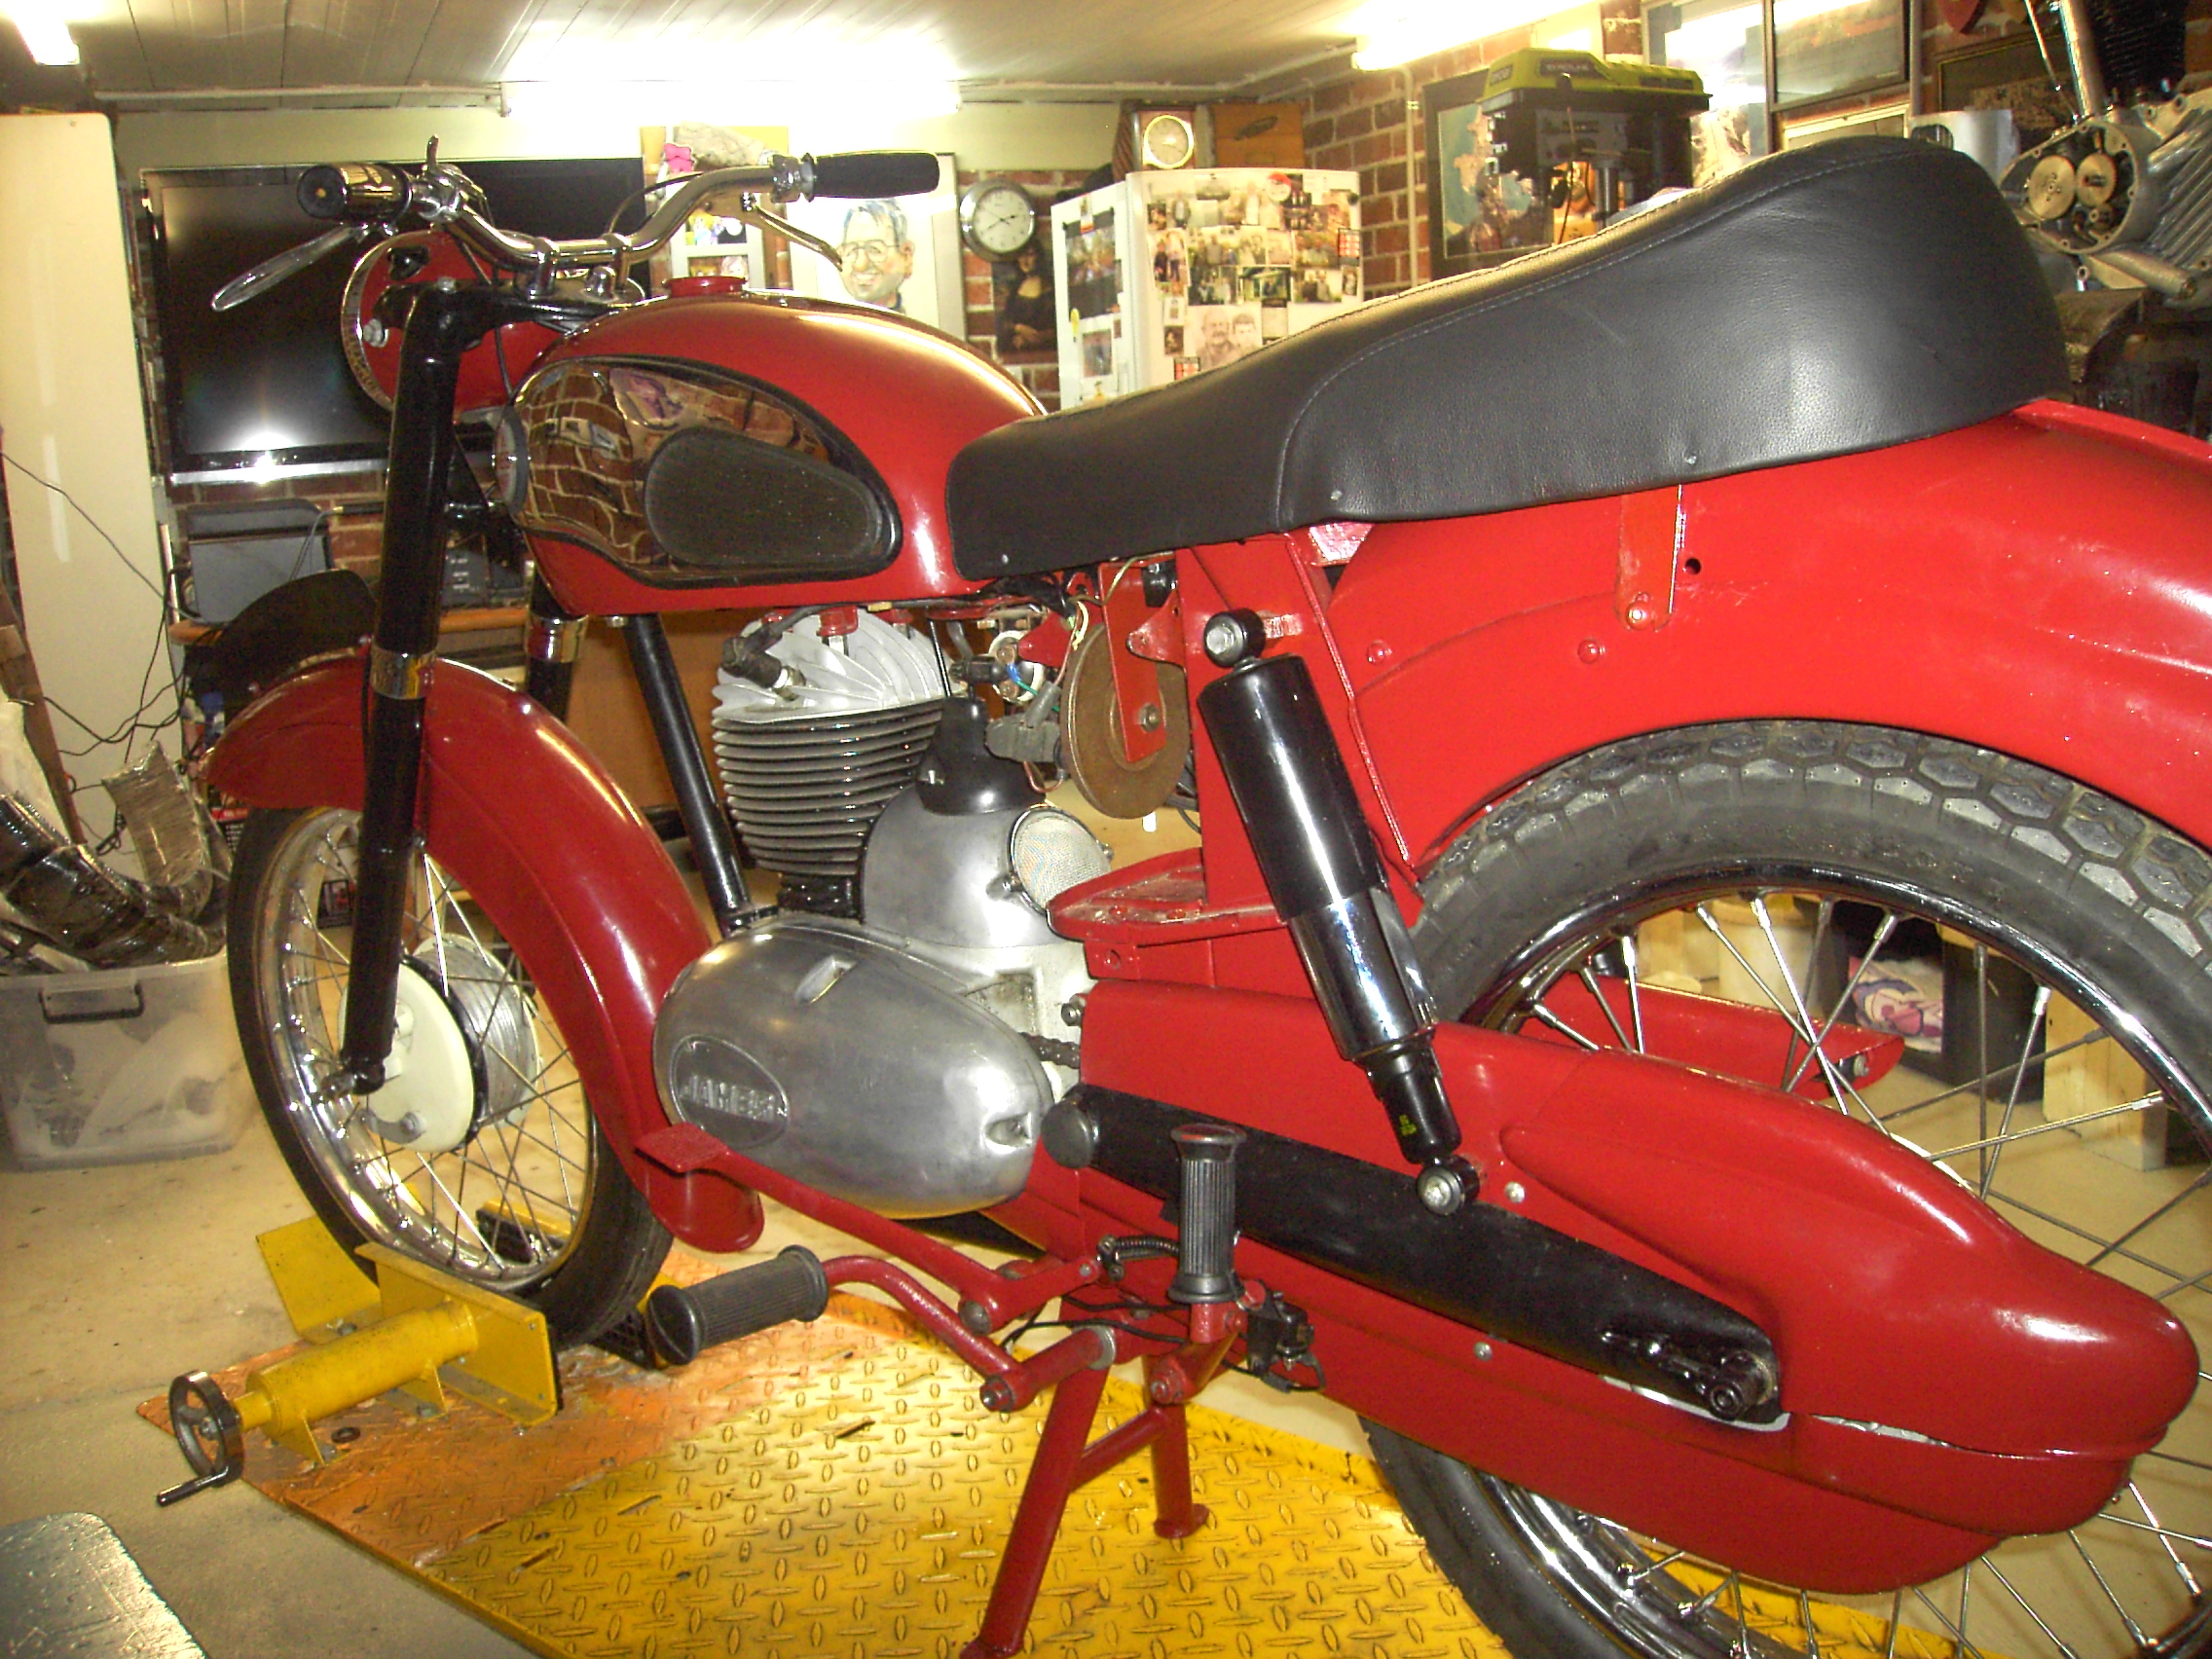
Realized I was missing one side cover plate and eventually manufactured one myself
Fitted side covers with new Oddie fastners
Installed carburettor
Clutch
Dismantled clutch and found it was sticky and not free operating cleaned up and reassembled

[gallery ids="1918,1919" type="rectangular"]
Spoking
Received all of the components from chrome plater an excellent job Decided I would start on wheels and commence re-spoking. This is a tedious job but withe use of dial guage I completed work to within acceptable tolerances
When I fitted wheel to frame both back and front I found it was necessary to offset hub fro wheel rim to give correct clearances to frame and rear wheel covers. Out with the dial guage and to work as I said this is tedious but a necessary evil. remedied problem OK
Received all of the re chroming back from the factory an excellent job
[gallery ids="1859,1860,1862,1861" type="rectangular"]
Rear Wheel Covers
The next step is to place wheel in frame and install the wheel covers. This was successfully done and below is the end result
[gallery ids="1864,1869,1866,1867" type="rectangular"]
Wiring
I had not disturbed the wiring loom so all I am doing is checking from wiring diagram and proving circuitry with a battery
I decided to give the wiring refurbishment to my son who completed an excellent job, remember positive is earthed.
All that was left was to change white wall tyres to another plain set and have seat refurbished this was done by a local motor trimmer who does vintage restorations great job
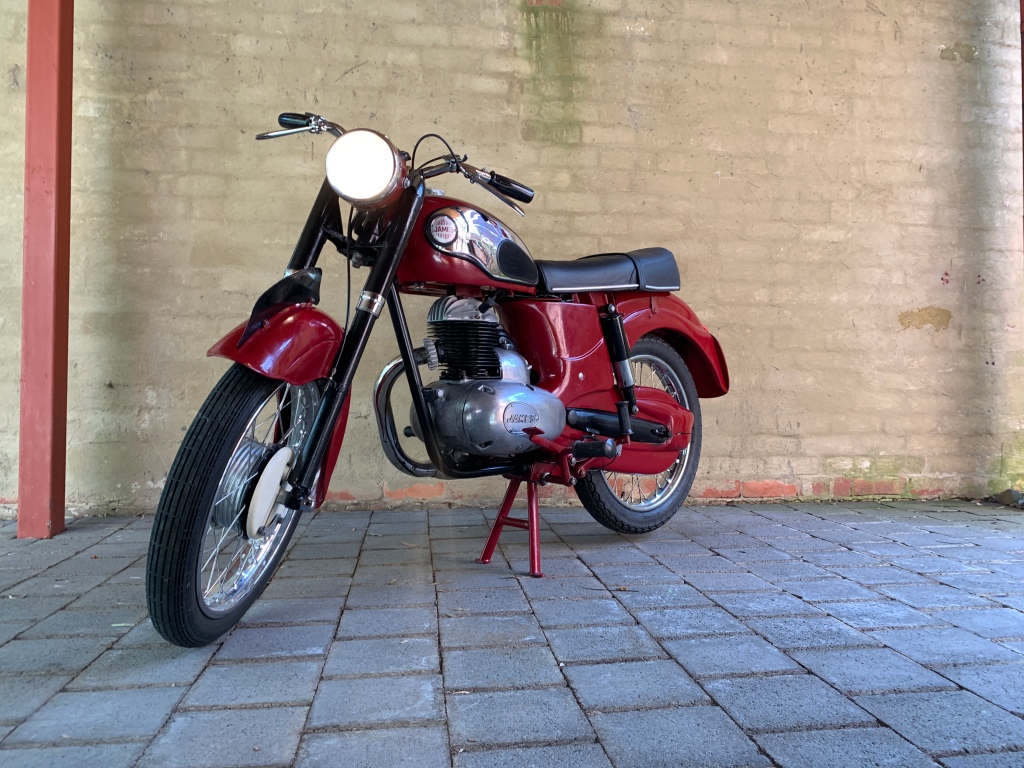
Finished Result
Before and After
![IMG_8279[8677]](https://legendjeffdotcom.files.wordpress.com/2018/05/img_82798677-1.jpg)
![IMG_8281[8676]](https://legendjeffdotcom.files.wordpress.com/2018/05/img_82818676.jpg)
![IMG_0741[7934]](https://legendjeffdotcom.files.wordpress.com/2018/05/img_07417934.jpg)
![IMG_0740[7933]](https://legendjeffdotcom.files.wordpress.com/2018/05/img_07407933.jpg)
Some photos and a video
![IMG_0210[921]](https://legendjeffdotcom.files.wordpress.com/2018/05/img_0210921-2.jpg)
[wpvideo 6D1d845D]


Comments
Post a Comment